Build U-Boot and Linux Kernel for Beaglebone and Beaglebone Black
Happy new year everybody. How time flies. It is already 2018. Longer Vision has been struggling on this tough road towards a successful enterprise. Algorithms ONLY are NOT enough for nowadays business. BSP (board support package) and IC design are a must for a successful business nowadays. Thus, ever since 2018, Longer Vision is going to balance both hardware and software, particularly, ARM based open source embedded development board and computer vision algorithms.
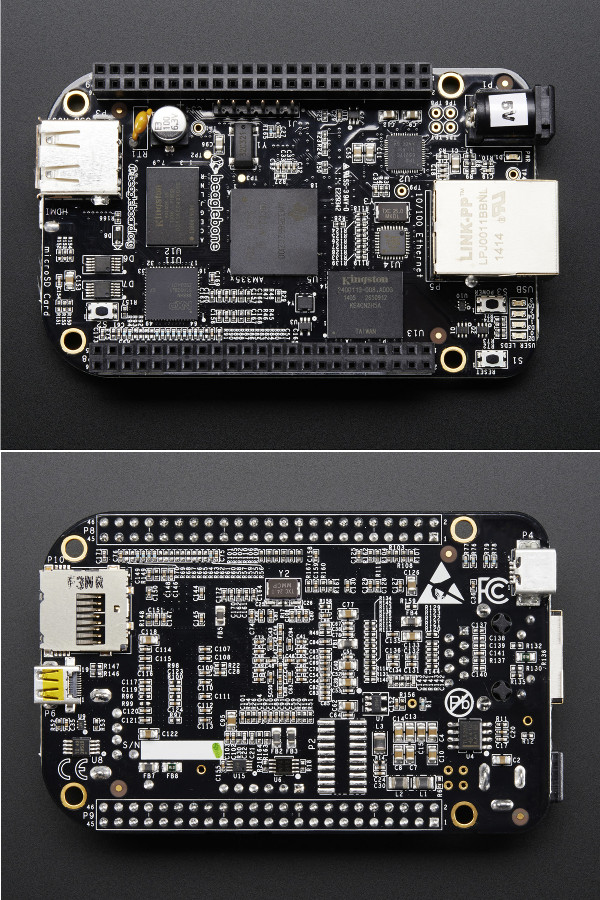
In this blog, we are going to talk about how to build and flash U-Boot and Linux Kernel onto a Beaglebone and Beaglebone Black, which adopts TI AM335x as its CPU. The board looks like (cited from Beaglebone Black ):
PART A: Cross Compile U-Boot and Linux Kernel
1. Linaro GCC
Linaro is a popular platform providing high-quality code for both Linux kernel and GCC tool chain. Linaro’s GCC toolchain of varoius versions can be directly found here.
Here, we download GCC latest-6 binary under arm-linux-gnueabihf.
1 | $ wget -c |
Test the cross compiler:
1 | $ ${CC}gcc --version |
2. U-Boot
U-Boot is a universal boot loader. For Beaglebone and Beaglebone Black, there are two patches which has been maintained by eewiki Linux on ARM on github. We first download U-Boot and check out the latest release as follows:
1 | $ git clone https://github.com/u-boot/u-boot |
Then check out the latest u-boot-patches and patch two files under the latest release v2018.01:
1 | $ cd ../ |
Finally, we configure and build U-Boot for Beaglebone and Beaglebone Black as follows:
1 | $ make ARCH=arm CROSS_COMPILE=${CC} distclean |
3. Linux Kernel
Due to Robert Nelson’s summary at eewiki, there are two ways to build Beaglebone and Beaglebone Black: - Mainline - TI BSP
Their differences are: - bb-kernel: based on mainline, no-smp, optimized for AM335x devices. - ti-linux-kernel-dev: based on TI’s git tree, smp, optimized for AM335x/AM43xx/AM57x devices.
Here, we are going to use Mainline to build our own Linux Kernel. We FIRST check out Robert Nelson’s bb-kernel.
1 | $ git clone https://github.com/RobertCNelson/bb-kernel |
We then check out Linus Torvalds’ stable Linux Kernel, which can be also tracked on github Torvalds Linux. This will take you quite a while.
1 | $ git clone https://git.kernel.org/pub/scm/linux/kernel/git/stable/linux-stable.git |
Now, it’s the time to modify some of the configurations in .sh files under the checked out branch am33x-v4.14.
1) version.sh
Here, I’m using gcc_linaro_gnueabihf_6 instead of gcc_linaro_gnueabihf_7.
1 | toolchain="gcc_linaro_gnueabihf_6" |
2) system.sh
A file named system.sh.sample has been provided for us to configure accordingly. We FIRST do a copy.
1 | $ cp system.sh.sample system.sh |
Then, we manually re-specifying two MACROs: CC and LINUX_GIT, respectively to two directories containing the above downloaded Linaro GCC compiler and the current Torvalds’ Linux Kernel. We also specify MMC for TF/SD Card as follows:
1 | CC=.../gcc-linaro-6.4.1-2017.11-x86_64_arm-linux-gnueabihf/bin/arm-linux-gnueabihf- |
After the above configurations, we start building the Linux Kernel using the following command line. This will probably take you one hour.
1 | $ ./build_kernel.sh |
When you see this Kernel Configuration page,
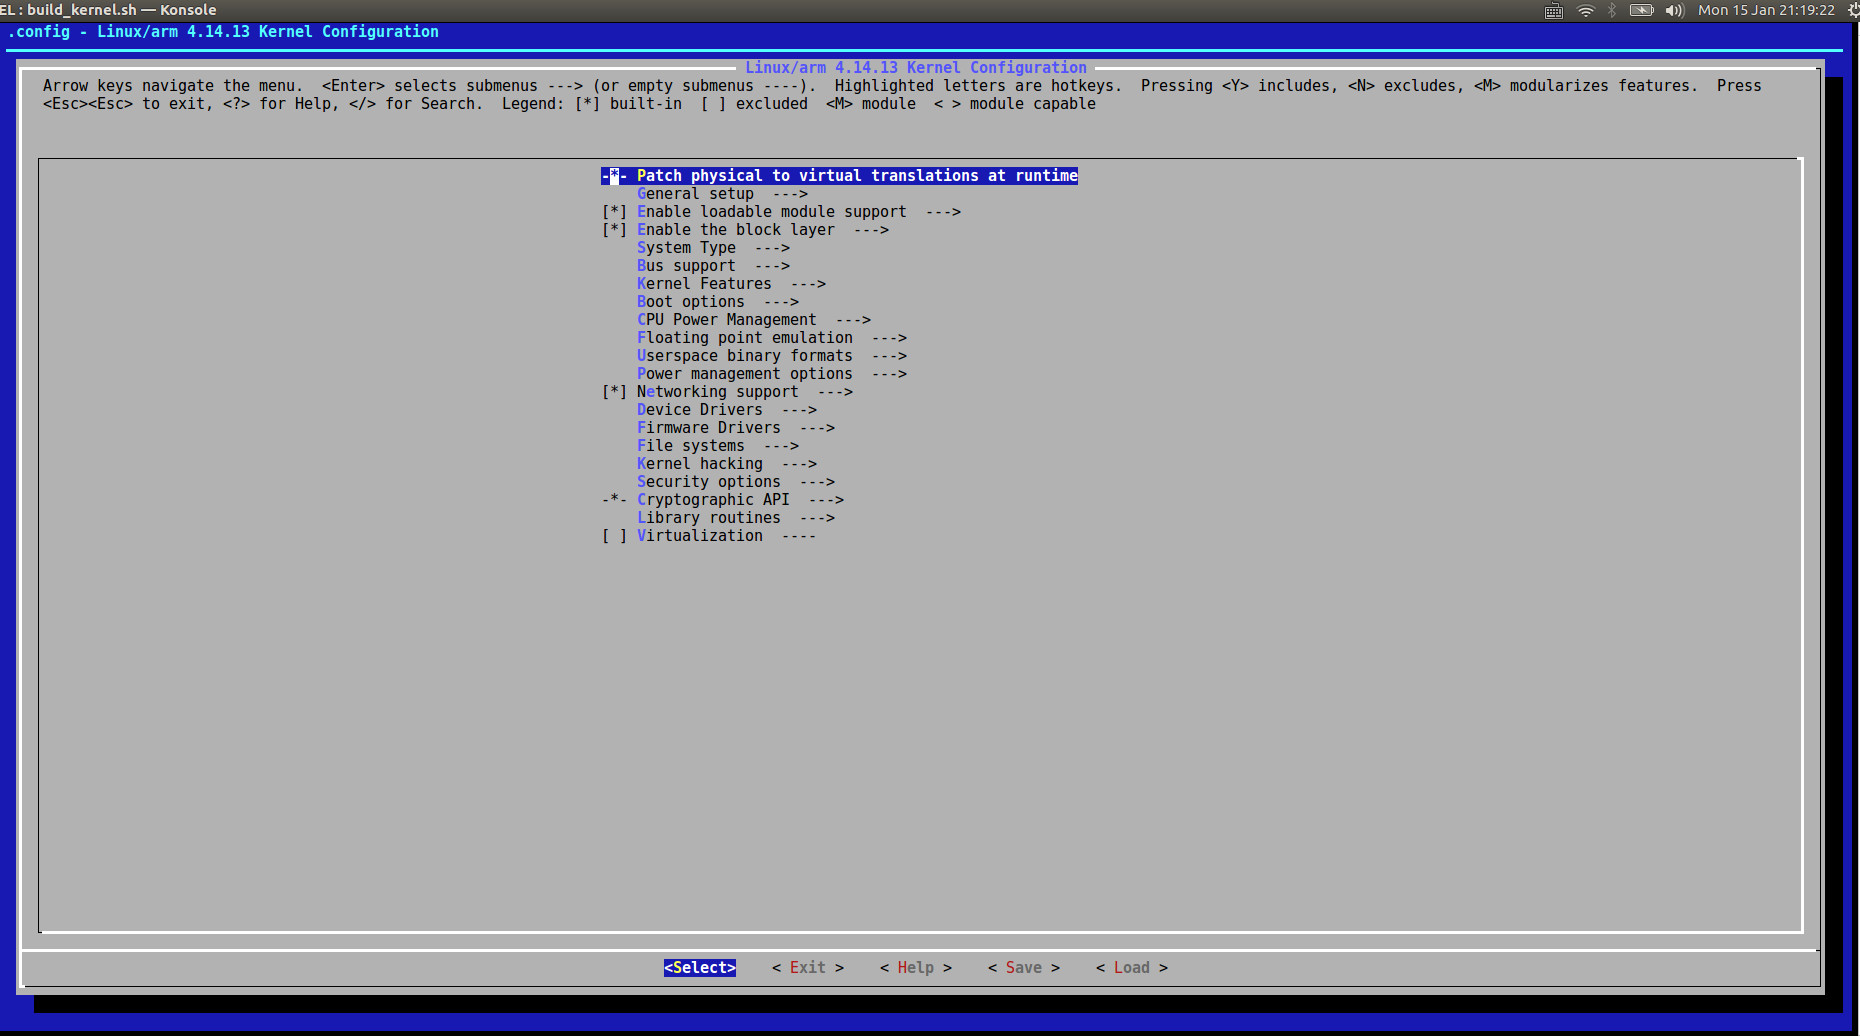
Exit right away without any modification. And you will see:
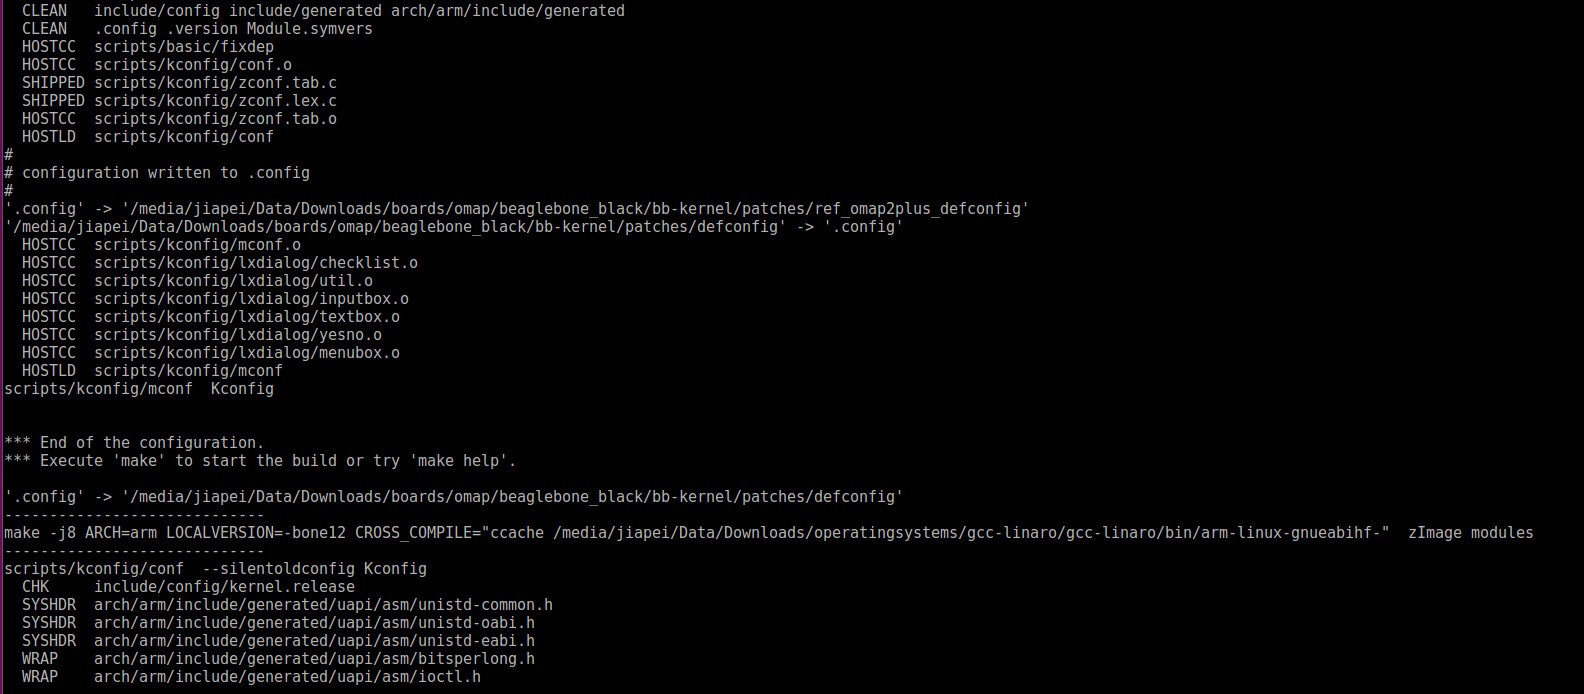
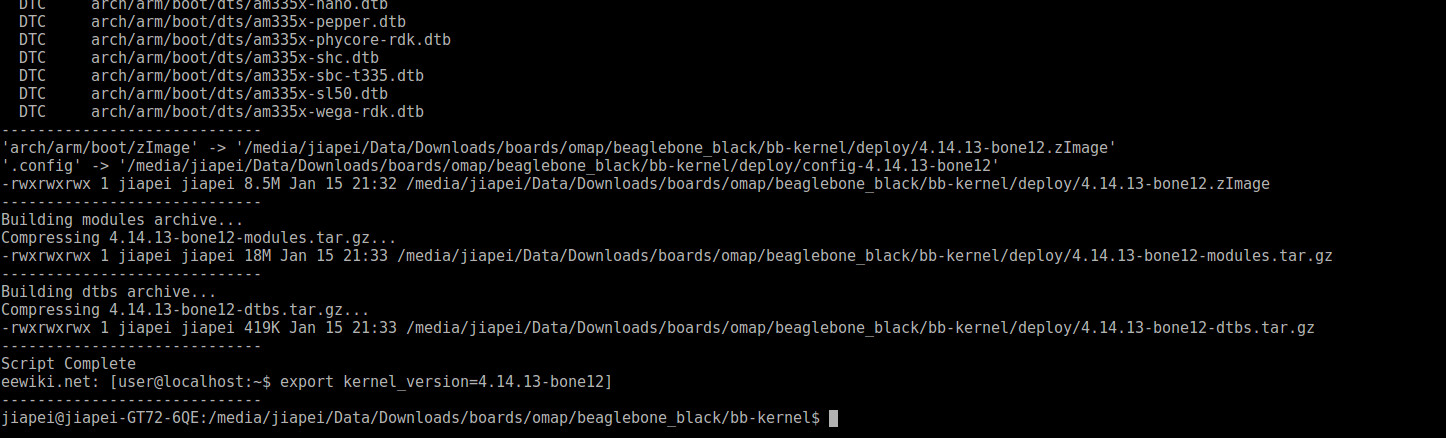
After a while, you will see Linux Kernel has been successfully built:
4. Root File System
We then install the latest Debian (for now, Debian 9.3) according to Robert Nelson’s minimal operating system. Three commands are to be executed in a row for downloading, verifying, and extraction.
1 | $ wget -c https://rcn-ee.com/rootfs/eewiki/minfs/debian-9.3-minimal-armhf-2017-12-09.tar.xz |
Until now, most components for booting have been downloaded and built. It is the time for us to flash our own OS onto a SD card.
PART B: Install the Linux OS onto SD Card
5. Setup microSD card
1) TF Card Preparation
We first check which block device that we are going to install our built system onto by command lsblk.
1 | $ lsblk |
We then define a MACRO DISK to specify the TF card device.
1 | $ export DISK=/dev/mmcblk0 |
Afterwards, erase partition table/labels on TF card by:
1 | $ sudo dd if=/dev/zero of=${DISK} bs=1M count=10 |
2) Bootloader installation
Now, we install the built U-Boot onto the SD card:
1 | $ sudo dd if=./u-boot/MLO of=${DISK} count=1 seek=1 bs=128k |
3) Partition Preparation
We FIRST make sure which version of sfdisk is. In my case, it is of version 2.27.1
1 | $ sudo sfdisk --version |
Then we create the partition layout by:
1 | $ sudo sfdisk ${DISK} <<-__EOF__ |
Afterwards, we need to format the created partition by mkfs.ext4. We also need to make sure which version of mkfs.ext4 is. In my case, it is of version 1.42.13.
1 | $ mkfs.ext4 -V |
Then, we format the partition by:
1 | $ sudo mkfs.ext4 -L rootfs ${DISK}p1 |
After formatting, the TF card should be able to be either automatically mounted or manually mounted by the following command:
1 | $ sudo mkdir -p /media/rootfs/ |
4) Backup Bootloader
1 | $ sudo mkdir -p /media/rootfs/opt/backup/uboot/ |
5) Dealing with old Bootloader in eMMC (Optional)
If the old bootloader in eMMC is to be kept, please copy the following file uEnv.txt to /media/rootfs/.
1 | ##This will work with: Angstrom's 2013.06.20 u-boot. |
1 | sudo cp -v ./uEnv.txt /media/rootfs/ |
6. Kernel Installation
1) Export MACRO kernel_version
Under the folder bb-kernel, a file named kernel_version was generated while building Linux kernel. In my case, I was building the NEWEST kernel 4.14.13-bone12. For convenience, we export a new MACRO kernel_version.
1 | $ cat kernel_version |
2) Extract Debian Root File System onto TF Card
1 | $ sudo tar xfvp ./debian-9.3-minimal-armhf-2017-12-09/armhf-rootfs-debian-stretch.tar -C /media/rootfs/ |
3) Set uname_r in /boot/uEnv.txt
1 | $ sudo sh -c "echo 'uname_r=${kernel_version}' >> /media/rootfs/boot/uEnv.txt" |
4) Copy Kernel Image
1 | $ sudo cp -v ./bb-kernel/deploy/${kernel_version}.zImage /media/rootfs/boot/vmlinuz-${kernel_version} |
5) Copy Kernel Device Tree Binaries
1 | $ sudo mkdir -p /media/rootfs/boot/dtbs/${kernel_version}/ |
6) Copy Kernel Modules
1 | $ sudo tar xfv ./bb-kernel/deploy/${kernel_version}-modules.tar.gz -C /media/rootfs/ |
7) Set File Systems Table (/etc/fstab)
1 | $ sudo sh -c "echo '/dev/mmcblk0p1 / auto errors=remount-ro 0 1' >> /media/rootfs/etc/fstab" |
8) Networking
To enable the Internet for the FIRST booting, we need to do the network configuration:
1 | $ sudo nano /media/rootfs/etc/network/interfaces |
Add the following content:
1 | auto lo |
In order to use a shared SD card with multiple BeagleBones, and always enable the Ethernet interface as eth0, we need to add a particular udev rule as:
1 | $ sudo nano /media/rootfs/etc/udev/rules.d/70-persistent-net.rules |
Add the following content:
1 | # BeagleBone: net device () |
9) Remove TF Card
1 | $ sync |
PART C: Configurations after Booting from the SD Card
Insert TF card into a Beaglebone Black, connect BBB with an Internet cable, and connect a Micro HDMI cable on demand. After the flashing of on-board LEDs, you should be able to find the IP address of BBB via your router. All our future jobs are to be done via ssh command through this IP address. My personal preference is to set a static IP address for this particularly BBB in the router settings.