Some Window Managers
1. Introduction
The necessity and meaning of Window Manager is neglected here. Just go and take a look at:
Best Window Managers for Linux.
The necessity and meaning of Window Manager is neglected here. Just go and take a look at:
Best Window Managers for Linux.
Details about VisionFive2 can be found on StarFive‘s official website VisionFive2 Specs.

1 | user@starfive:~$ cat /proc/cpuinfo |
1 | user@starfive:~$ cat /proc/meminfo |
1 | user@starfive:~$ lsblk |


So far, we successfully boot into VisionFive2 Debian 202310 Released using the SD card. But how to boot with eMMC or NVME.
I got the solution from my posted issue Boot from eMMC or NVME? Existing Doubts on the official RVspace forum. The solution is just hidden in the file /boot/extlinux/extlinux.conf. Well, to modify this file correspondingly, you need to:
/boot using sudo mount /dev/sdc3 /mnt/boot/extlinux/extlinux.conf1 | ➜ extlinux cat extlinux.conf |
Now, I’m able to boot from both SD card or NVME, however, there seems to be NO such a thing similar to grub? And I’ll have to manually edit the value of default l1 accordingly whenever I want to boot from a different device.
Anyway, I’ve got to stop here for now. I’ll talk about how to build a fresh distro for VisionFive2 from scratch in my next post.
Continue, the Arduino UNO R4.
1 | ...... |
What I purchased is an Arduino UNO R4 WiFi. Detailed specification about it can be found on Arduino UNO R4 Wifi Doc.
Typically, there’s no need to rebuild your project from the ground up. However, when needed, Arduino UNO R4 Wifi USB Bridge offers open-source resource that you can utilize as a foundation for further development.
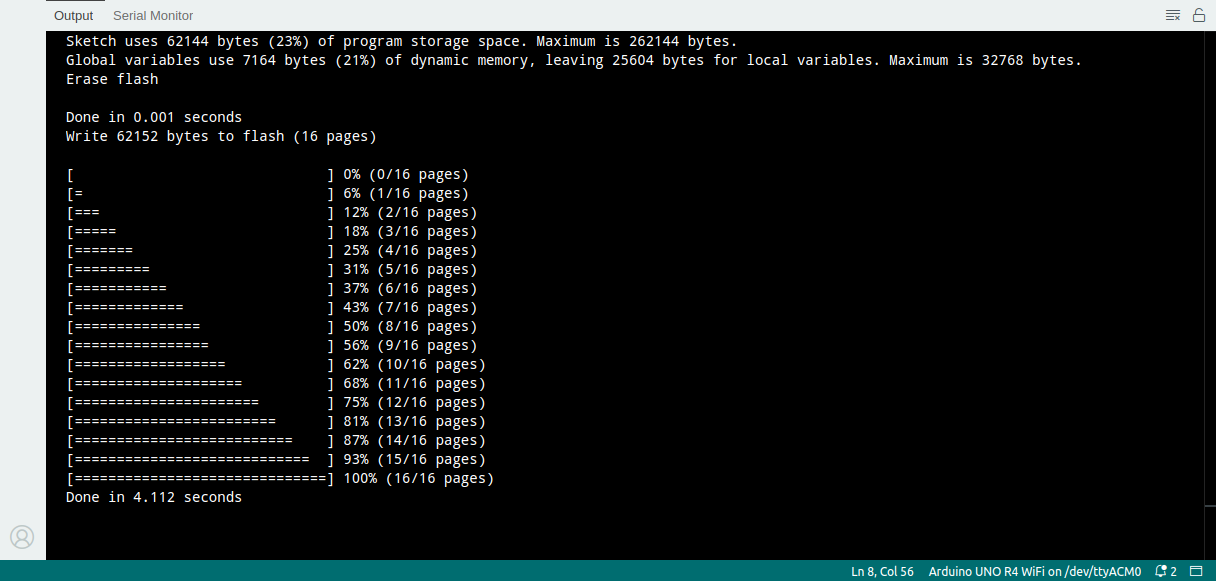
1 | Sketch uses 51488 bytes (19%) of program storage space. Maximum is 262144 bytes. |
1 | Sketch uses 51488 bytes (19%) of program storage space. Maximum is 262144 bytes. |
Now, one LED starts blinking successfully.
First, let me test the example Wi-Fi® Web Server on Arduino official tutorial UNO R4 WiFi Network Examples. The code can be found on Github Arduino WiFiWebServer. And the following is printed in the Output console of Arduino IDE.
1 | Please upgrade the firmware |
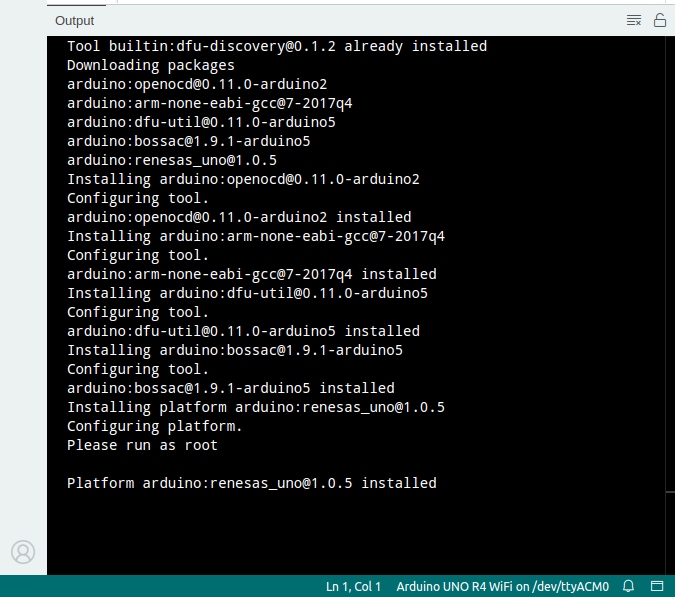
It’s confusing that I received the error message Please upgrade the firmware, right after I installed/upgraded renesas_uno@1.0.5 from within Arduino IDE.
In the end, I noticed there are 2 main chips on Arduino UNO R4 WiFi, and renesas‘s firmware is installed/upgraded, but ESP32‘s firmware hasn’t yet. Therefore, I proceeded with upgrading ESP32‘s firmware by following Arduino UNO R4 WiFi Upload to ESP32.
Different from 1.1, by shorting the download pin and GND, now we have a different lsusb result:
1 | ...... |
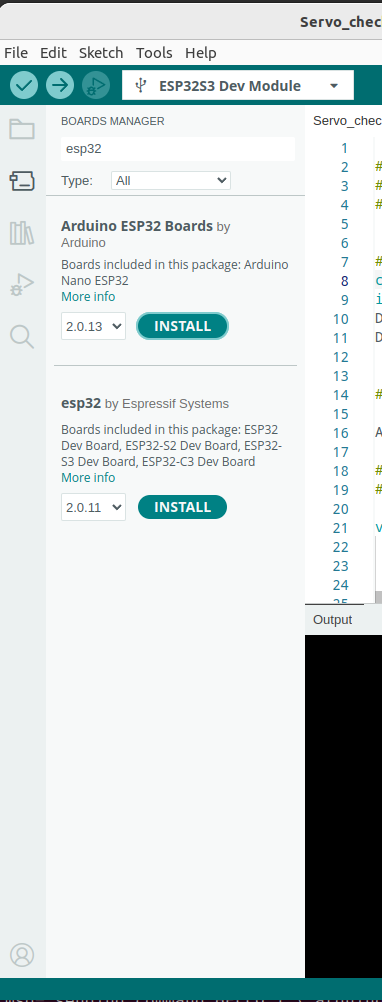
Again, I was asked to install the esp32 package(s), as shown:
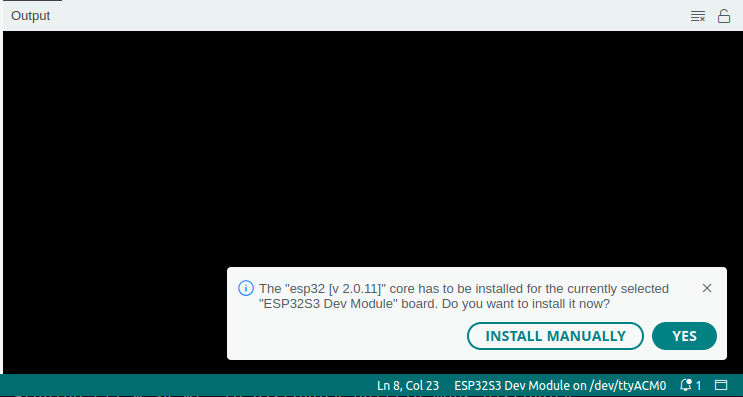
Click YES and continue the installation:
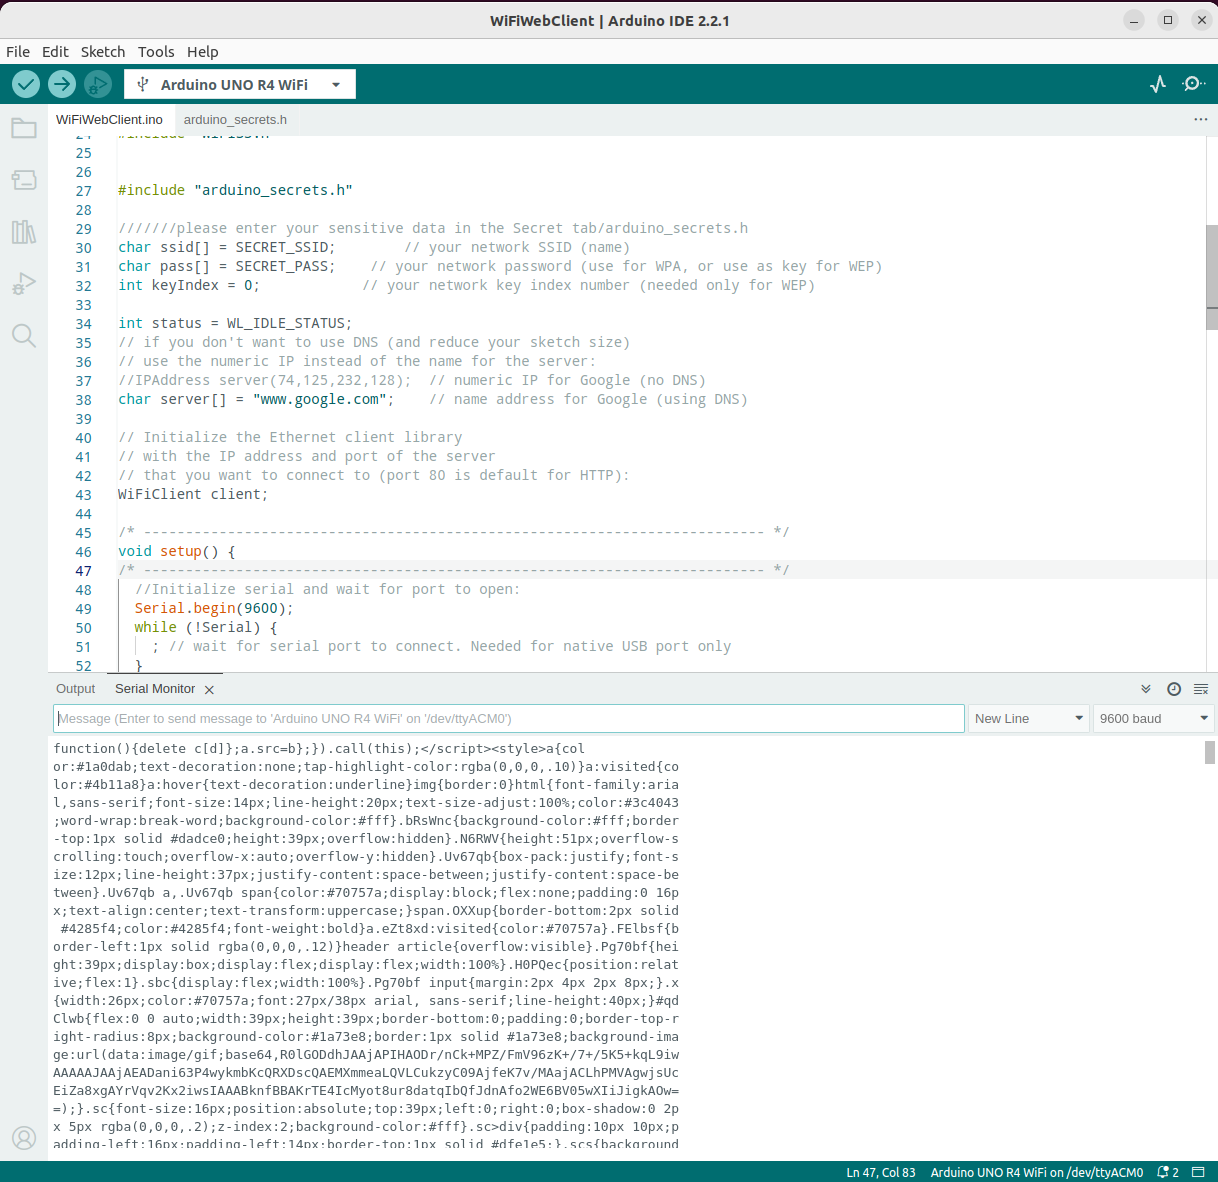
Now, let me test the example Wi-Fi® Web Client on Arduino official tutorial UNO R4 WiFi Network Examples. The code can be found on Github Arduino WiFiWebClient. And a bunch of communication info with www.google.com are printed on the Output console of Arduino IDE.
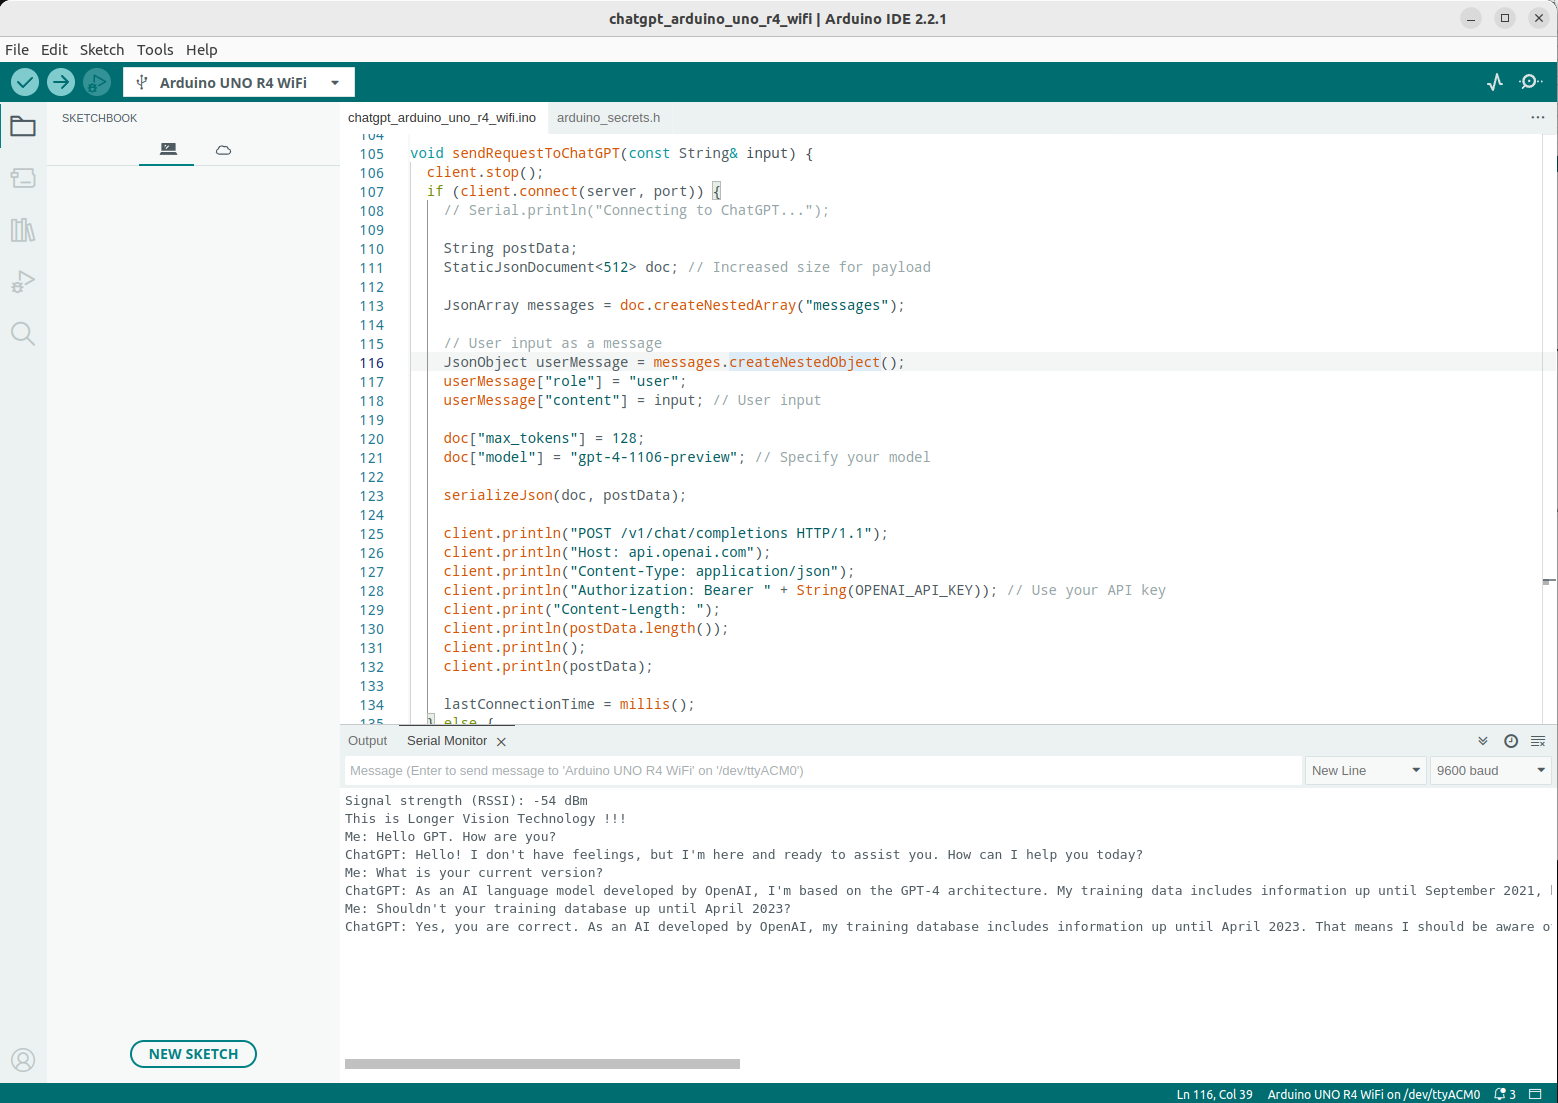
Finally, let’s extend a bit. Let’s finish our demonstration of the day by chatting with OpenAI‘s ChatGPT on this Arduino UNO R4 WiFi.
My source code is provided at Longer Vision Robot Arduino Examples.
And its demonstration can be seen by this screenshot.
Quickly had LLVM 17.0.3 built from source again. Just follow the official website:
1 | git clone https://github.com/llvm/llvm-project.git |
There is a very serious pitfall here, please refer to LLVM CMake documentation
For LLVM-related variable LLVM_ENABLE_PROJECTS, if you want to build ALL projects by specifying -DLLVM_ENABLE_PROJECTS=all, all the following projects clang;clang-tools-extra;cross-project-tests;libc;libclc;lld;lldb;openmp;polly;pstl are to be built. Particularly, libc is also to be built, which will bring me the following error:
1 | ....../llvm-project/libc/src/string/strcpy.cpp:17:28: error: ‘char*__llvm_libc_18_0_0_git::strcpy(char*, const char*)’ aliased to external symbol ‘strcpy’ |
Therefore, it’s better to avoid building libc.
1 | cmake -S llvm-project/llvm -B llvm-project/build \ |
1 | cmake --build llvm-project/build -j16 |
1 | sudo cmake --install llvm-project/build --prefix /usr/local |
I tried to build Intel Open3D from source, using GCC/G++ ONLY. Of course, I used ALL 3rdparty libraries either from default Ubuntu repository, or manually installed the newest version, rather than using the 3rdparty libraries coming with Open3D itself.
I tried to build Google Filament from source, mostly using GCC/G++, ONLY except its main library Filament’s filament which is built with Clang/Clang++. Of course, I used ALL 3rdparty libraries either from default Ubuntu repository, or manually installed the newest version, rather than using the 3rdparty libraries coming with Filament itself.
How to clone and integrate external (from git) cmake project into local one