0%

Camera Posture Estimation Using Circle Grid Pattern

Preparation

A widely used asymmetric circle grid pattern can be found in doc of OpenCV 2.4. Same as previous blogs, the camera needs to be calibrated beforehand. For this asymmetric circle grid example, a sequence of images (instead of a video stream) is tested.

Coding

The code can be found at OpenCV Examples.

First of all

We need to ensure cv2.so is under our system path. cv2.so is specifically for OpenCV Python.

1
2
import sys
sys.path.append('/usr/local/python/3.5')

Then, we import some packages to be used (NO ArUco).

1
2
3
import os
import cv2
import numpy as np

Secondly

We now load all camera calibration parameters, including: cameraMatrix, distCoeffs, etc. For example, your code might look like the following:

1
2
3
4
calibrationFile = "calibrationFileName.xml"
calibrationParams = cv2.FileStorage(calibrationFile, cv2.FILE_STORAGE_READ)
camera_matrix = calibrationParams.getNode("cameraMatrix").mat()
dist_coeffs = calibrationParams.getNode("distCoeffs").mat()

Since we are testing a calibrated fisheye camera, two extra parameters are to be loaded from the calibration file.

1
2
r = calibrationParams.getNode("R").mat()
new_camera_matrix = calibrationParams.getNode("newCameraMatrix").mat()

Afterwards, two mapping matrices are pre-calculated by calling function cv2.fisheye.initUndistortRectifyMap() as (supposing the images to be processed are of 1080P):

1
2
image_size = (1920, 1080)
map1, map2 = cv2.fisheye.initUndistortRectifyMap(camera_matrix, dist_coeffs, r, new_camera_matrix, image_size, cv2.CV_16SC2)

Thirdly

The circle pattern is to be loaded.

asymmetric_circle_grid

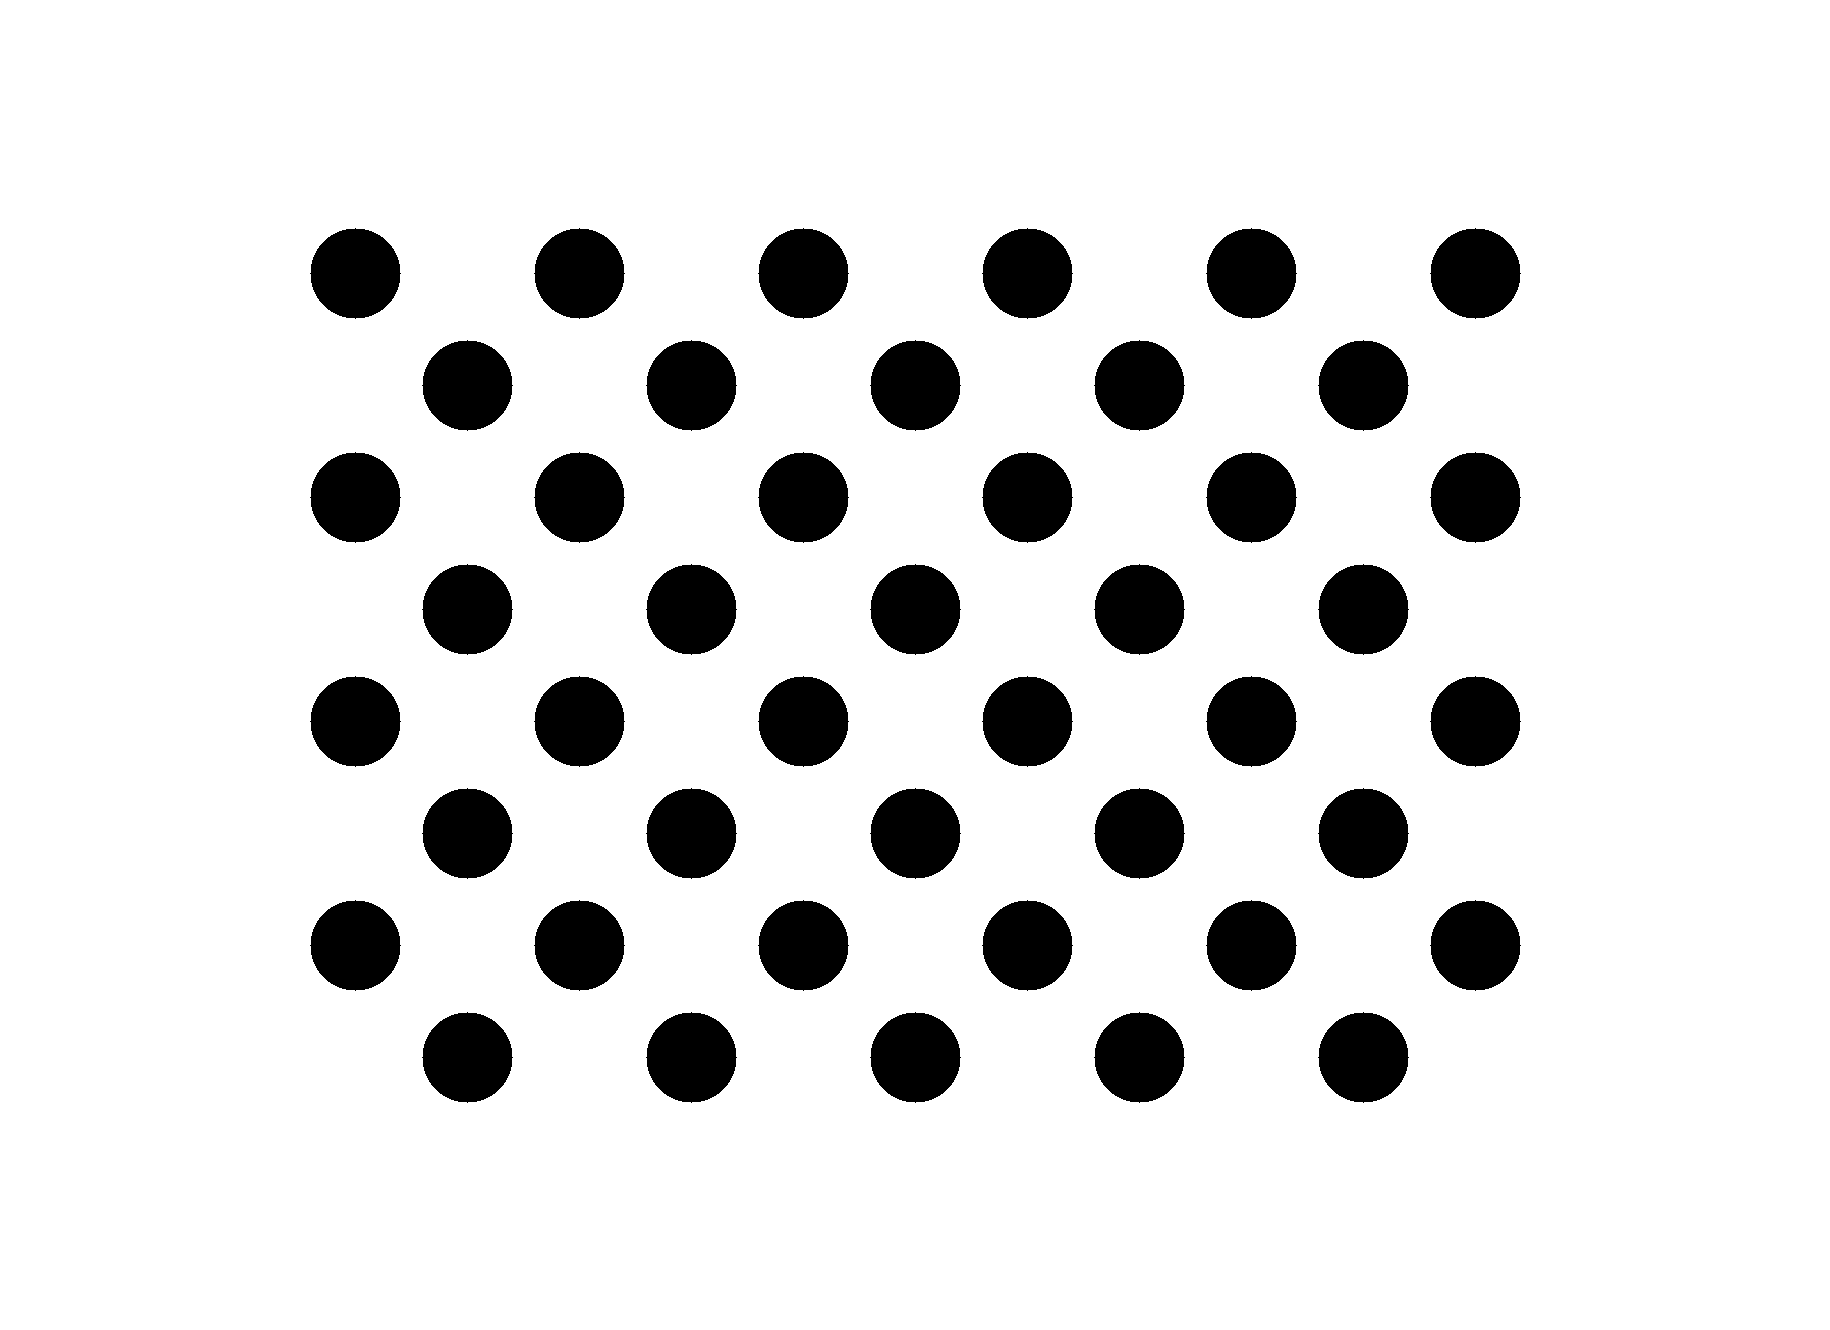
Here in our case, this asymmetric circle grid pattern is manually loaded as follows:

1
2
3
4
5
6
7
8
9
10
11
12
13
14
15
16
17
18
19
20
21
22
23
24
25
26
27
28
29
30
31
32
33
34
35
36
37
38
39
40
41
42
43
44
45
46
# Original blob coordinates
objectPoints = np.zeros((44, 3)) # In this asymmetric circle grid, 44 circles are adopted.
objectPoints[0] = (0 , 0 , 0)
objectPoints[1] = (0 , 72 , 0)
objectPoints[2] = (0 , 144, 0)
objectPoints[3] = (0 , 216, 0)
objectPoints[4] = (36 , 36 , 0)
objectPoints[5] = (36 , 108, 0)
objectPoints[6] = (36 , 180, 0)
objectPoints[7] = (36 , 252, 0)
objectPoints[8] = (72 , 0 , 0)
objectPoints[9] = (72 , 72 , 0)
objectPoints[10] = (72 , 144, 0)
objectPoints[11] = (72 , 216, 0)
objectPoints[12] = (108, 36, 0)
objectPoints[13] = (108, 108, 0)
objectPoints[14] = (108, 180, 0)
objectPoints[15] = (108, 252, 0)
objectPoints[16] = (144, 0 , 0)
objectPoints[17] = (144, 72 , 0)
objectPoints[18] = (144, 144, 0)
objectPoints[19] = (144, 216, 0)
objectPoints[20] = (180, 36 , 0)
objectPoints[21] = (180, 108, 0)
objectPoints[22] = (180, 180, 0)
objectPoints[23] = (180, 252, 0)
objectPoints[24] = (216, 0 , 0)
objectPoints[25] = (216, 72 , 0)
objectPoints[26] = (216, 144, 0)
objectPoints[27] = (216, 216, 0)
objectPoints[28] = (252, 36 , 0)
objectPoints[29] = (252, 108, 0)
objectPoints[30] = (252, 180, 0)
objectPoints[31] = (252, 252, 0)
objectPoints[32] = (288, 0 , 0)
objectPoints[33] = (288, 72 , 0)
objectPoints[34] = (288, 144, 0)
objectPoints[35] = (288, 216, 0)
objectPoints[36] = (324, 36 , 0)
objectPoints[37] = (324, 108, 0)
objectPoints[38] = (324, 180, 0)
objectPoints[39] = (324, 252, 0)
objectPoints[40] = (360, 0 , 0)
objectPoints[41] = (360, 72 , 0)
objectPoints[42] = (360, 144, 0)
objectPoints[43] = (360, 216, 0)

In our case, the distance between two neighbour circle centres (in the same column) is measured as 72 centimetres. Meanwhile, the axis at the origin is loaded as well, with respective length 300, 200, 100 centimetres.

1
axis = np.float32([[360,0,0], [0,240,0], [0,0,-120]]).reshape(-1,3)

Fourthly

Since we are going to use OpenCV’s SimpleBlobDetector for the blob detection, the SimpleBlobDetector’s parameters are to be created beforehand. The parameter values can be adjusted according to your own testing environments. The iteration criteria for the simple blob detection is also created at the same time.

1
2
3
4
5
6
7
8
9
10
11
12
13
14
15
16
17
18
19
20
21
22
23
24
25
26
27
28
29
30
# Setup SimpleBlobDetector parameters.
blobParams = cv2.SimpleBlobDetector_Params()

# Change thresholds
blobParams.minThreshold = 8
blobParams.maxThreshold = 255

# Filter by Area.
blobParams.filterByArea = True
blobParams.minArea = 64 # minArea may be adjusted to suit for your experiment
blobParams.maxArea = 2500 # maxArea may be adjusted to suit for your experiment

# Filter by Circularity
blobParams.filterByCircularity = True
blobParams.minCircularity = 0.1

# Filter by Convexity
blobParams.filterByConvexity = True
blobParams.minConvexity = 0.87

# Filter by Inertia
blobParams.filterByInertia = True
blobParams.minInertiaRatio = 0.01

# Create a detector with the parameters
blobDetector = cv2.SimpleBlobDetector_create(blobParams)

# Create the iteration criteria
criteria = (cv2.TERM_CRITERIA_EPS + cv2.TERM_CRITERIA_MAX_ITER, 30, 0.001)
###################################################################################################

Finally

Estimate camera postures. Here, we are testing a sequence of images, rather than video streams. We first list all file names in sequence.

1
2
3
imgDir = "imgSequence"  # Specify the image directory
imgFileNames = [os.path.join(imgDir, fn) for fn in next(os.walk(imgDir))[2]]
nbOfImgs = len(imgFileNames)

Then, we calculate the camera posture frame by frame:

1
2
3
4
5
6
7
8
9
10
11
12
13
14
15
16
17
18
19
20
21
22
23
24
25
26
27
28
29
30
31
32
33
34
35
36
for i in range(0, nbOfImgs-1):
img = cv2.imread(imgFileNames[i], cv2.IMREAD_COLOR)
imgRemapped = cv2.remap(img, map1, map2, cv2.INTER_LINEAR, cv2.BORDER_CONSTANT) # for fisheye remapping
imgRemapped_gray = cv2.cvtColor(imgRemapped, cv2.COLOR_BGR2GRAY) # blobDetector.detect() requires gray image

keypoints = blobDetector.detect(imgRemapped_gray) # Detect blobs.

# Draw detected blobs as red circles. This helps cv2.findCirclesGrid() .
im_with_keypoints = cv2.drawKeypoints(imgRemapped, keypoints, np.array([]), (0,255,0), cv2.DRAW_MATCHES_FLAGS_DRAW_RICH_KEYPOINTS)
im_with_keypoints_gray = cv2.cvtColor(im_with_keypoints, cv2.COLOR_BGR2GRAY)
ret, corners = cv2.findCirclesGrid(im_with_keypoints, (4,11), None, flags = cv2.CALIB_CB_ASYMMETRIC_GRID) # Find the circle grid

if ret == True:
corners2 = cv2.cornerSubPix(im_with_keypoints_gray, corners, (11,11), (-1,-1), criteria) # Refines the corner locations.

# Draw and display the corners.
im_with_keypoints = cv2.drawChessboardCorners(imLeftRemapped, (4,11), corners2, ret)

# 3D posture
if len(corners2) == len(objectPoints):
retval, rvec, tvec = cv2.solvePnP(objectPoints, corners2, camera_matrix, dist_coeffs)

if retval:
projectedPoints, jac = cv2.projectPoints(objectPoints, rvec, tvec, camera_matrix, dist_coeffs) # project 3D points to image plane
projectedAxis, jacAsix = cv2.projectPoints(axis, rvec, tvec, camera_matrix, dist_coeffs) # project axis to image plane
for p in projectedPoints:
p = np.int32(p).reshape(-1,2)
cv2.circle(im_with_keypoints, (p[0][0], p[0][1]), 3, (0,0,255))
origin = tuple(corners2[0].ravel())
im_with_keypoints = cv2.line(im_with_keypoints, origin, tuple(projectedAxis[0].ravel()), (255,0,0), 2)
im_with_keypoints = cv2.line(im_with_keypoints, origin, tuple(projectedAxis[1].ravel()), (0,255,0), 2)
im_with_keypoints = cv2.line(im_with_keypoints, origin, tuple(projectedAxis[2].ravel()), (0,0,255), 2)

cv2.imshow("circlegrid", im_with_keypoints) # display

cv2.waitKey(2)

The drawn axis is just the world coordinators and orientations estimated from the images taken by the testing camera.