Today is sunny. ^_^… Let’s write something about MicroPython PyBoard. In my test, I’m using a PyBv1.1, which embeddes a STM32F405RG microcontroller.
Overview
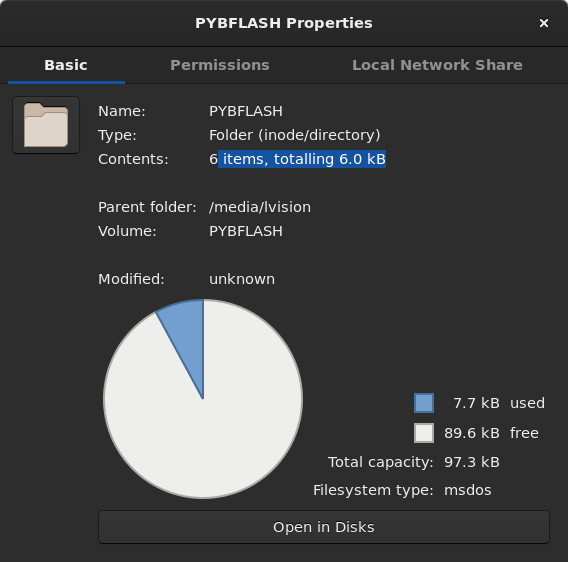
1. Contents In PyBoard
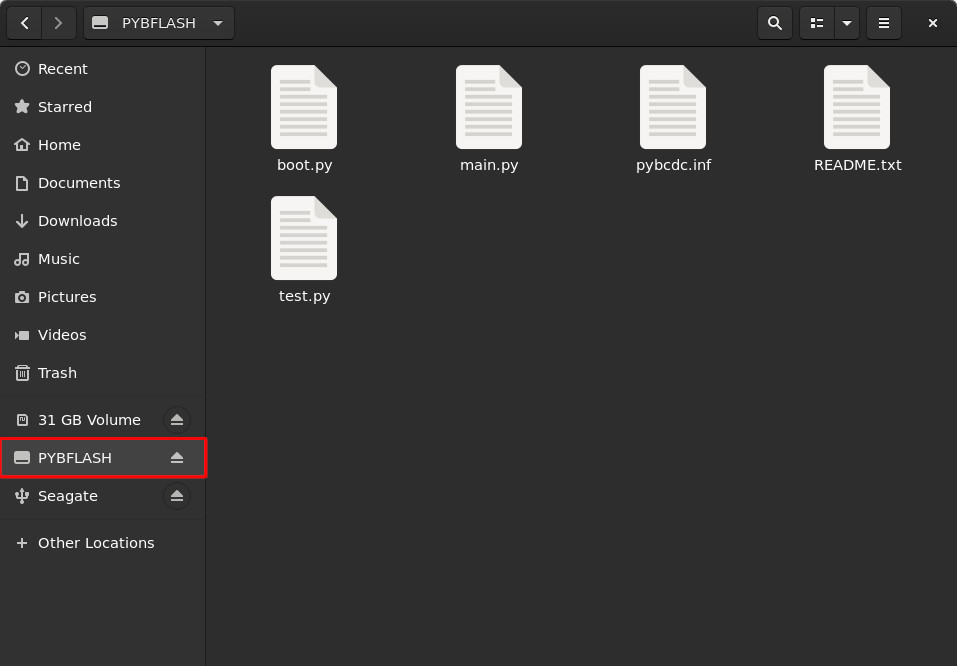
After connecting PyBv1.1 via USB cable, you will possibly see a folder prompt on the screen as follows:


2. Test Out picocom
1 | ➜ ~ picocom /dev/ttyACM0 |
It looks we need to change the permission of /dev/ttyACM0.
1 | ➜ ~ ll /dev/ttyACM0 |
Reconnect…
1 | ➜ ~ picocom /dev/ttyACM0 |
Press Ctrl+A then Ctrl+x, picocom will terminate its execution.
1 | >> |
3. Test Out screen
1 | ➜ ~ screen /dev/ttyACM0 |
Then you will see a micropython working console as:
1 | 1+1 |
It looks there is NO prompt after login via screen. That’s why I did 1+1 as a test whenever logging in by screen.
Now, let’s press Ctrl+A then Ctrl+d to quit screen.
1 | ➜ ~ screen /dev/ttyACM0 |
4. VERY Important
The code typed in the working console from either picocom or screen is corresponding to main.py in PYBFLASH.
Test
1. LED and Switch
The code is directly copied from MicroPython’s homepage.
1 | import pyb |
Press the USR switch and take a look what’s going on? ^_^ Interesting, isn’t it?
2. Log of Accelerometer’s Readings
Let’s try out MicroPython’s Example Code : Accelerometer Log with trivial modification.
1 | # log the accelerometer values to a .csv-file on the SD-card |
Just press the RST switch, the above piece of code will automatically run once, and the onboard accelerator’s reading will be logged in file log.csv. In my test, 100 readings are logged as:
1 | 156,-10,-14,13 |
Flash Micropython Onto Pyboard
1. Checkout Micropython Source Code
Let’s FIRST download the NEWEST micropython release. In my case, the MOST up-to-date release is 1.11. (Do NOT use the git version from https://github.com/micropython/micropython.git ).
2. Build Micropython For PYBV11
We’ll strictly follow ports/stm32/README.md to build Micropython.
1 | ➜ micropython-1.11 make -C mpy-cross |
Then we enter subfolder ports/stm32. for further building.
1 | ➜ micropython-1.11 cd ports/stm32 |
3. Load MicroPython on a Microcontroller Board
The above ERROR message is telling that our board is NOT in the DFU mode yet. Therefore, according to the blog
How to Load MicroPython on a Microcontroller Board, we need to make sure P1 (DFU) and 3V3 pin are connected together before flashing.
Note: Before connecting P1 (DFU) and 3V3 pin, make sure power is disconnected from the pyboard.
Now, let’s try it again:
1 | ➜ stm32 make BOARD=PYBV11 deploy |
Let’s try picocom connection again:
1 | ➜ stm32 picocom /dev/ttyACM0 |
Flash Official MicroPython Firmware Using dfu-util
According to the Pyboard Firmware Update Wiki, we may also use dfu-util to flash the board.
1. Shortcut Pin dfu and 3.3V

2. lsusb
1 | ➜ ~ lsusb |
3. Use dfu-util
After shortcutting pin dfu and 3.3v:
1 | ➜ MicroPython sudo dfu-util -l |
Otherwise, sudo dfu-util -l will display ONLY:
1 | ➜ MicroPython sudo dfu-util -l |
4. Flash
1 | ➜ MicroPython sudo dfu-util --alt 0 -D PYBV11-20250415-v1.25.0.dfu |
Bingo.