Therefore, it looks the simplest solution is to just download OpenMV IDE from https://openmv.io/pages/download. However, to run the installed openmvide only brought me the following ERROR messages.
1
2
3
4
5
6
7
➜  openmv ./openmv-ide-linux-x86_64-2.2.0.run
This application failed to start because it could not find or load the Qt platform plugin "xcb"
in "".

Available platform plugins are: eglfs, linuxfb, minimal, minimalegl, offscreen, xcb.

Reinstalling the application may fix this problem.
Test OpenMV
In the following, we ONLY use picocom to carry out the test.
port is : /dev/ttyACM0 flowcontrol : none baudrate is : 9600 parity is : none databits are : 8 stopbits are : 1 escape is : C-a local echo is : no noinit is : no noreset is : no hangup is : no nolock is : no send_cmd is : sz -vv receive_cmd is : rz -vv -E imap is : omap is : emap is : crcrlf,delbs, logfile is : none initstring : none exit_after is : not set exit is : no
Type [C-a] [C-h] to see available commands Terminal ready MicroPython v1.9.3-4922-ge0f81c867 on 2018-04-23; OPENMV2 with STM32F427 Type "help()" for more information. >>>
Press Ctrl+A then Ctrl+x, picocom will terminate its execution.
port is : /dev/ttyACM0 flowcontrol : none baudrate is : 9600 parity is : none databits are : 8 stopbits are : 1 escape is : C-a local echo is : no noinit is : no noreset is : no hangup is : no nolock is : no send_cmd is : sz -vv receive_cmd is : rz -vv -E imap is : omap is : emap is : crcrlf,delbs, logfile is : none initstring : none exit_after is : not set exit is : no
Type [C-a] [C-h] to see available commands Terminal ready MicroPython v1.9.4-4510-g23e8457de on 2018-06-29; OPENMV3 with STM32F765 Type "help()" for more information. >>> Terminating... Thanks for using picocom ➜ ~
Flash OpenMV Firmware Onto OpenMV Board
1. Entering DFU Mode
Similar to what’s discussed in our previous blog, we need to enter DFU mode before flashing.
Disconnect the power for OpenMV board FIRST
Connect BOOT pin and RST pin afterwards
Then, reconnect the USB cable for flashing.
Before entering DFU mode:
1 2 3 4
➜ ~ lsusb ... Bus 001 Device 027: ID 1209:abd1 InterBiometrics ...
After entering DFU mode:
1
2
3
4
➜ ~ lsusb ... Bus 001 Device 028: ID 0483:df11 STMicroelectronics STM Device in DFU Mode ...
2. Flashing OpenMV’s Firmware
Checkout the NEWESTOpenMV. Find the corrensponding version of OpenMV board, flash it by command python pydfu.py -u <firmware.dfu>.
1) OpenMV Cam M4 V2 (OPENMV2 with STM32F427)
1 2 3 4 5 6 7 8 9 10 11
➜ openmv git:(master) python ./tools/pydfu.py -u firmware/OPENMV2/firmware.dfu ./tools/pydfu.py:80: DeprecationWarning: inspect.getargspec() is deprecated since Python 3.0, use inspect.signature() or inspect.getfullargspec() if 'length' in inspect.getargspec(usb.util.get_string).args: File: firmware/OPENMV2/firmware.dfu b'DfuSe' v1, image size: 834757, targets: 1 b'Target' 0, alt setting: 0, name: "ST...", size: 834472, elements: 1 0, address: 0x08010000, size: 834464 usb: 0483:df11, device: 0x0000, dfu: 0x011a, b'UFD', 16, 0x9dfe8e73 Writing memory... 0x08010000 834464 [=========================] 100% Exiting DFU...
port is : /dev/ttyACM0 flowcontrol : none baudrate is : 9600 parity is : none databits are : 8 stopbits are : 1 escape is : C-a local echo is : no noinit is : no noreset is : no hangup is : no nolock is : no send_cmd is : sz -vv receive_cmd is : rz -vv -E imap is : omap is : emap is : crcrlf,delbs, logfile is : none initstring : none exit_after is : not set exit is : no
Type [C-a] [C-h] to see available commands Terminal ready 6792 18.86792 18.86792 18.86792 18.86792 18.86792 18.86792 ...... Traceback (most recent call last): File "/main.py", line 51, in <module> KeyboardInterrupt: MicroPython v1.9.4-4553-gb4eccdfe3 on 2019-05-02; OPENMV2 with STM32F427 Type "help()" for more information. >>> Terminating... Thanks for using picocom
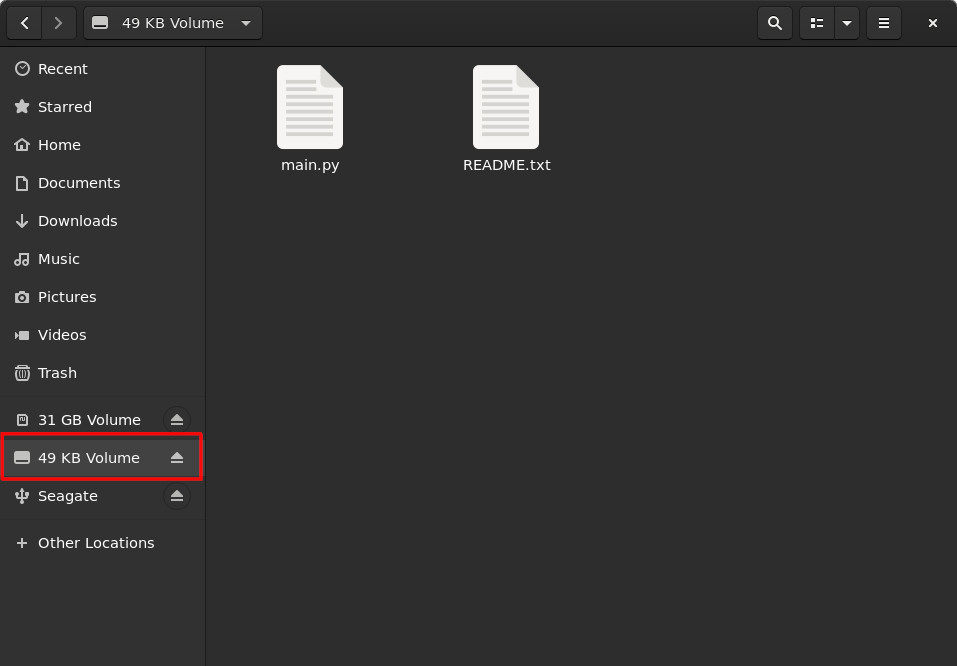
Check file main.py, which starts running automatically while testing with picocom.
# Face Detection Example # # This example shows off the built-in face detection feature of the OpenMV Cam. # # Face detection works by using the Haar Cascade feature detector on an image. A # Haar Cascade is a series of simple area contrasts checks. For the built-in # frontalface detector there are 25 stages of checks with each stage having # hundreds of checks a piece. Haar Cascades run fast because later stages are # only evaluated if previous stages pass. Additionally, your OpenMV Cam uses # a data structure called the integral image to quickly execute each area # contrast check in constant time (the reason for feature detection being # grayscale only is because of the space requirment for the integral image).
import sensor, time, image
# Reset sensor sensor.reset()
# Sensor settings sensor.set_contrast(1) sensor.set_gainceiling(16) # HQVGA and GRAYSCALE are the best for face tracking. sensor.set_framesize(sensor.HQVGA) sensor.set_pixformat(sensor.GRAYSCALE)
# Load Haar Cascade # By default this will use all stages, lower satges is faster but less accurate. face_cascade = image.HaarCascade("frontalface", stages=25) print(face_cascade)
# FPS clock clock = time.clock()
while (True): clock.tick()
# Capture snapshot img = sensor.snapshot()
# Find objects. # Note: Lower scale factor scales-down the image more and detects smaller objects. # Higher threshold results in a higher detection rate, with more false positives. objects = img.find_features(face_cascade, threshold=0.75, scale_factor=1.25)
# Draw objects for r in objects: img.draw_rectangle(r)
# Print FPS. # Note: Actual FPS is higher, streaming the FB makes it slower. print(clock.fps())
2) OpenMV Cam M7 (OPENMV3 with STM32F765)
1
2
3
4
5
6
7
8
9
10
11
➜  openmv git:(master) python ./tools/pydfu.py -u firmware/OPENMV3/firmware.dfu
./tools/pydfu.py:80: DeprecationWarning: inspect.getargspec() is deprecated since Python 3.0, use inspect.signature() or inspect.getfullargspec()
  if 'length' in inspect.getargspec(usb.util.get_string).args:
File: firmware/OPENMV3/firmware.dfu
    b'DfuSe' v1, image size: 1297173, targets: 1
    b'Target' 0, alt setting: 0, name: "ST...", size: 1296888, elements: 1
      0, address: 0x08020000, size: 1296880
    usb: 0483:df11, device: 0x0000, dfu: 0x011a, b'UFD', 16, 0xeff0bf62
Writing memory...
0x08020000 1296880 [=========================] 100%
Exiting DFU...
port is : /dev/ttyACM0 flowcontrol : none baudrate is : 9600 parity is : none databits are : 8 stopbits are : 1 escape is : C-a local echo is : no noinit is : no noreset is : no hangup is : no nolock is : no send_cmd is : sz -vv receive_cmd is : rz -vv -E imap is : omap is : emap is : crcrlf,delbs, logfile is : none initstring : none exit_after is : not set exit is : no
Type [C-a] [C-h] to see available commands Terminal ready MicroPython v1.9.4-4553-gb4eccdfe3 on 2019-05-02; OPENMV3 with STM32F765 Type "help()" for more information. >>> Terminating... Thanks for using picocom ➜ openmv git:(master)
As you can see, firmware has NOW been updated to MicroPython v1.9.4-4553-gb4eccdfe3 on 2019-05-02.
# Snapshot Example # # Note: You will need an SD card to run this example. # # You can use your OpenMV Cam to save image files.
import sensor, image, pyb
RED_LED_PIN = 1 BLUE_LED_PIN = 3
sensor.reset() # Initialize the camera sensor. sensor.set_pixformat(sensor.RGB565) # or sensor.GRAYSCALE sensor.set_framesize(sensor.QVGA) # or sensor.QQVGA (or others) sensor.skip_frames(time = 2000) # Let new settings take affect.
pyb.LED(RED_LED_PIN).on() sensor.skip_frames(time = 2000) # Give the user time to get ready.
# MJPEG Video Recording Example # # Note: You will need an SD card to run this demo. # # You can use your OpenMV Cam to record mjpeg files. You can either feed the # recorder object JPEG frames or RGB565/Grayscale frames. Once you've finished # recording a Mjpeg file you can use VLC to play it. If you are on Ubuntu then # the built-in video player will work too.
import sensor, image, time, mjpeg, pyb
RED_LED_PIN = 1 BLUE_LED_PIN = 3
sensor.reset() # Initialize the camera sensor. sensor.set_pixformat(sensor.RGB565) # or sensor.GRAYSCALE sensor.set_framesize(sensor.QVGA) # or sensor.QQVGA (or others) sensor.skip_frames(time = 2000) # Let new settings take affect. clock = time.clock() # Tracks FPS.
pyb.LED(RED_LED_PIN).on() sensor.skip_frames(time = 2000) # Give the user time to get ready.