1. Preface
My ESP32-Cam has finally arrived today. The brand of AI Thinker has been demonstrated to be reliable.
In fact, I strictly followed randomnerdtutorials‘s blog ESP32-CAM Video Streaming and Face Recognition with Arduino IDE to demonstrate this low-cost video surveillance camera. So, in this blog, I ONLY enumerate some KEY POINTS that should be emphasized.
2. Connection
2.1 Schematic
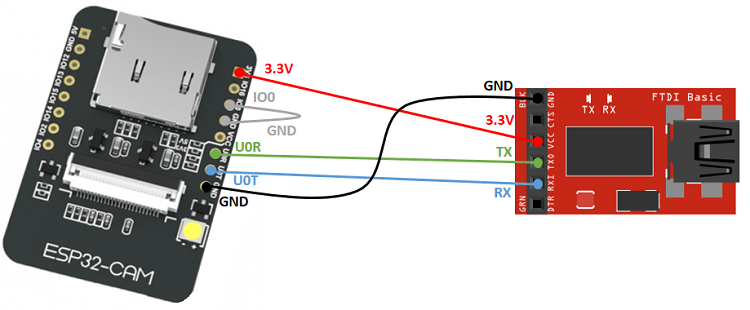
ESP32-Cam can be connected to my laptop exactly the same as shown (cited directly from ESP32-CAM Video Streaming and Face Recognition with Arduino IDE).
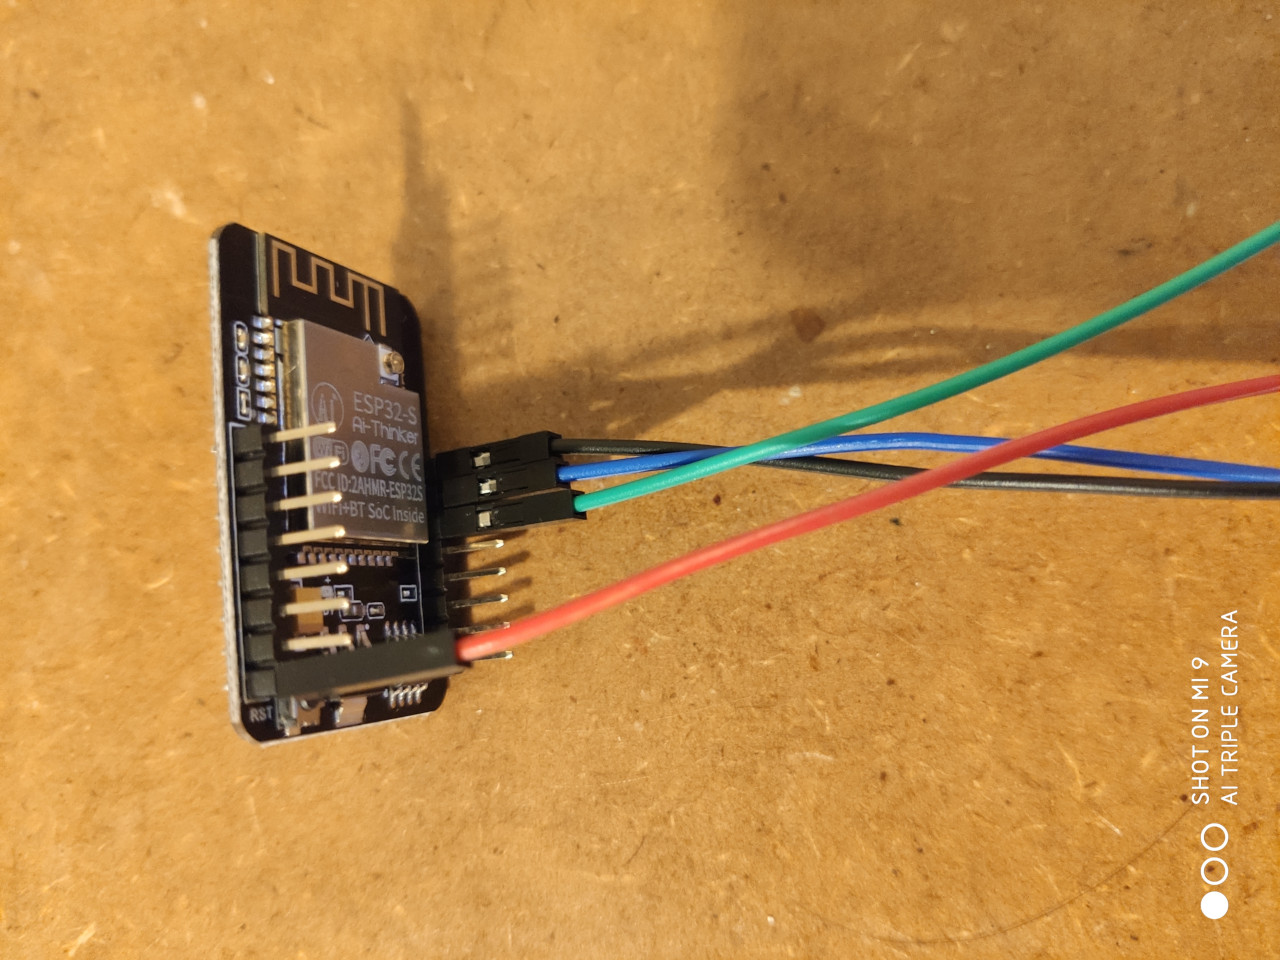
2.2 Real Connection
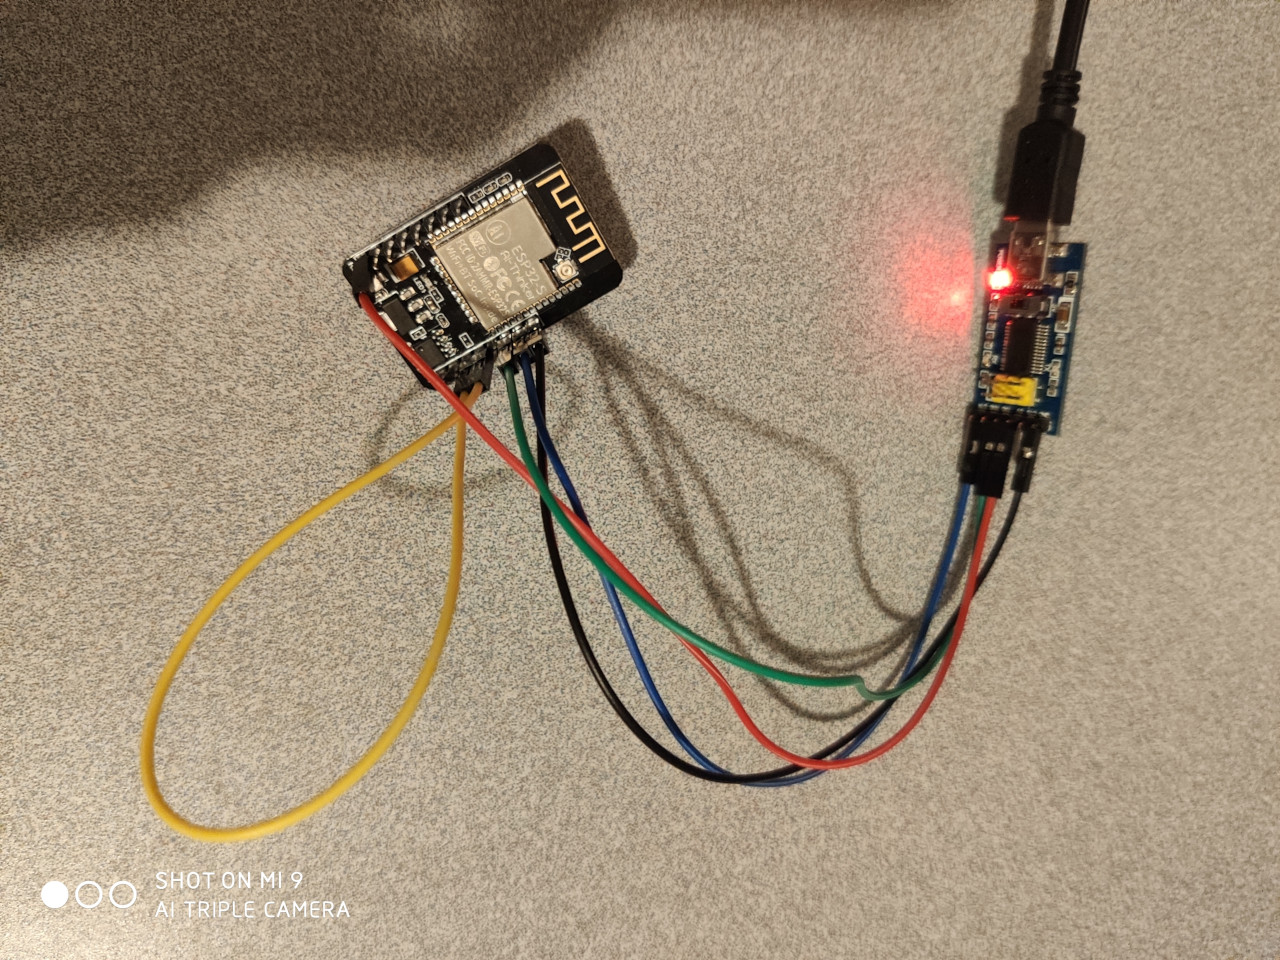
The real connection looks as:
2.3 lsub
1 | lsusb |
3. Key Points on Flashing ESP32-Cam
3.1 Code Modification
Example code CameraWebServer should be trivially modified as:
1 | // Select camera model |
3.2 Verify/Compile and Upload
3.2.1 Verify/Compile
1 | Sketch uses 2241942 bytes (71%) of program storage space. Maximum is 3145728 bytes. |
3.2.2 Upload
1 | esptool.py v2.6 |
3.3 Disconnect GPIO 0 from GND
Before testing the code, be sure to disconnect GPIO 0 from GND.
3.4 RESET ESP32-Cam Board
It’s VERY important that you open the Serial Monitor dialog to monitor the serial port. You will see the following outputs after resetting ESP32-Cam board.
1 | ets Jun 8 2016 00:22:57 |
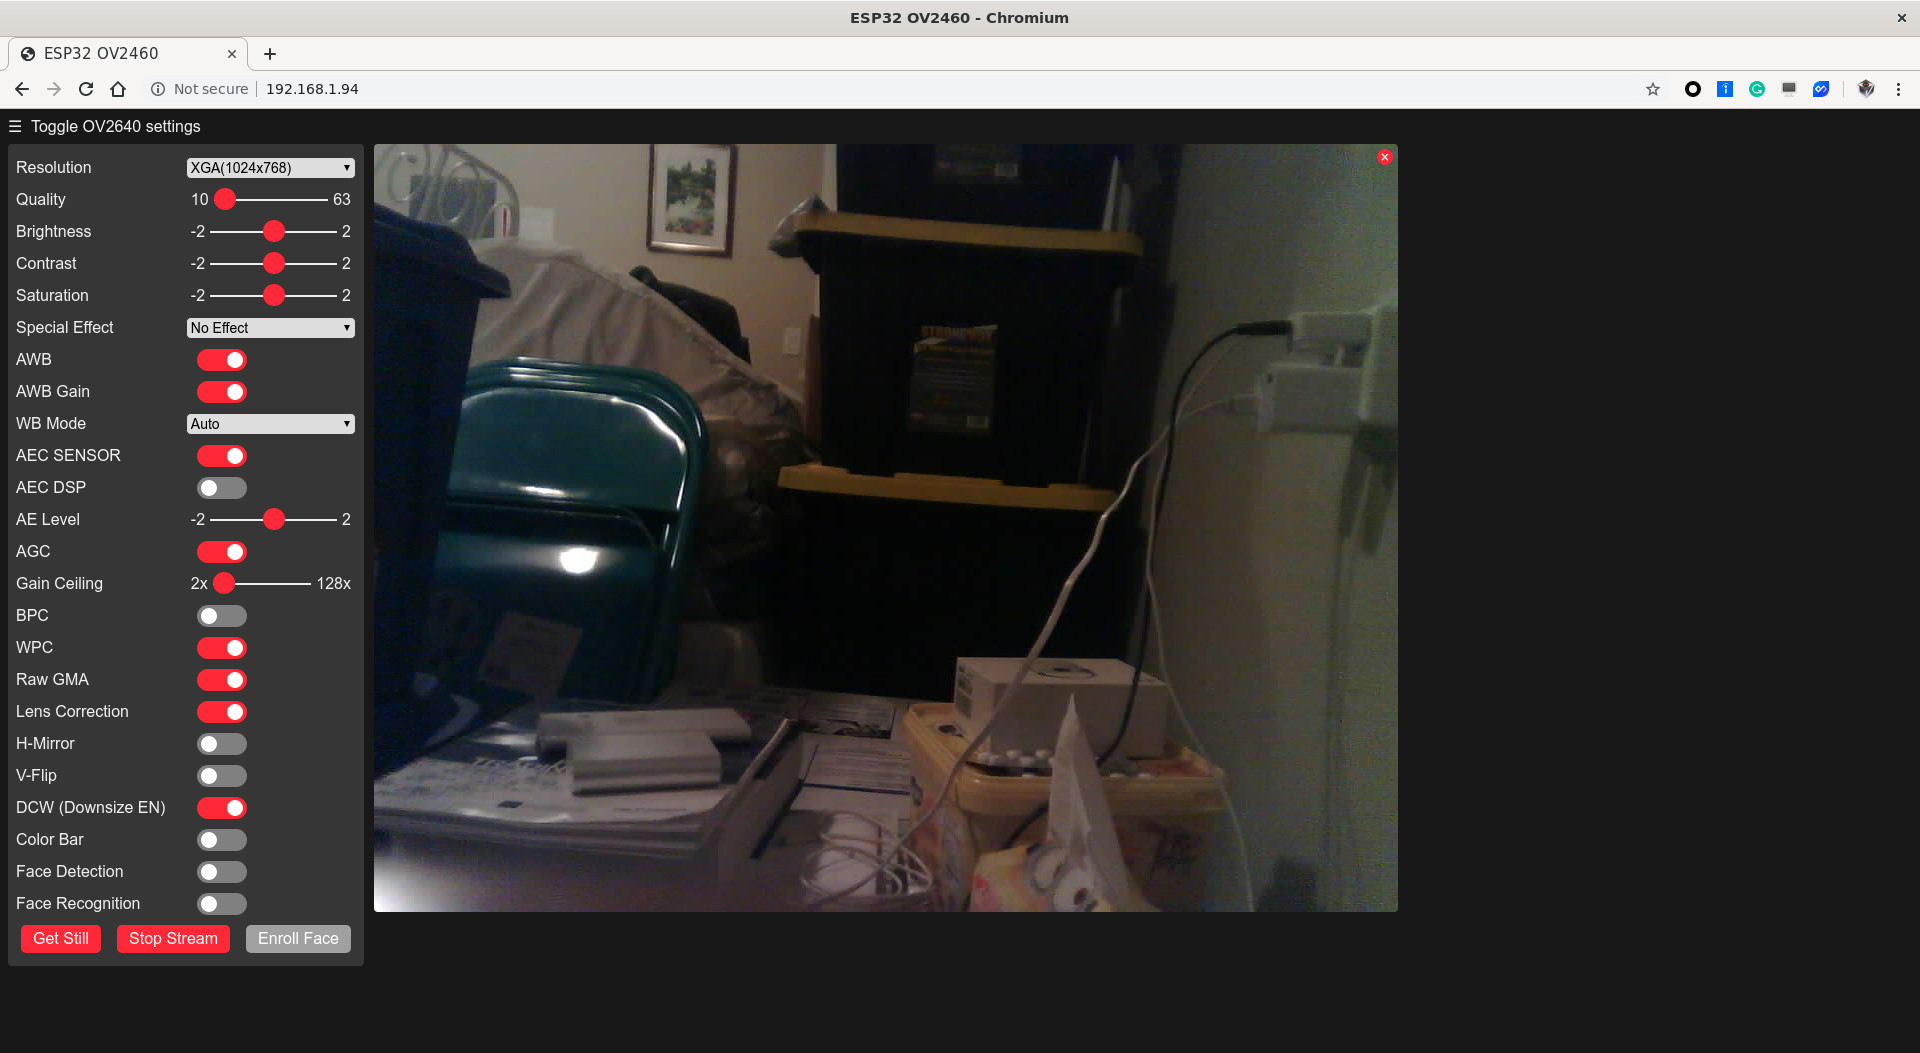
3.5 Video Streaming
By visiting the allocated IP address within any web browser, you’ll see the following picture:
And you’ll notice the streaming info from serial port:
1 | ets Jun 8 2016 00:22:57 |
4. Multiple Camera Streaming with Static IPs
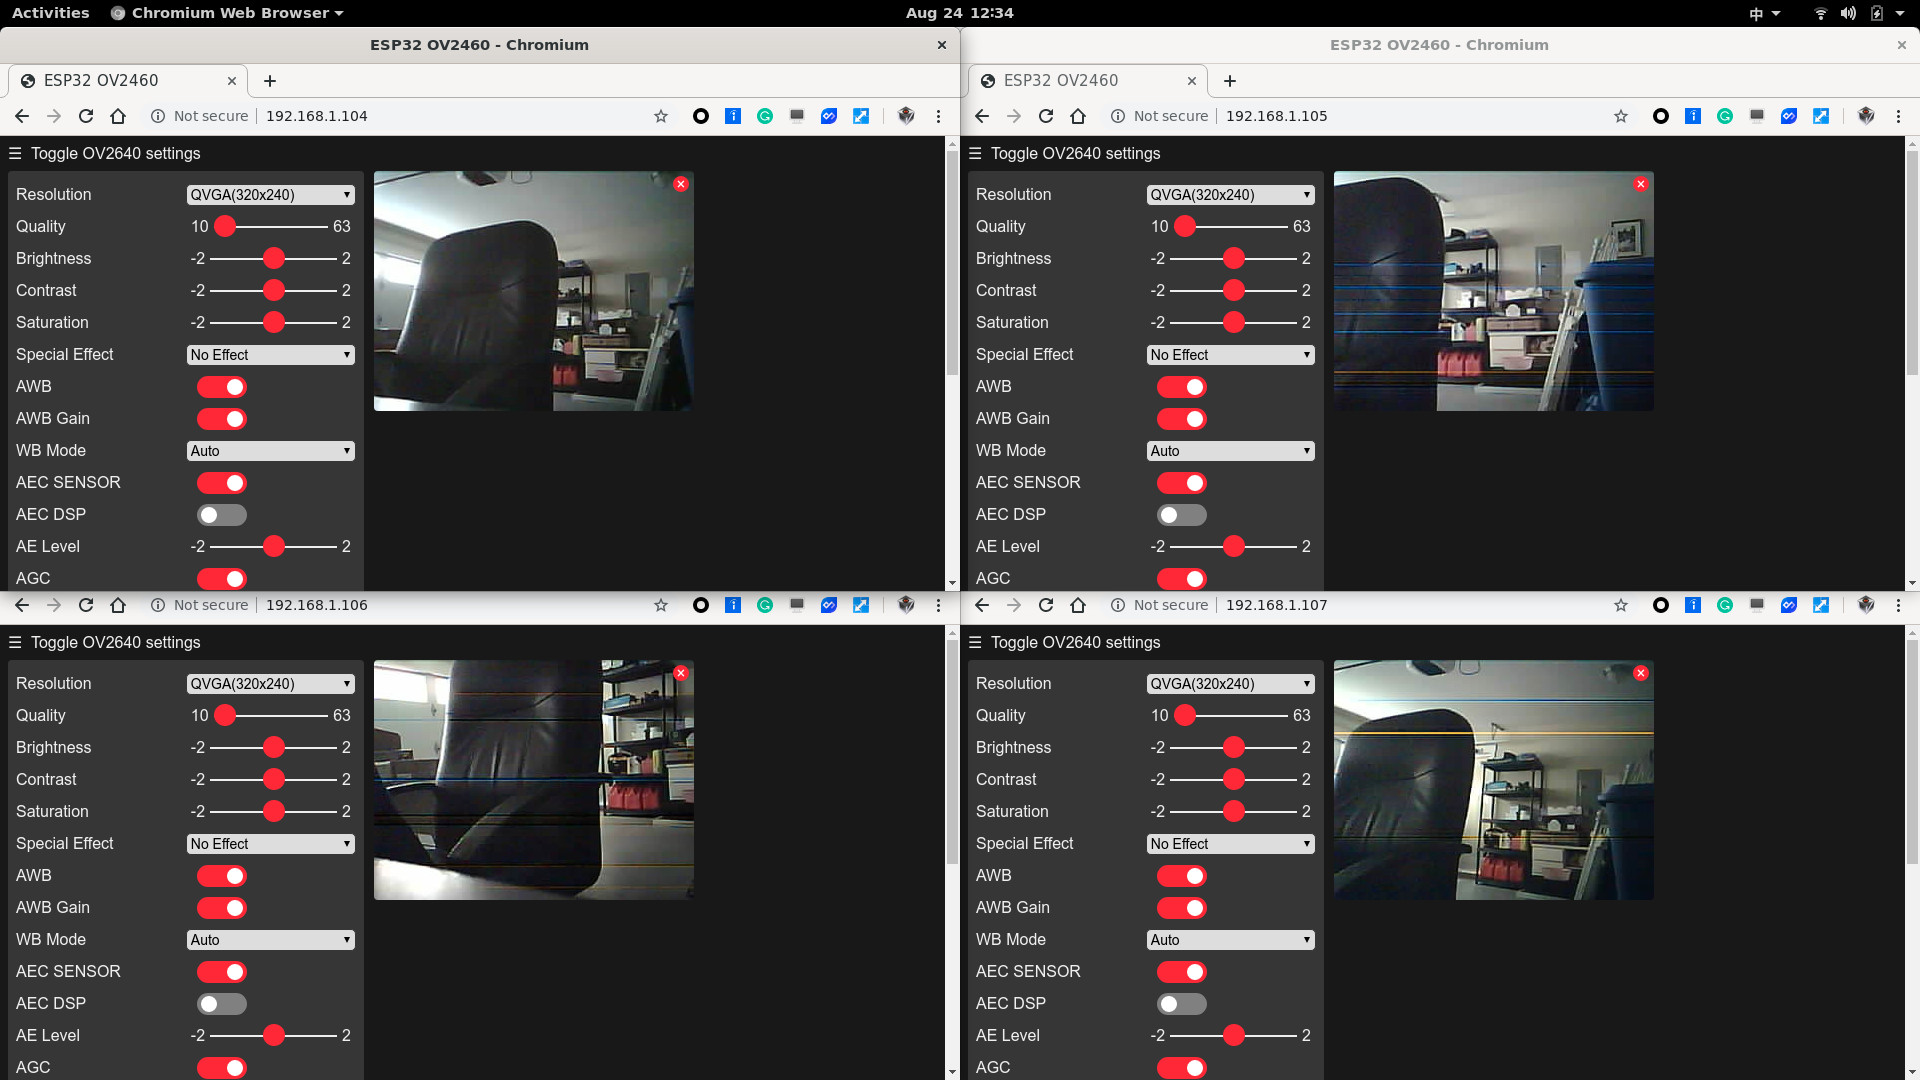
I’m NOT going to talk about how to set up static IPs for IP cameras (well, yes, clearly, ESP32-Cam can be looked on as a low-cost video surveillance IP camera for sure). We ONLY demonstrate 4 ESP32-Cams are under streaming simultaneously with 4 statically allocated IP addresses.
We show the capturing effects FIRST:
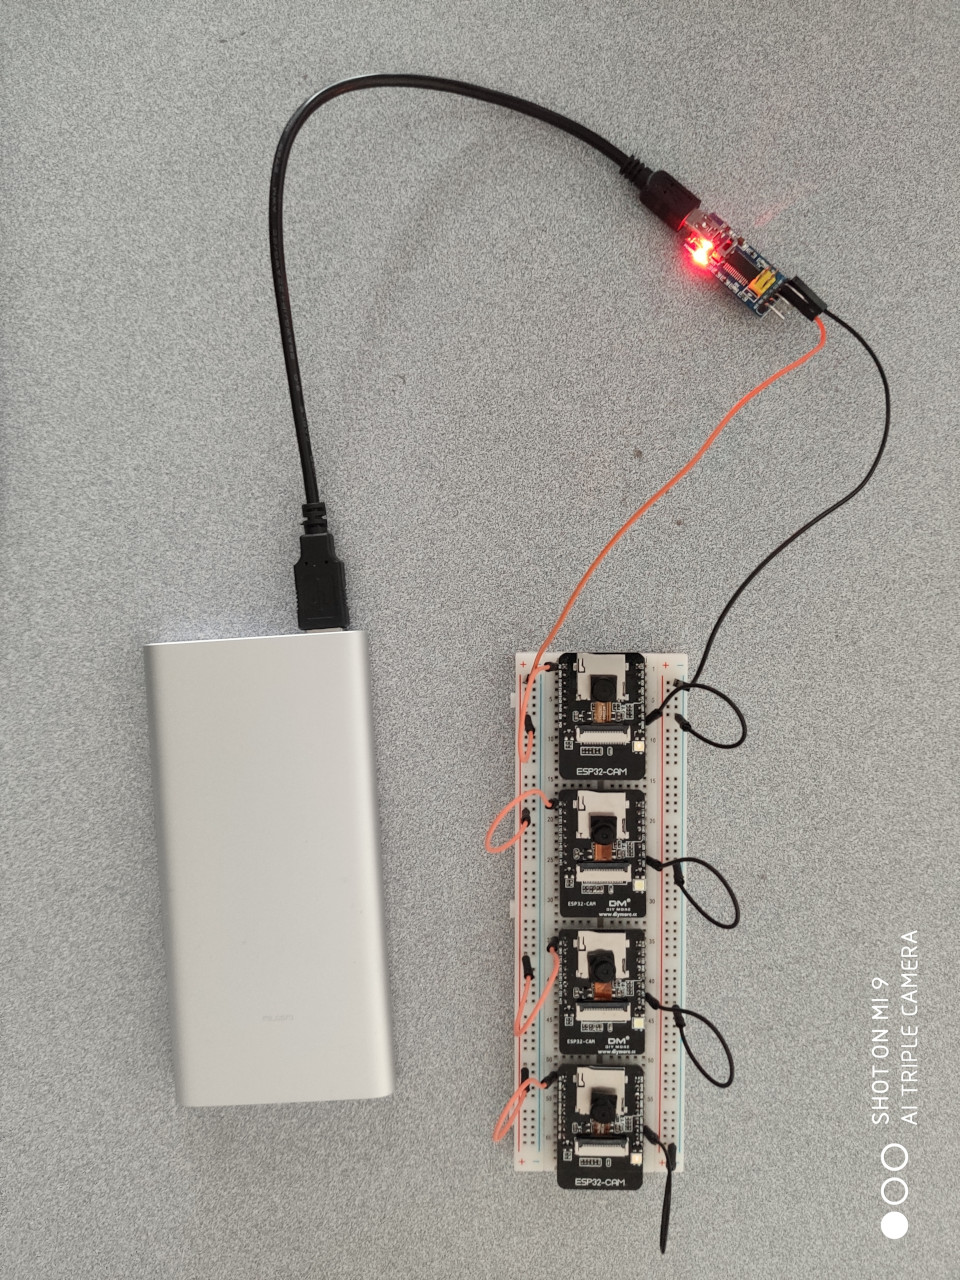
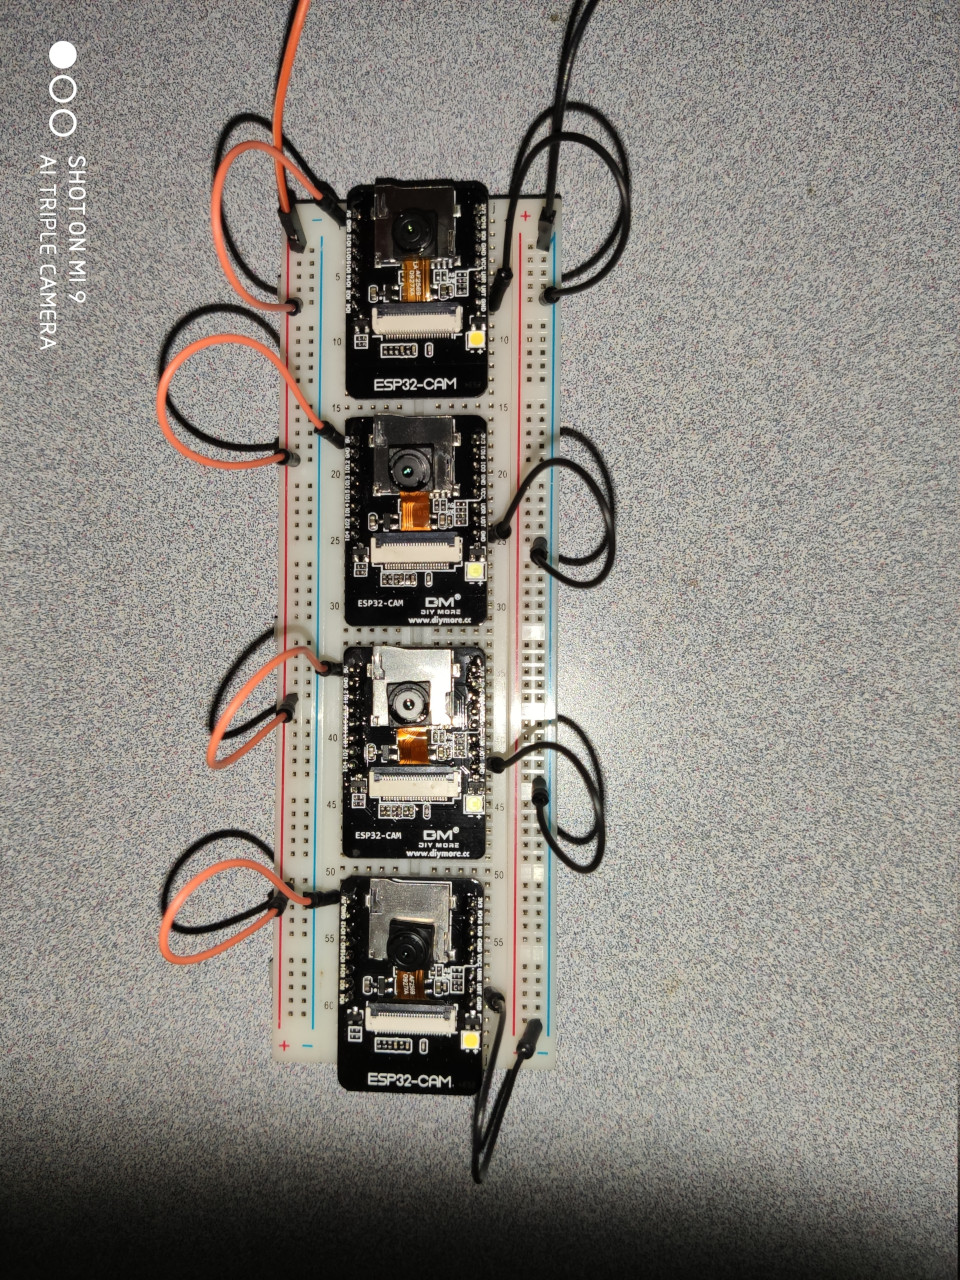
Then, we show how the cables are connected by using a power bank and an extra bread board. Here, FTDI is just used as a power adaptor to provide 5V voltage.
