Again, amazing China. This time, Nanjing. What a city!!!!!
| Ancient Qinhuai @ Qinhuai River, Nanjing | Ancient Qinhuai @ Qinhuai River, Nanjing |
|---|---|
 |
 |
 |
 |
 |
 |
 |
 |
 |
 |
 |
 |
 |
 |
Raspberry Pi has already well-established a comprehensive community support world wide. Among ALL the operating systems supporting Raspberry Pi, Home Assistant stands out, shining brightly as an open-source home automation operating system in the field of IoT.
1. Overview
1.1 What is Home Assistant?
Home Assistant is the ``open source home automation that puts local control and privacy first. Powered by a worldwide community of tinkerers and DIY enthusiasts. Perfect to run on a Raspberry Pi or a local server.’’ (cited from first page of the official website of Home Assistant.)
Home Assistant OS is a minimal operating system optimized for running Home Assistant, and it does not use traditional package management systems like apt. Instead, it relies on Docker containers to manage and run services, including Home Assistant and its add-ons.
1.2 Web UI
After simply flashed Home Assistant OS 12.3 onto a 16GB TF card and insert it into my old Raspberry Pi 3B V1.2, we can now take a brief look at Home Assistant web UI at http://homeassistant.local:8123/.
| Home Assistant Overview | Home Assistant Dashboard |
|---|---|
 |
 |
 |
 |
2. ssh Into Home Assistant OS
2.1 Configuration
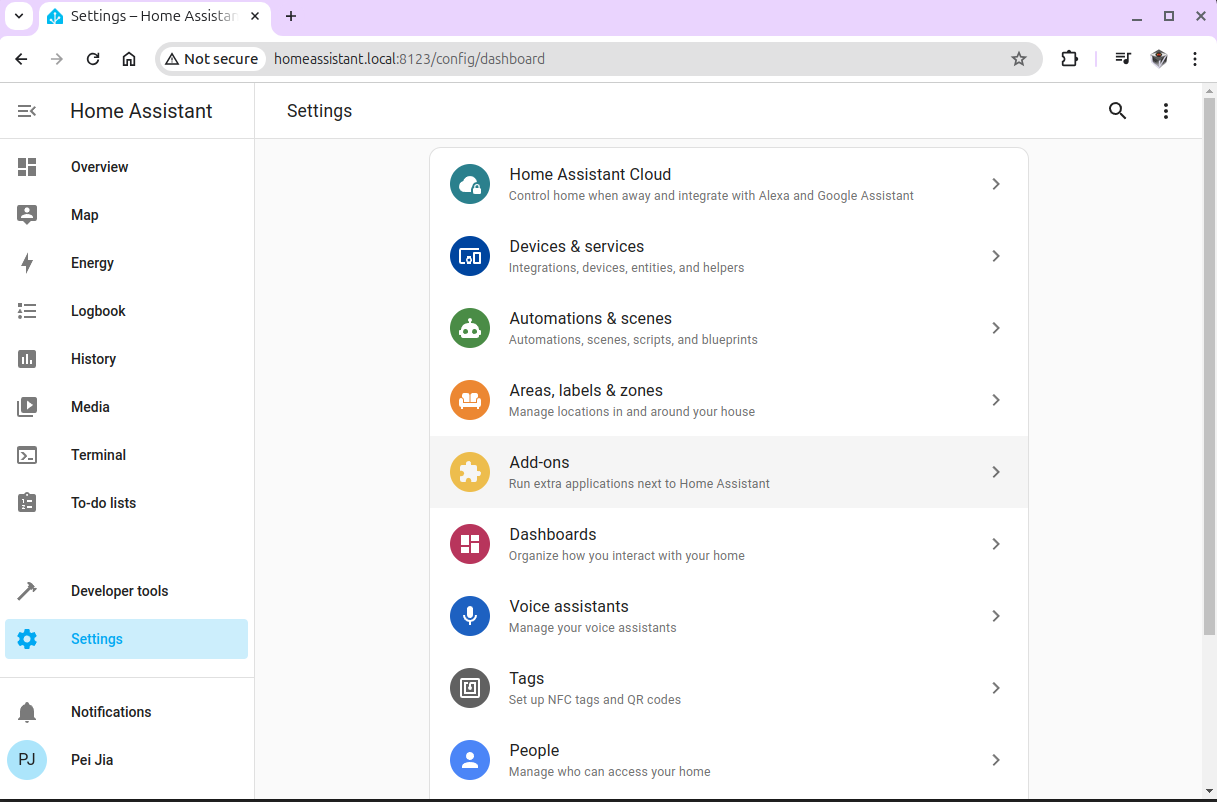
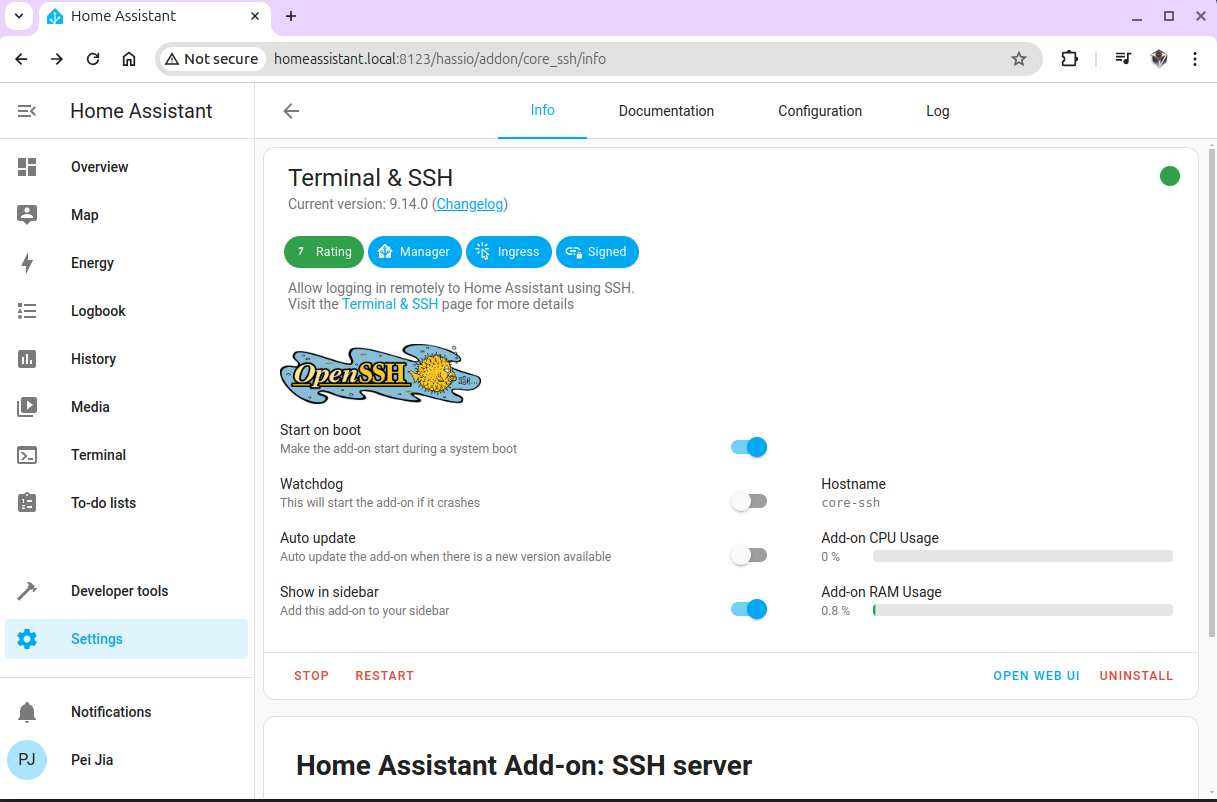
2.1.1 Installation of Home Assistant Add-on Terminal & SSH
Please have the add-on Home Assistant Add-on Terminal & SSH installed from Home Assistant -> Settings -> Add-ons.
2.1.2 Edit in YAML
Please do remember to add these 2 lines:
1 | ssh: |
at the end of the YAML configuration:
1 | authorized_keys: [] |
2.2 ssh Into Home Assistant OS From Remote Desktop
1 | ➜ ~ ssh root@192.168.1.83 |
3. ESPHome with Home Assistant
One of my very old blogs LVT ESP32-Cam has talked about ESP32 Camera. Today, I found that blog posted 4 years ago before COVID-19, and I’m trying to integrate some of my [ESP32 Cameras] into Home Assistant. Namely, use Home Assistant running on the Raspberry Pi to manage a couple of my ESP32 Cameras.
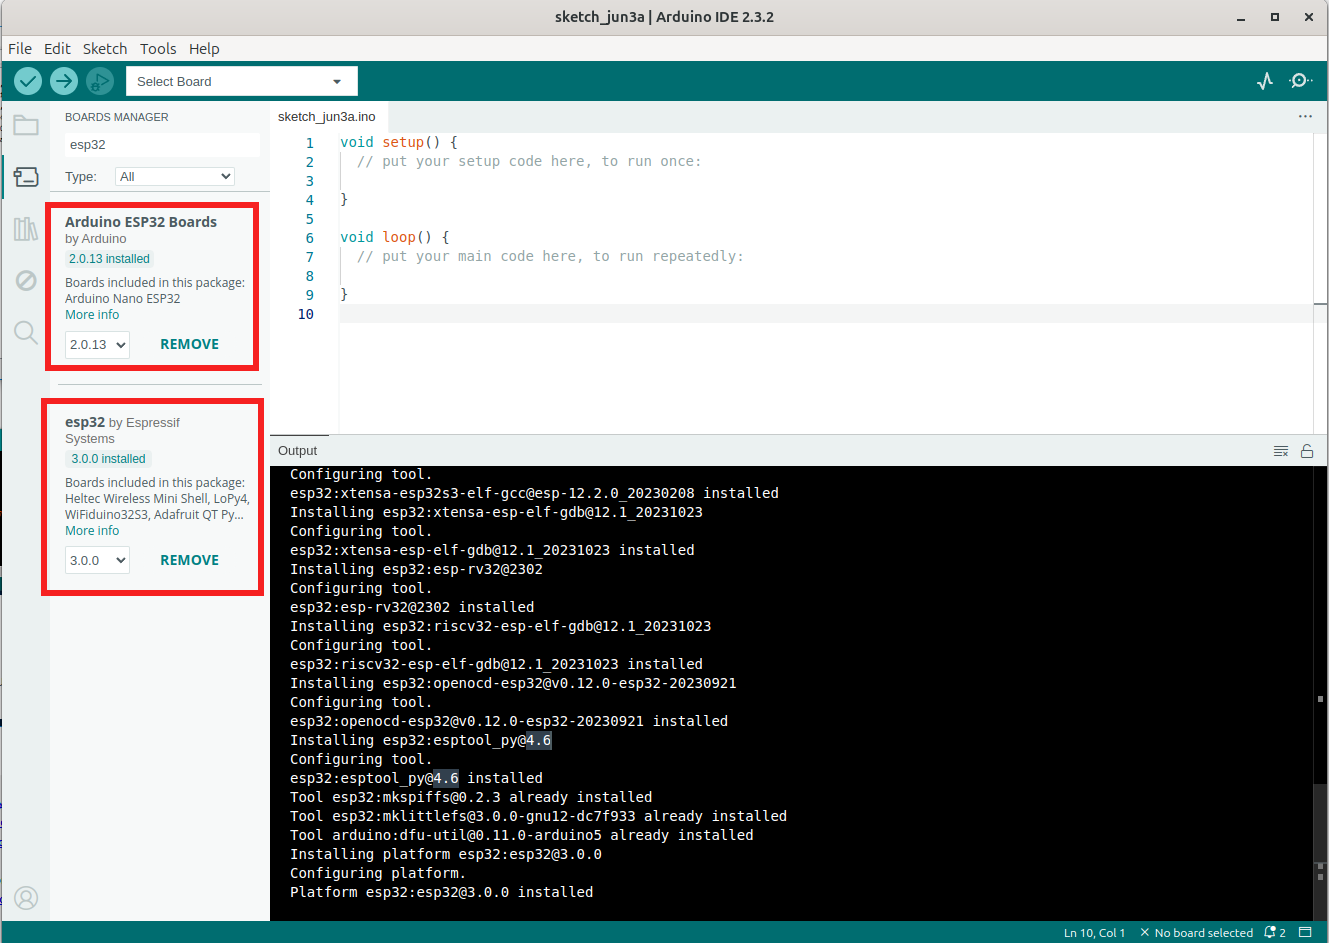
3.1 ESP32 Boards Management
Please ensure the following 2 boards support have been installed successfully.
3.2 CameraWebServer
Current ESP32 Examples provide an webcam server example: ESP32 Example CameraWebServer. Or, we can simply open up the example from within Arduino IDE: File->Examples->ESP32->Camera->CameraWebServer.
3.2.1 Four ESP32 Cameras
Both are compatible with the configuration CAMERA_MODEL_AI_THINKER in ESP32 Example CameraWebServer. Therefore, three places are to be correctly setup:
#define CAMERA_MODEL_AI_THINKER // Has PSRAMconst char *ssid = "XXXXXXXXX";const char *password = "YYYYYYYYY";
3.2.2 Verify and Upload


3.2.3 Demonstration

However, as you can see, the captured image is not quite stable. And, I did find the WiFi connection is easy to get disconnected. What to do???
[!NOTE:] What to do???
Please continue reading.
3.3 RTSP with MJPEG
As of today, June 4, 2024, there is NO H.264 or H.265 streaming server support. Therefore, I’m going to follow the following 2 blogs and build up RTSP server with MJPEG video streams.
- ESP32-CAM with RTSP video streaming
- ESP32-CAM Video Streaming Web Server (works with Home Assistant)
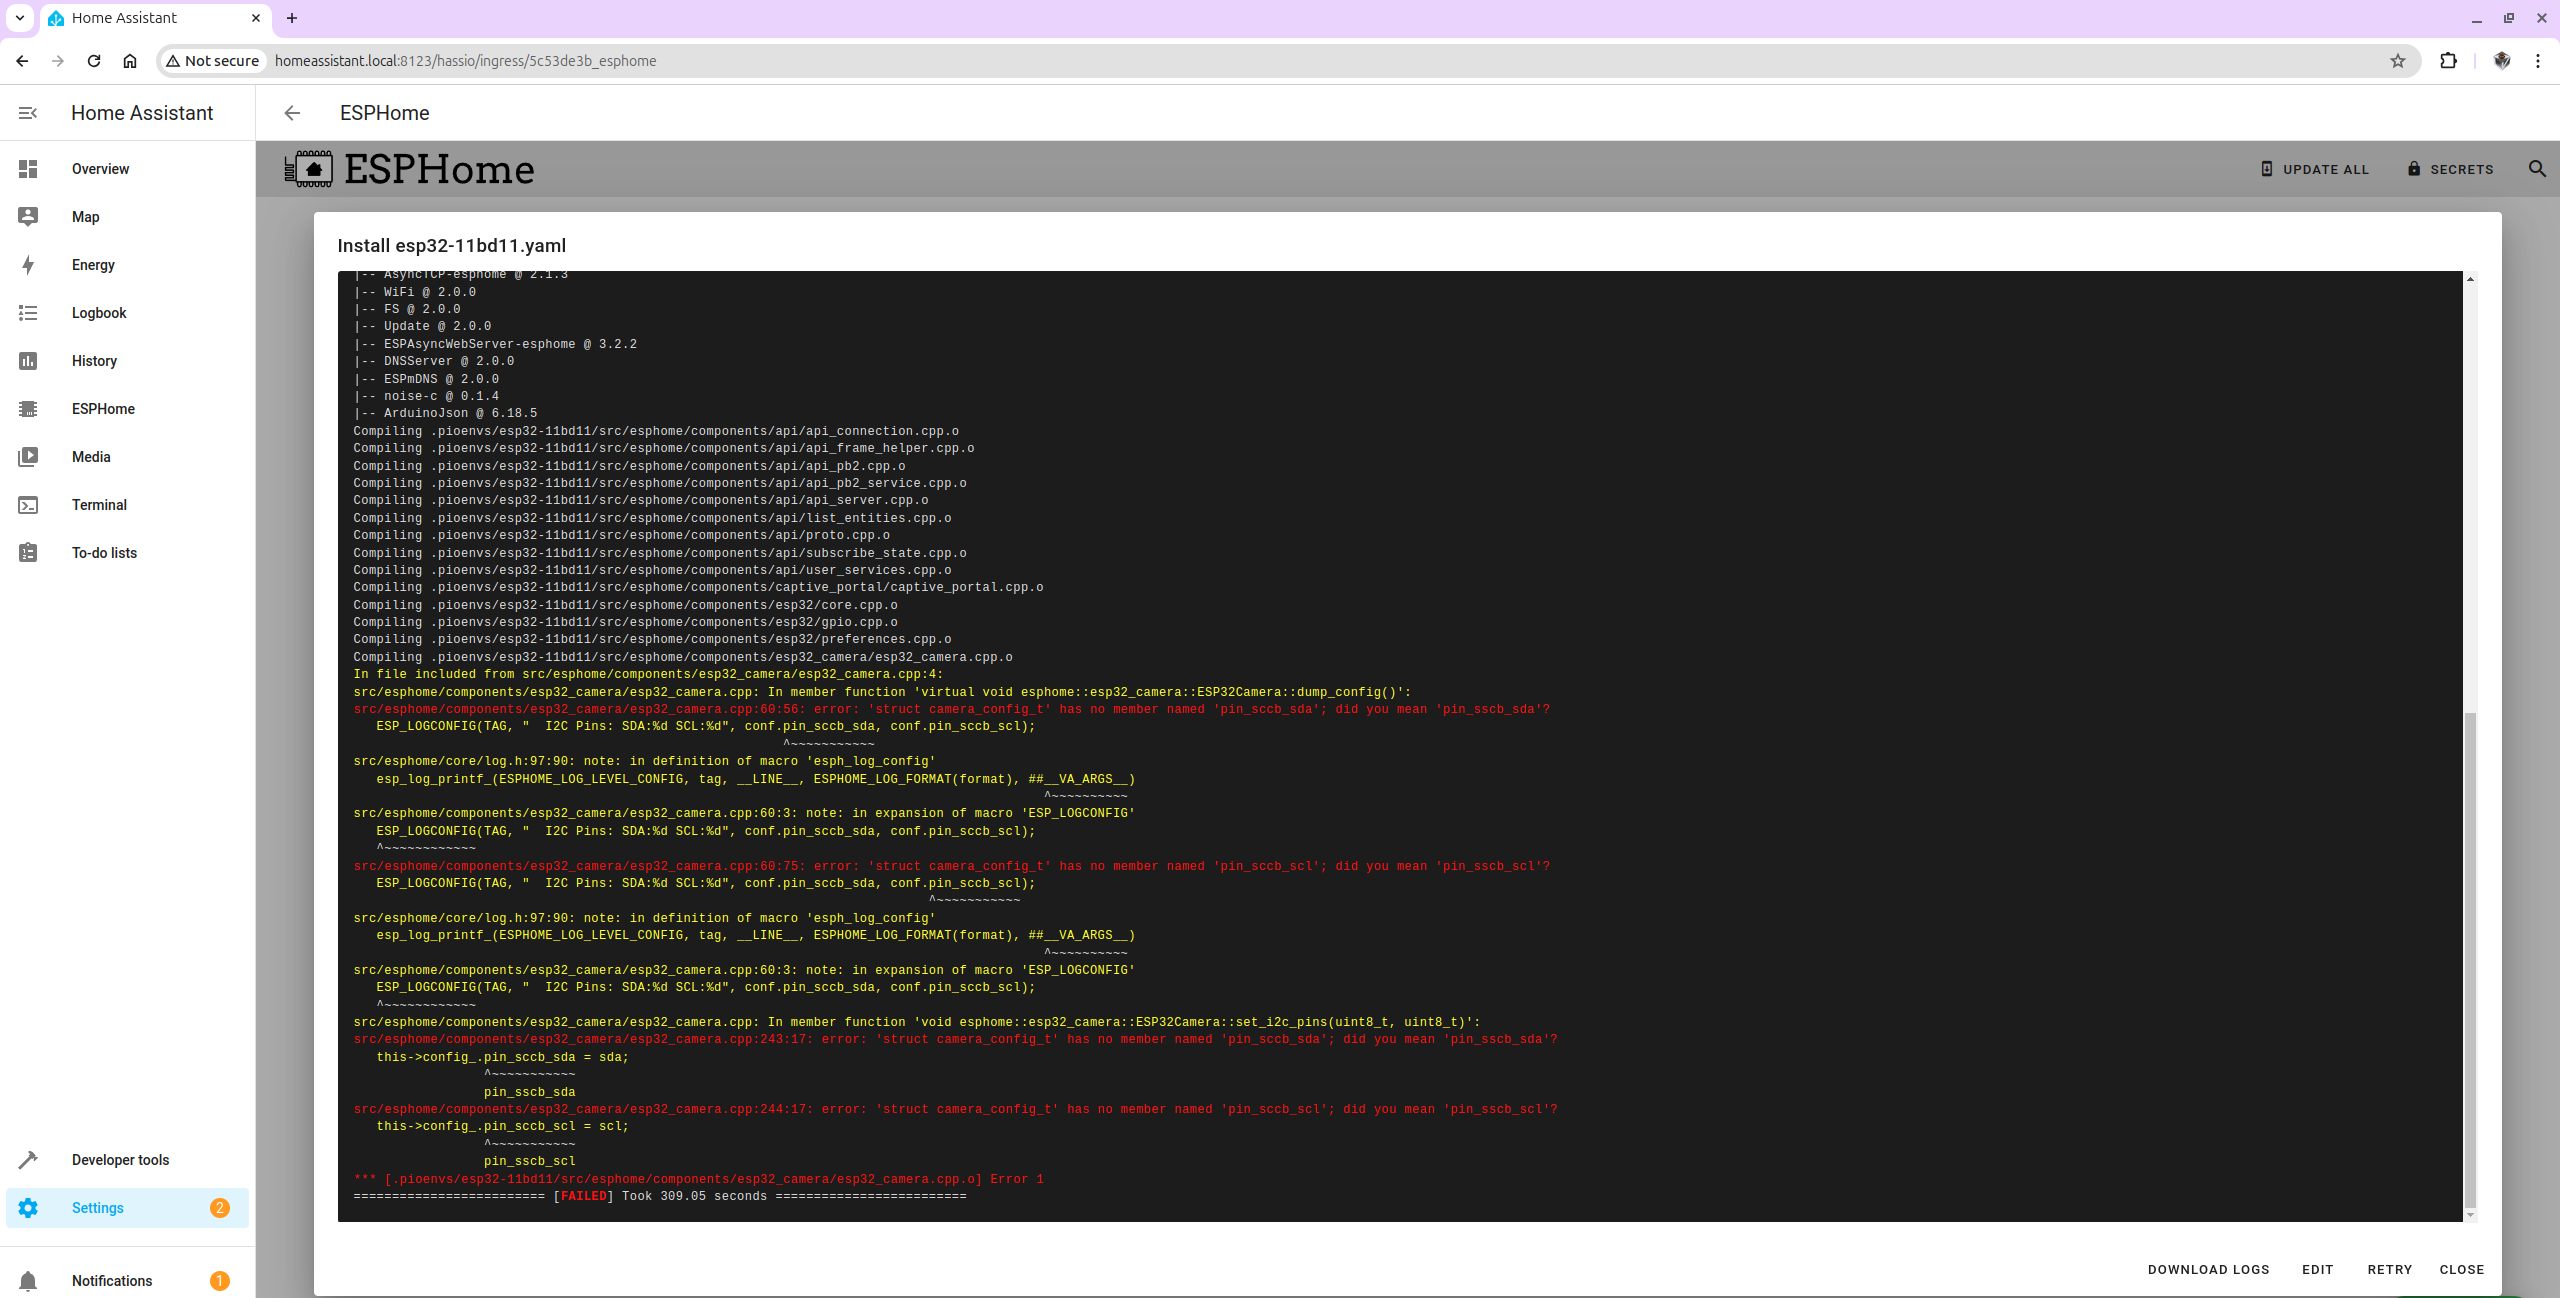
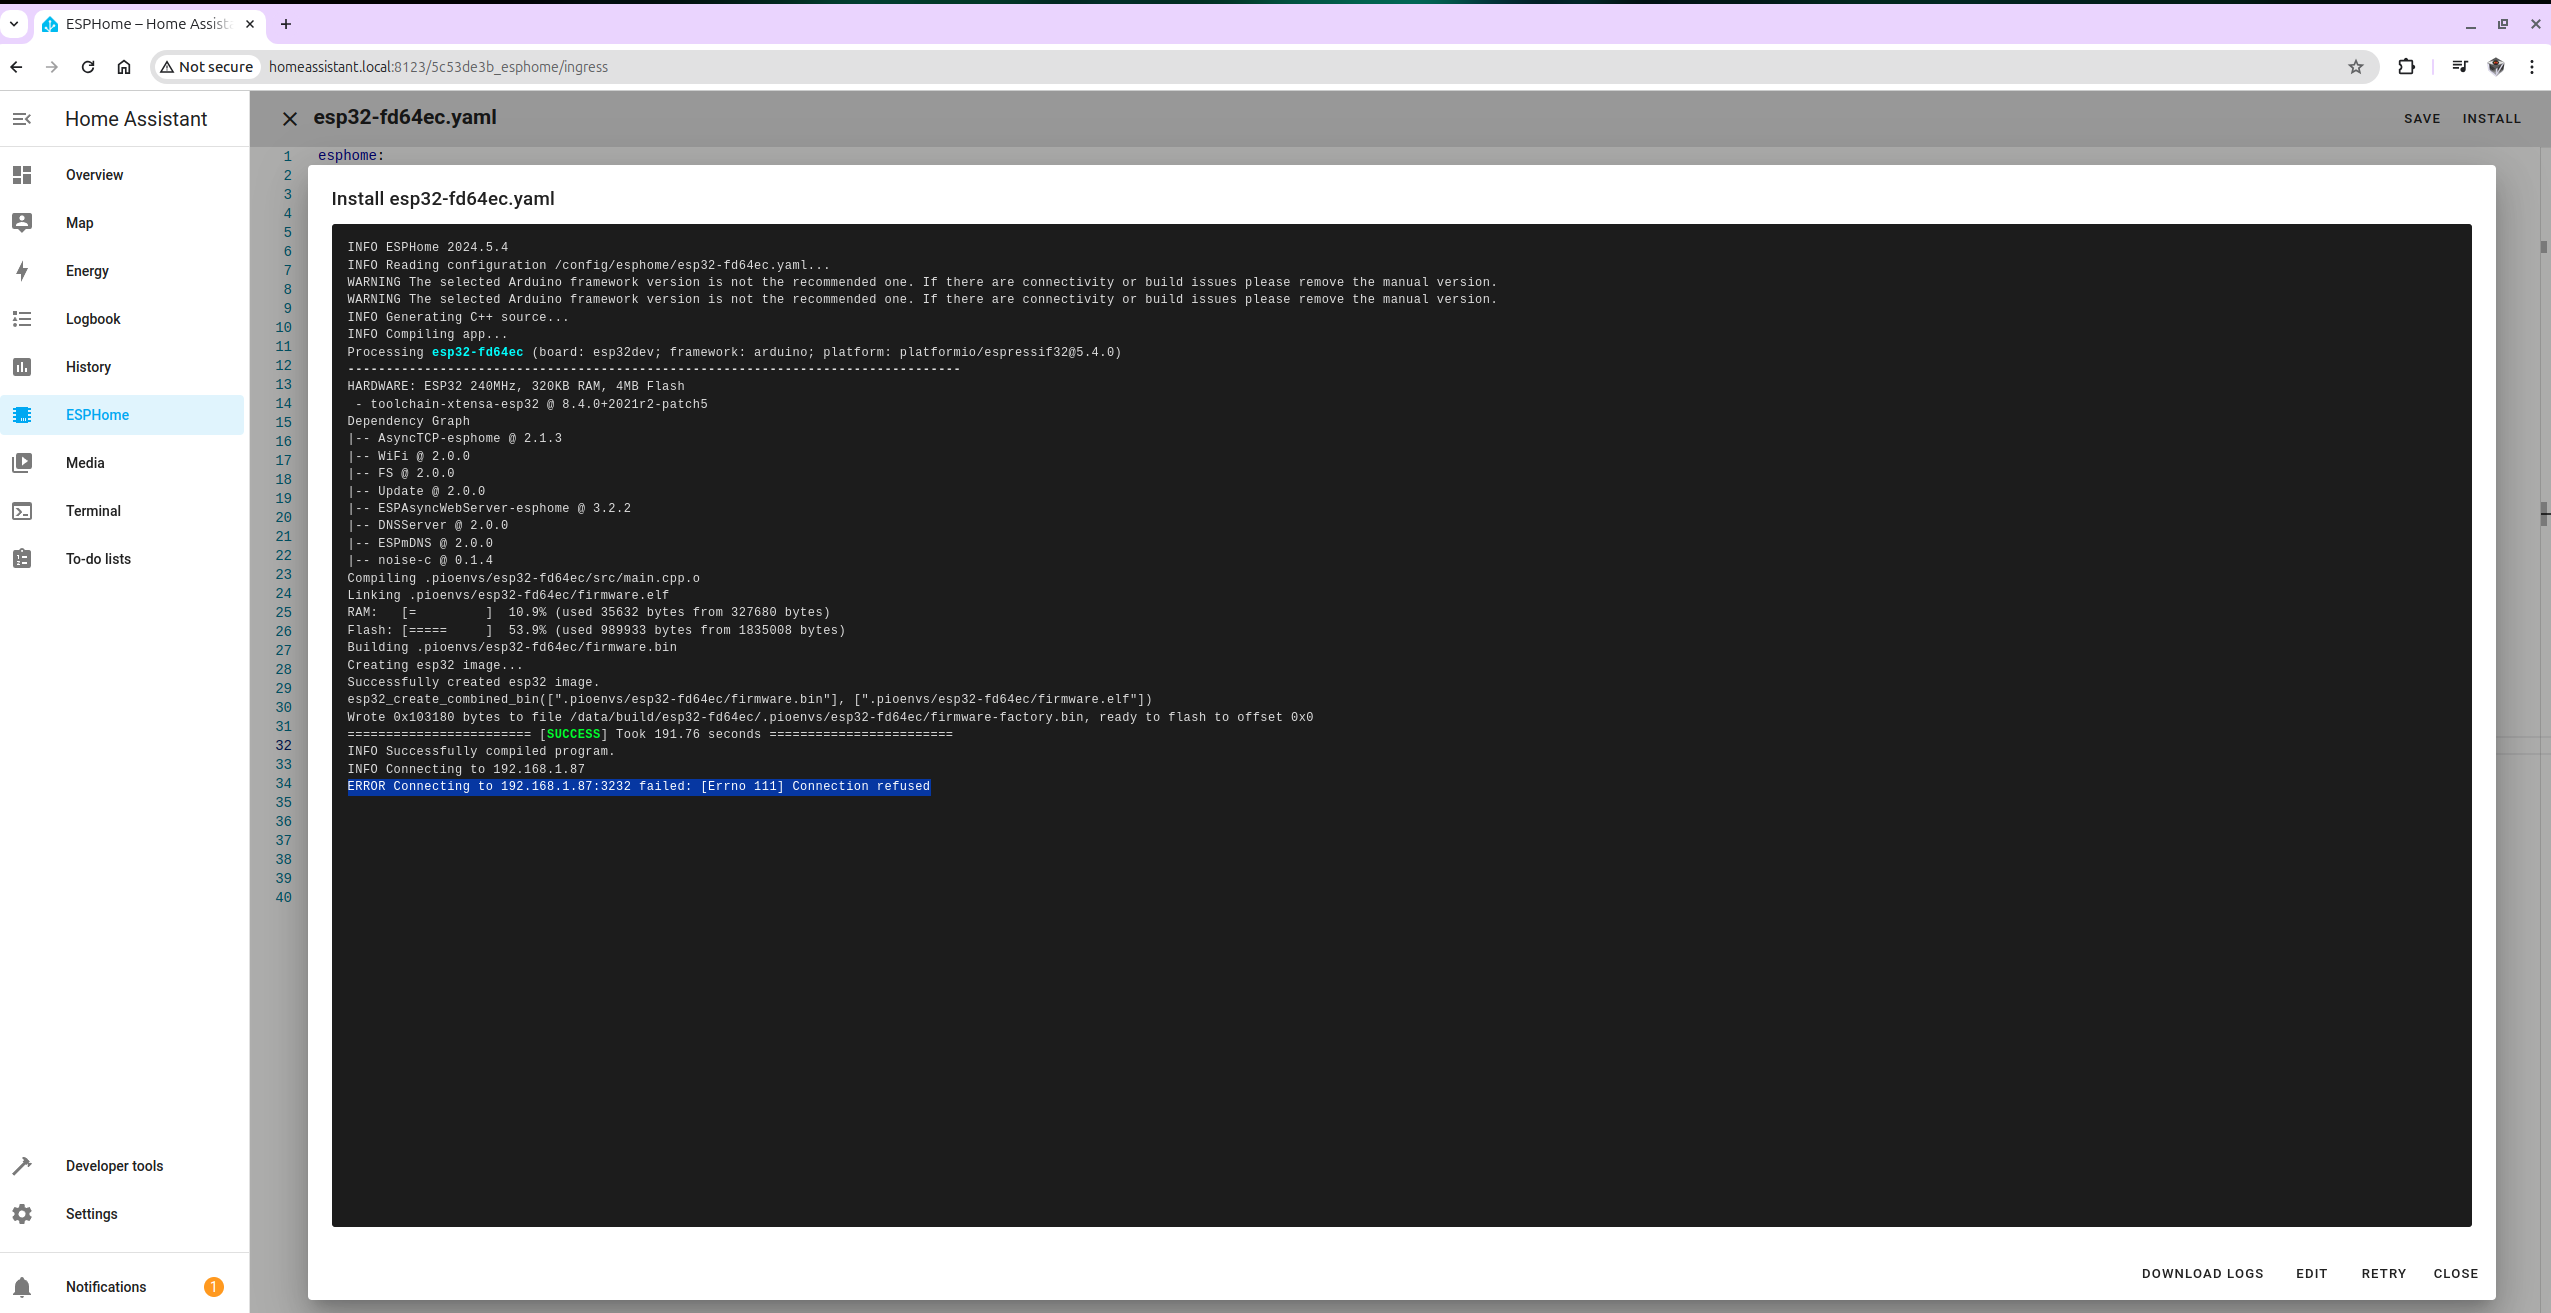
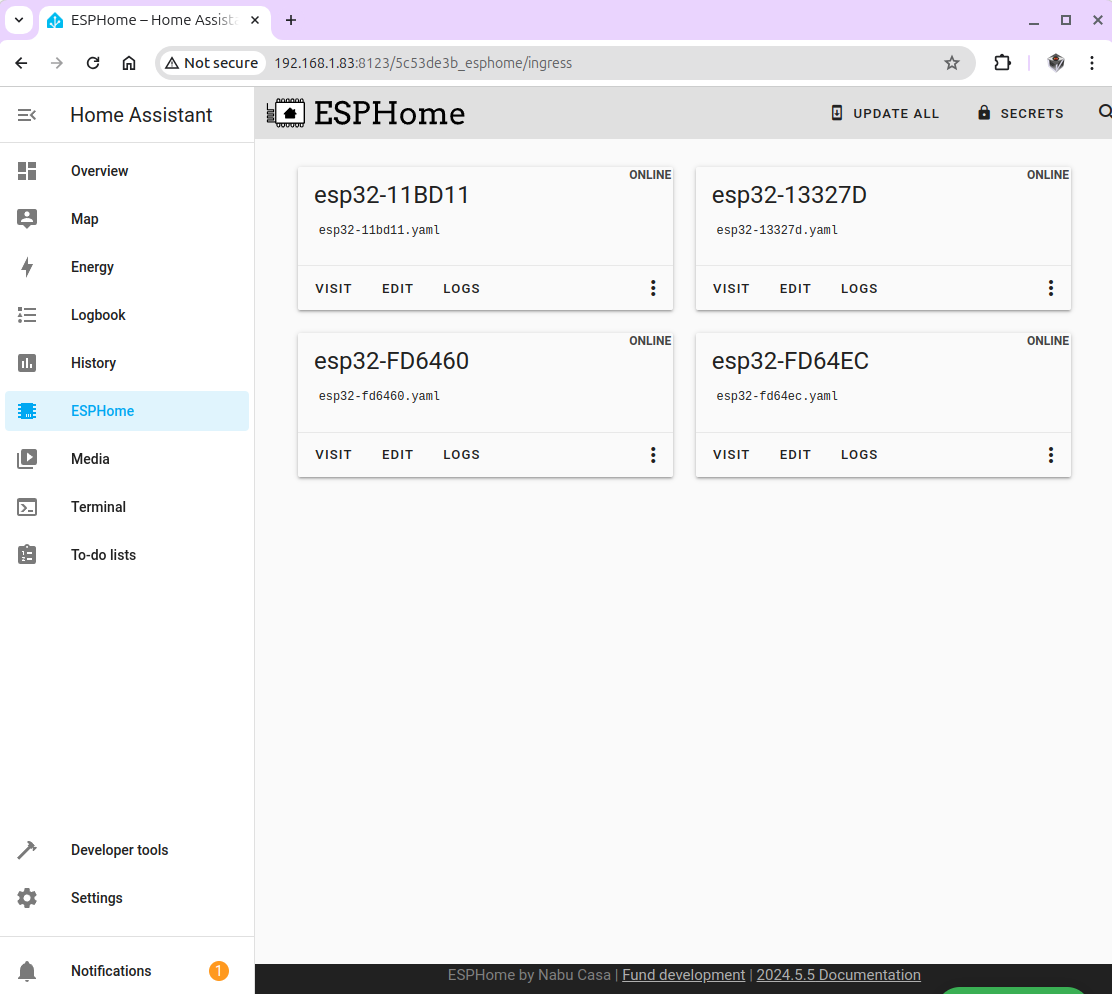
3.4 Integrate ESPHome Into Home Assistant
Getting Started with ESPHome and Home Assistant
3.5 Demonstration
| ESPHome | ESPHome |
|---|---|
 |
 |
 |
 |
 |
 |
 |
 |
 |
 |
 |
 |
 |
 |