Finally, I got some time for OctoPrint, another specific operating system for Raspberry Pi, as Home Assistant talked in my previous blog Home Assistant on A Raspberry Pi.
1. Overview
1.1 What is OctoPrint?
From its official website, clearly, OctoPrint is an operating system for 3D Printing. Its capabilities can be extended to other manufacturing fields. Specifically, OctoPi will work on a Raspberry Pi.
1.2 Flash OctoPi Onto Raspberry Pi
1 | $ sudo dd if=./octopi-1.0.0-1.10.2-20240618101629.img of=/dev/sdb bs=1M status=progress conv=fsync |
2. ssh Into OctoPi
2.1 FIRST Login
You got to login OctoPi locally for the FIRST time, instead of remotely, for the NetworkManager service is NOT started by default. Namely, there is NO Wi-Fi by default. Well, you can ALWAYS use the wired connection of course.
2.1.1 Start NetworkManager Whenever Reboot
Use the following commands:
sudo systemctl status NetworkManagersudo systemctl enable NetworkManagersudo systemctl start NetworkManagersudo systemctl status NetworkManagerfor double checksudo reboot reboot to ensure NetworkManageris started by defaultsudo systemctl status NetworkManagercheck again
2.1.2 nmcli to Set Up Wi-Fi
Use the following commands:
nmcli dev wifi listnmcli dev wifi connect NetworkName password WiFiPassword(You don’t need to quote or double-quote NetworkName or WiFiPassword)
Now, you’re good to go.
2.2 ssh Into OctoPi Via Wi-Fi Connection
1 | $ ssh lvision@192.168.1.76 |
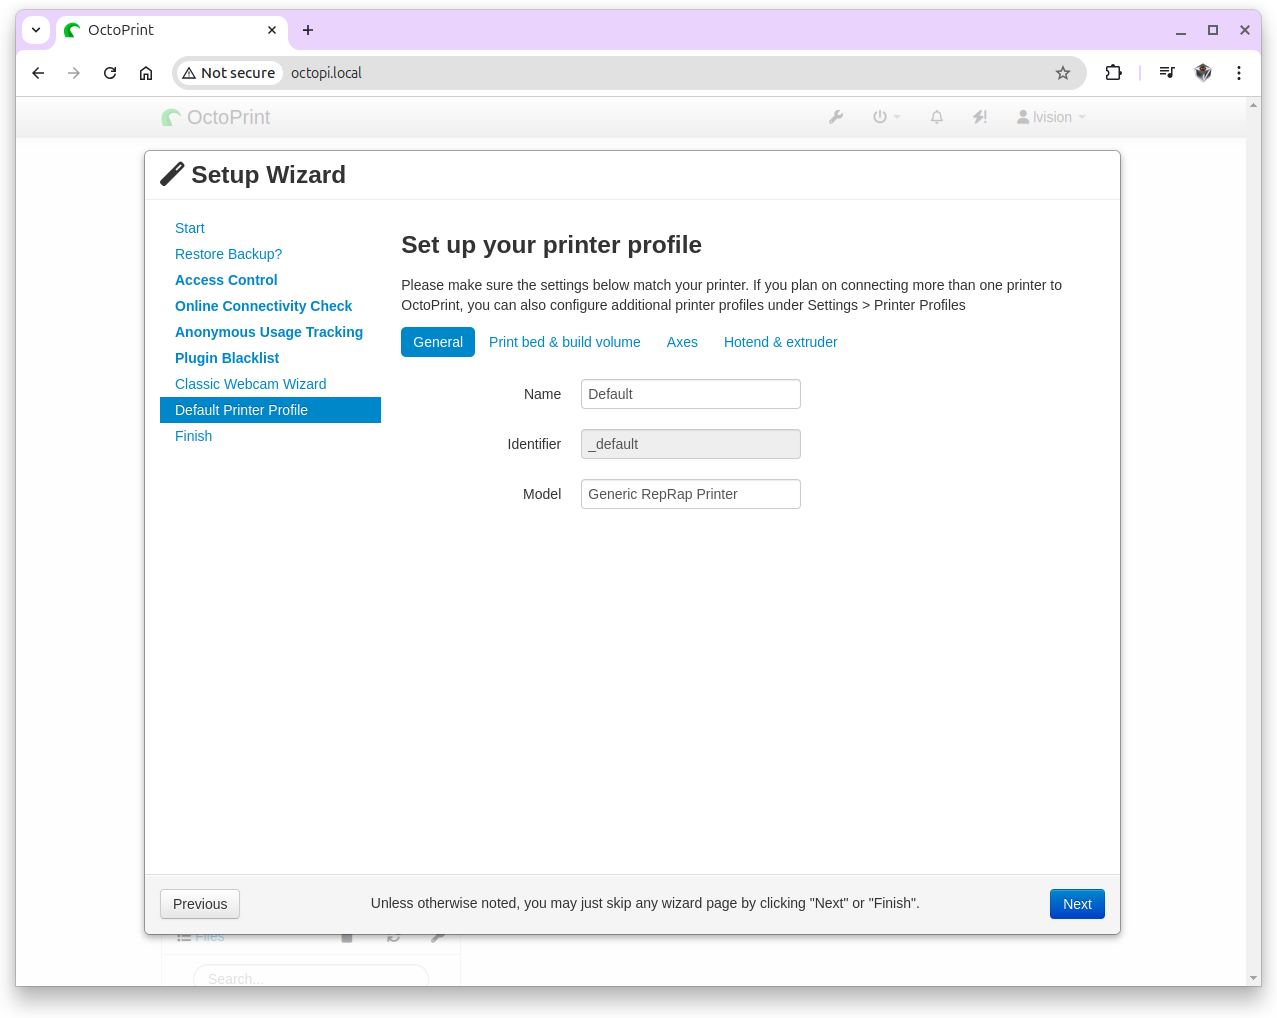
3. OctoPrint on OctoPi
| octopi.local Setup Wizard | OctoPrint 3D Printer |
|---|---|
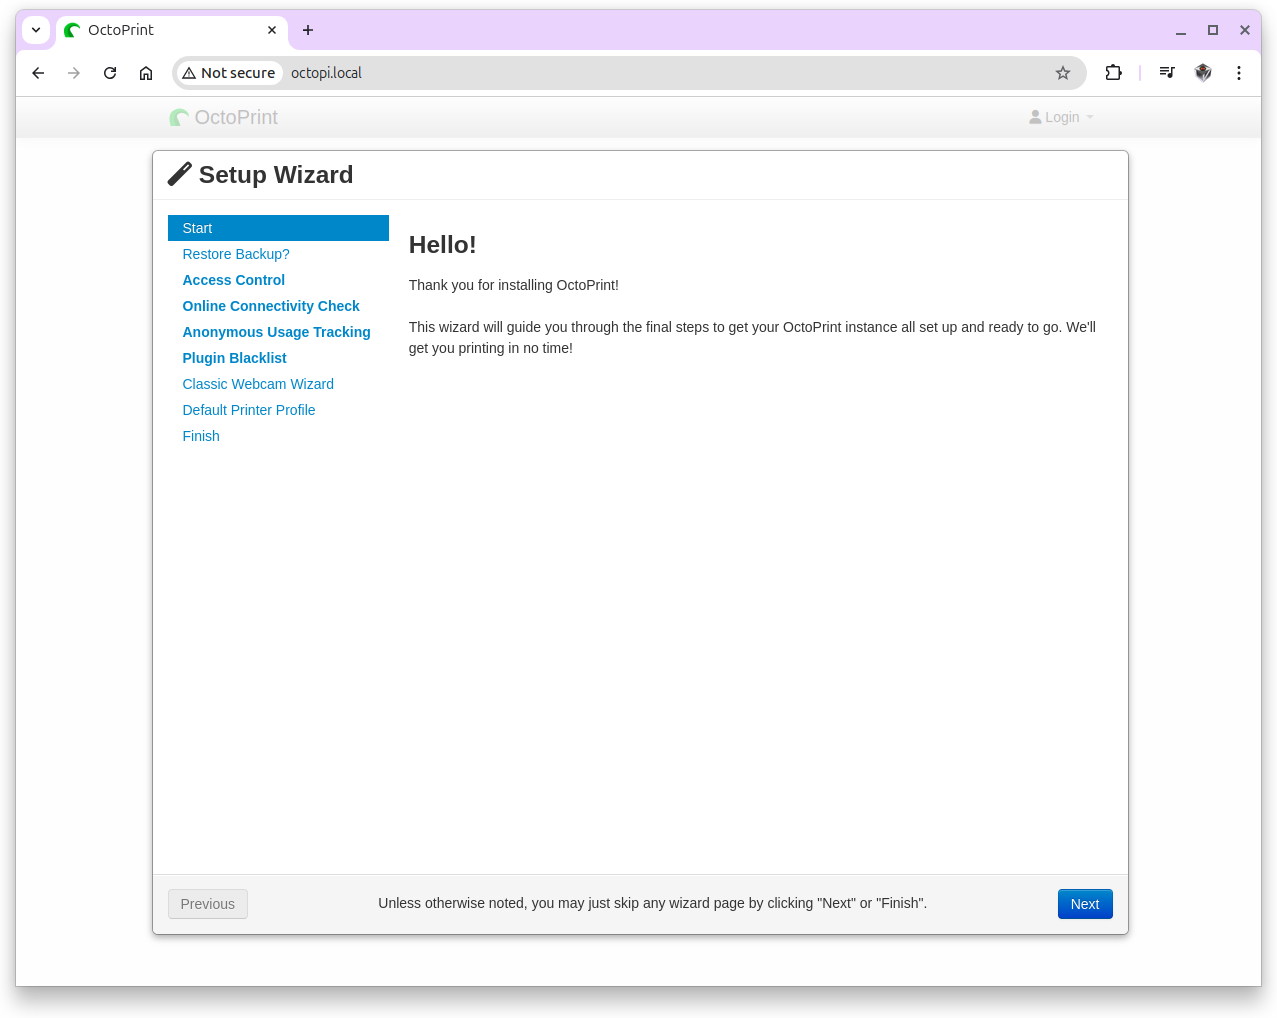 |
 |
| OctoPrint Server Reload | OctoPrint Webcam |
|---|---|
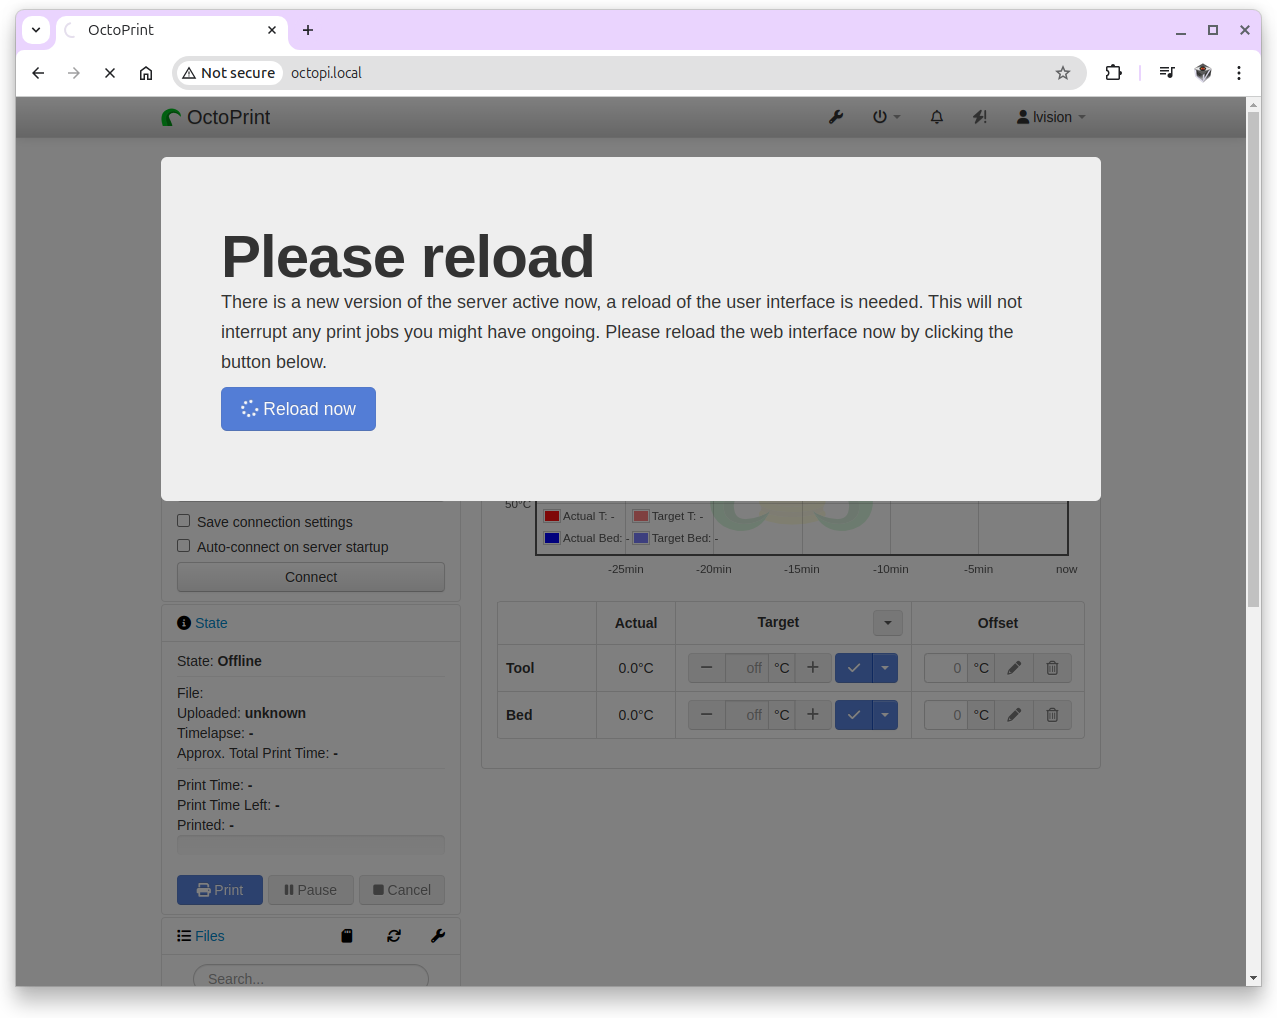 |
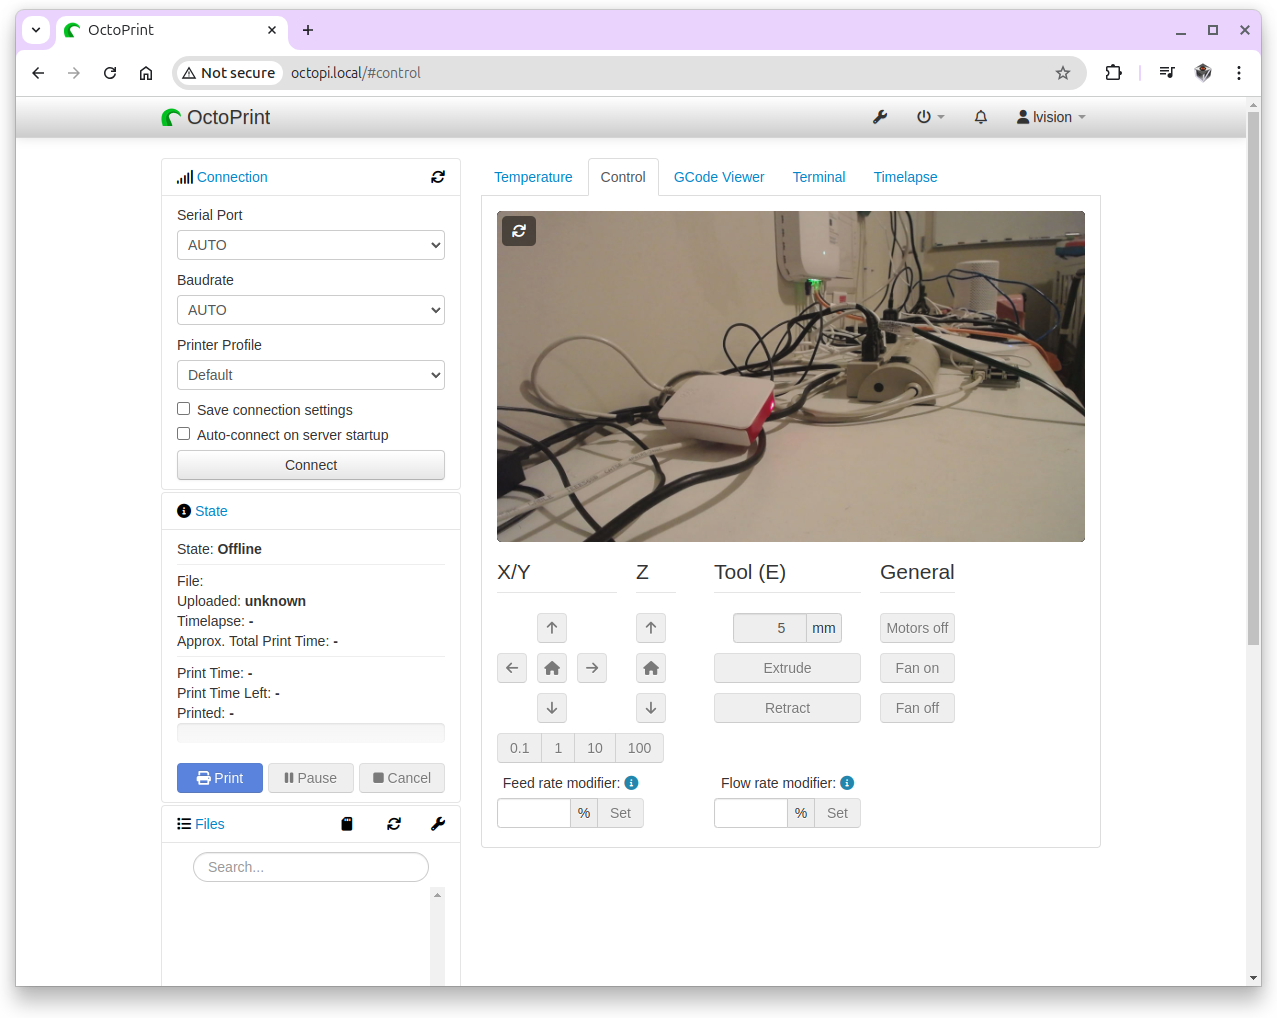 |