1. Breif Summary
In my previous two MaixDuino blog posts MaixDuino 1 and MaixDuino 2, flashing was done using the Arduino IDE. In hindsight, this was neither necessary nor particularly convenient. Especially after flashing the Sipeed official firmware MaixPy-v1 onto the MaixDuino board, there is no real need to rely on the Arduino IDE anymore.
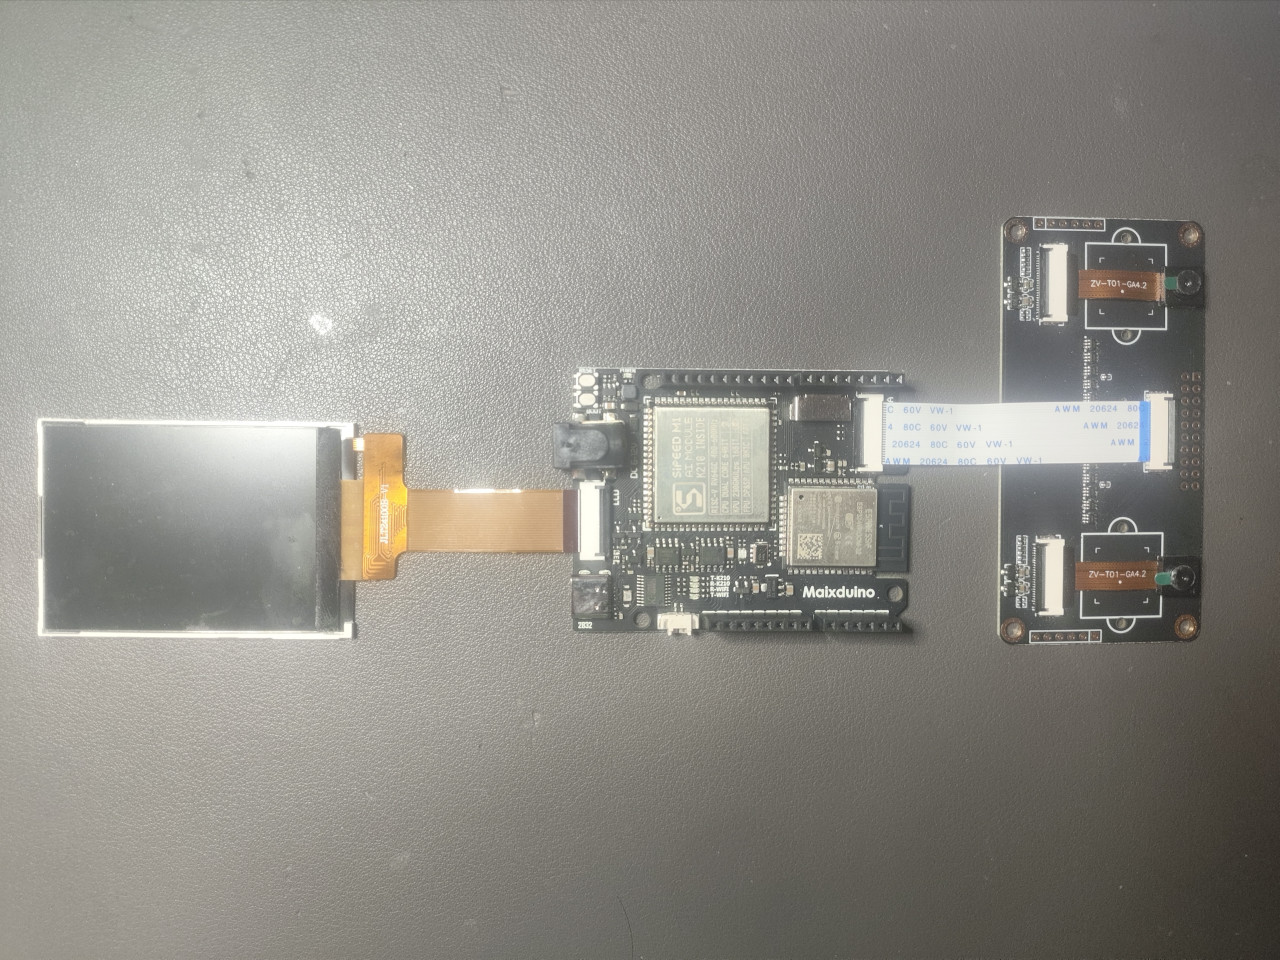
This blog post continues the MaixDuino exploration and completes two experiments:
A very simple implementation of dual-camera image capture on the MaixDuino board, with alternating display on the onboard LCD screen (Refer to LCD API), without relying on Arduino IDE at all;
Streaming the stereo camera images over the MaixDuino’s onboard Wi-Fi to a remote display endpoint.
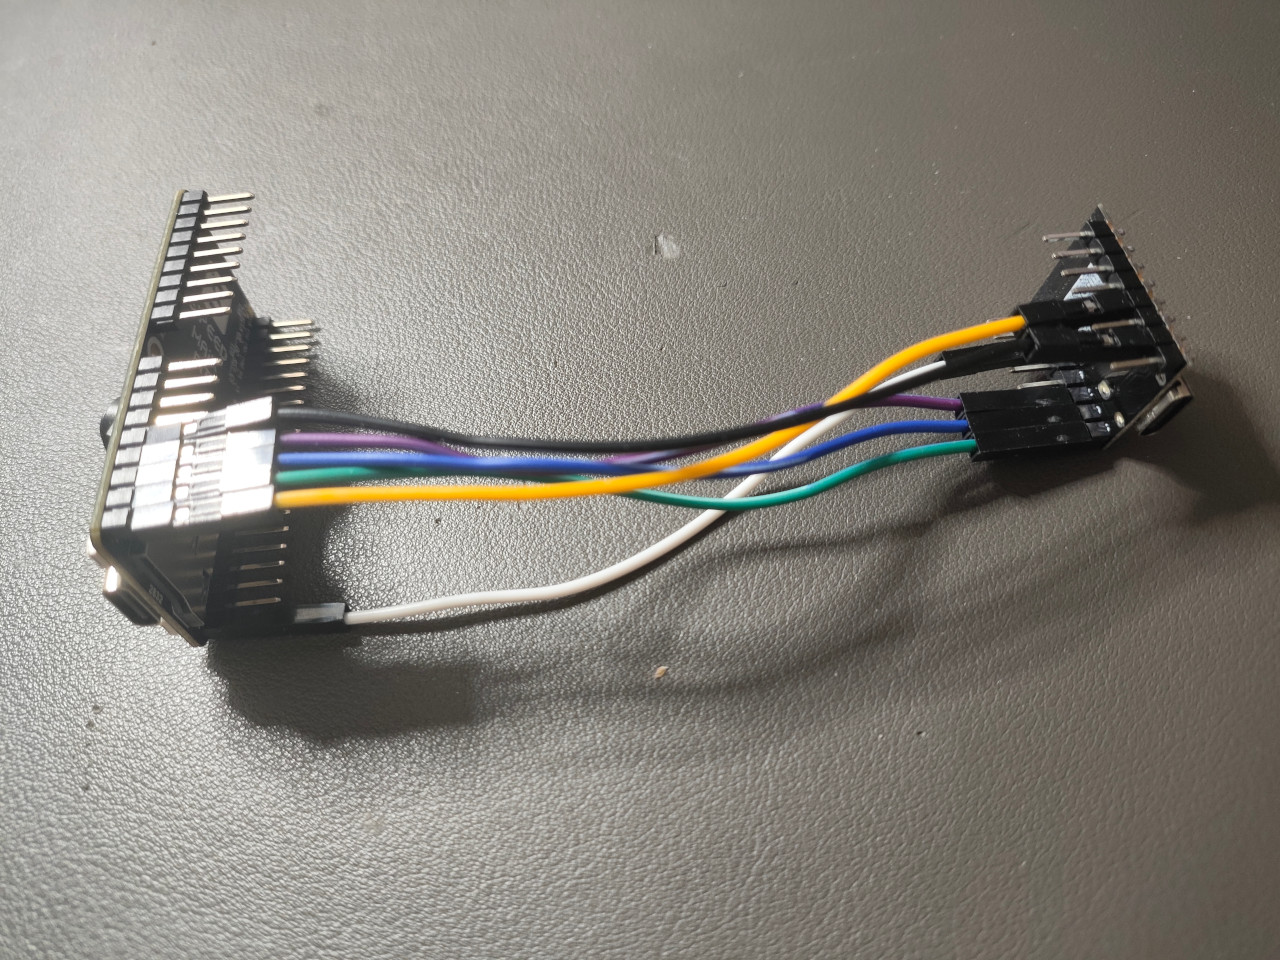
2. Cable Connection
| Maix Bit board Connected to a ESP32-C3 Super Mini | MaixDuino board Already Embedded a ESP32-WROOM-32 |
|---|---|
 |
 |
3. Stream From Two Cameras
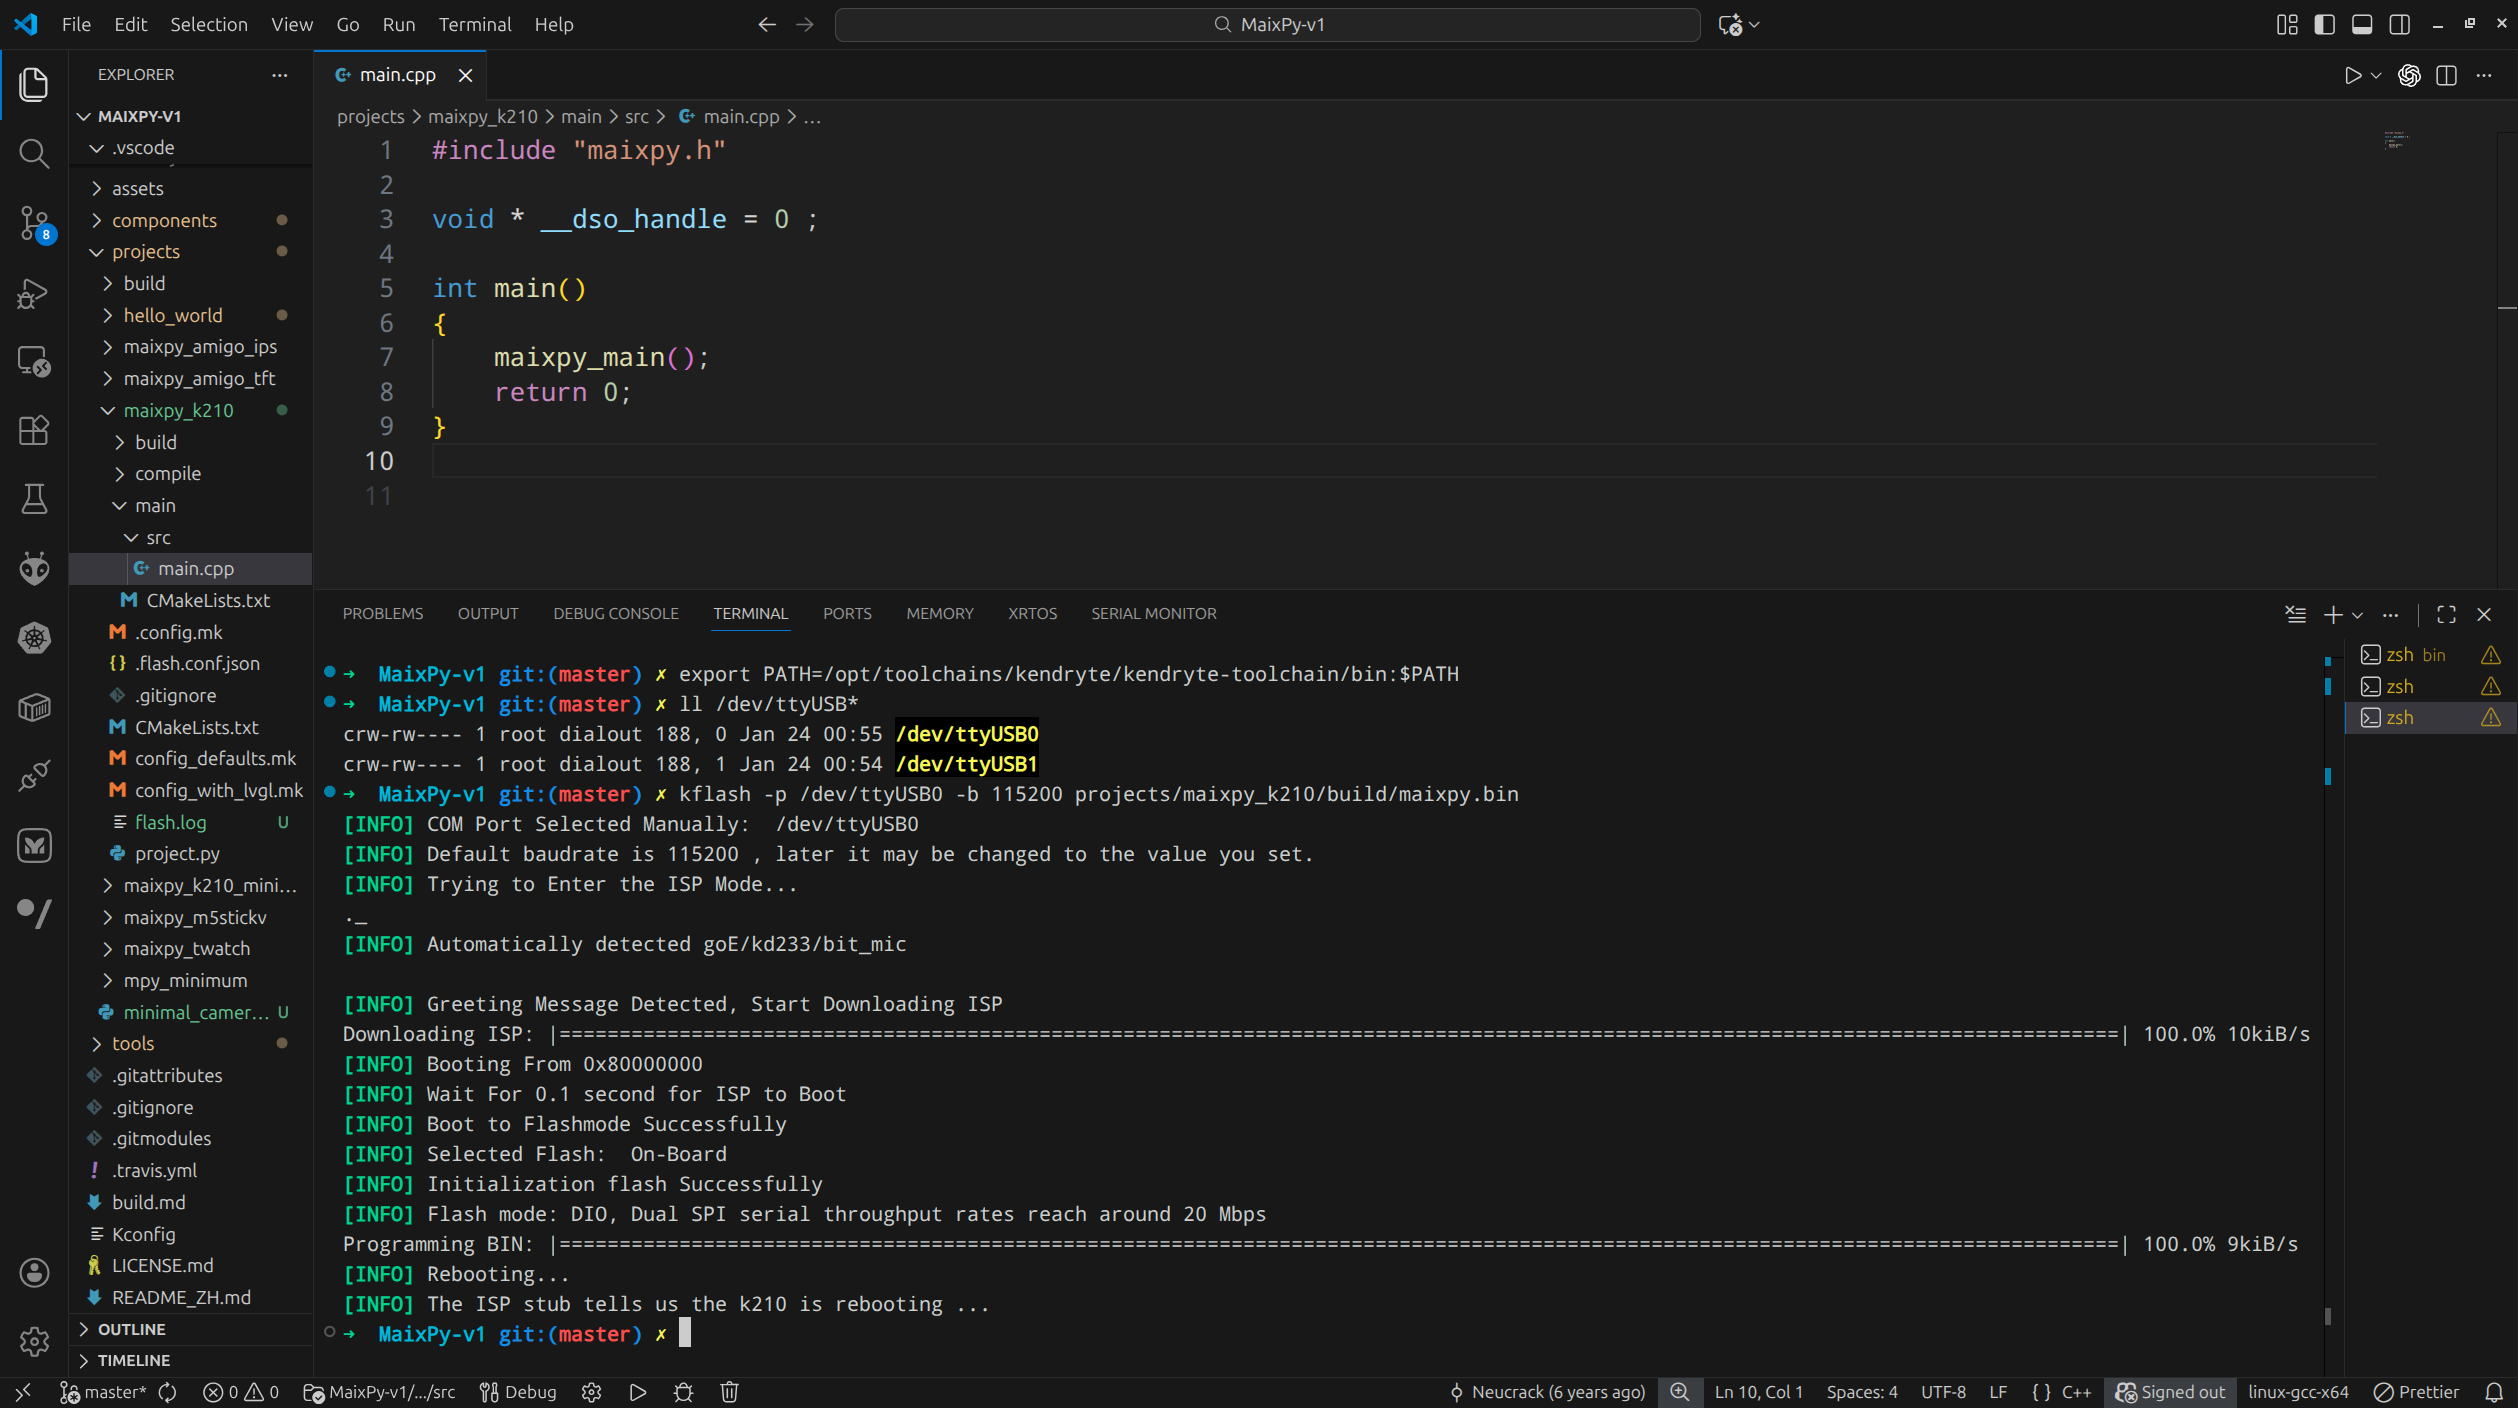
3.1 Flash MaixPy-v1 Onto /dev/ttyUSB0
3.2 Flash Maixduino_esp32_fimware Onto /dev/ttyUSB1 (Optional)
- Clearly, there is a typo here Maixduino_esp32_fimware
- Since this is Optional, I just have this step ignored for now.
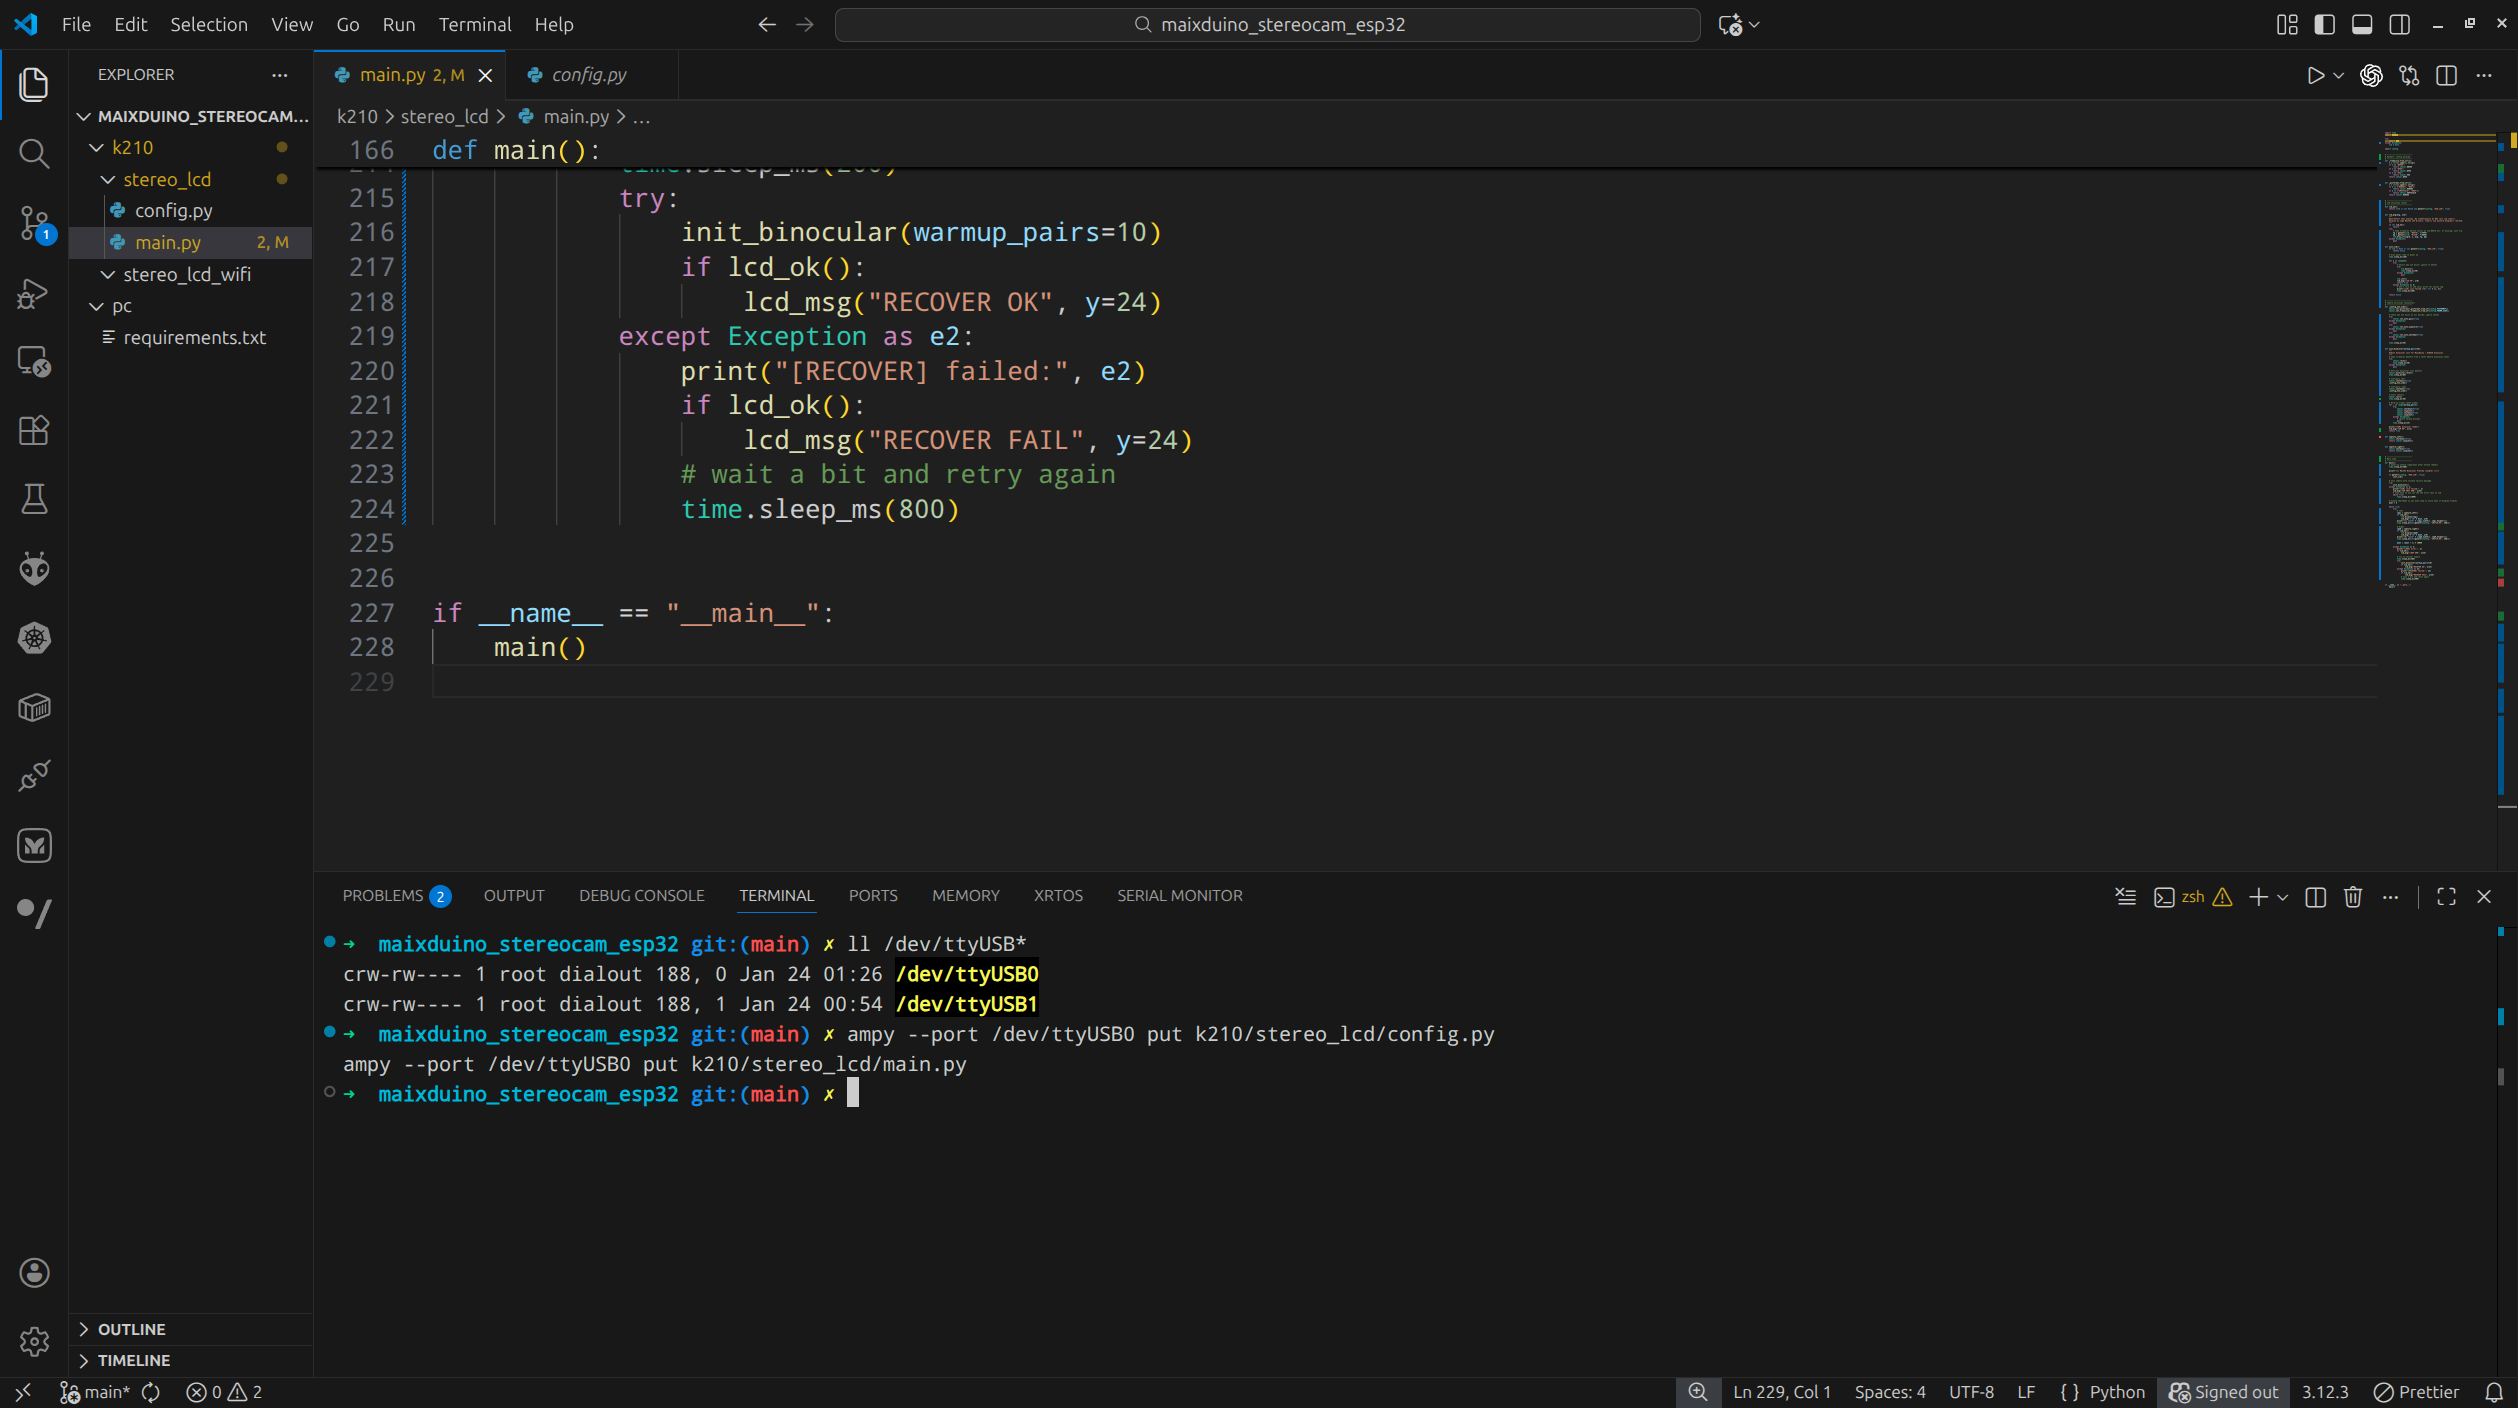
3.3 Python Scripts For Streaming Two Cameras
The full Python scripts of streaming from 2 cameras can be found in my this Github Repo maixduino_stereocam_esp32:
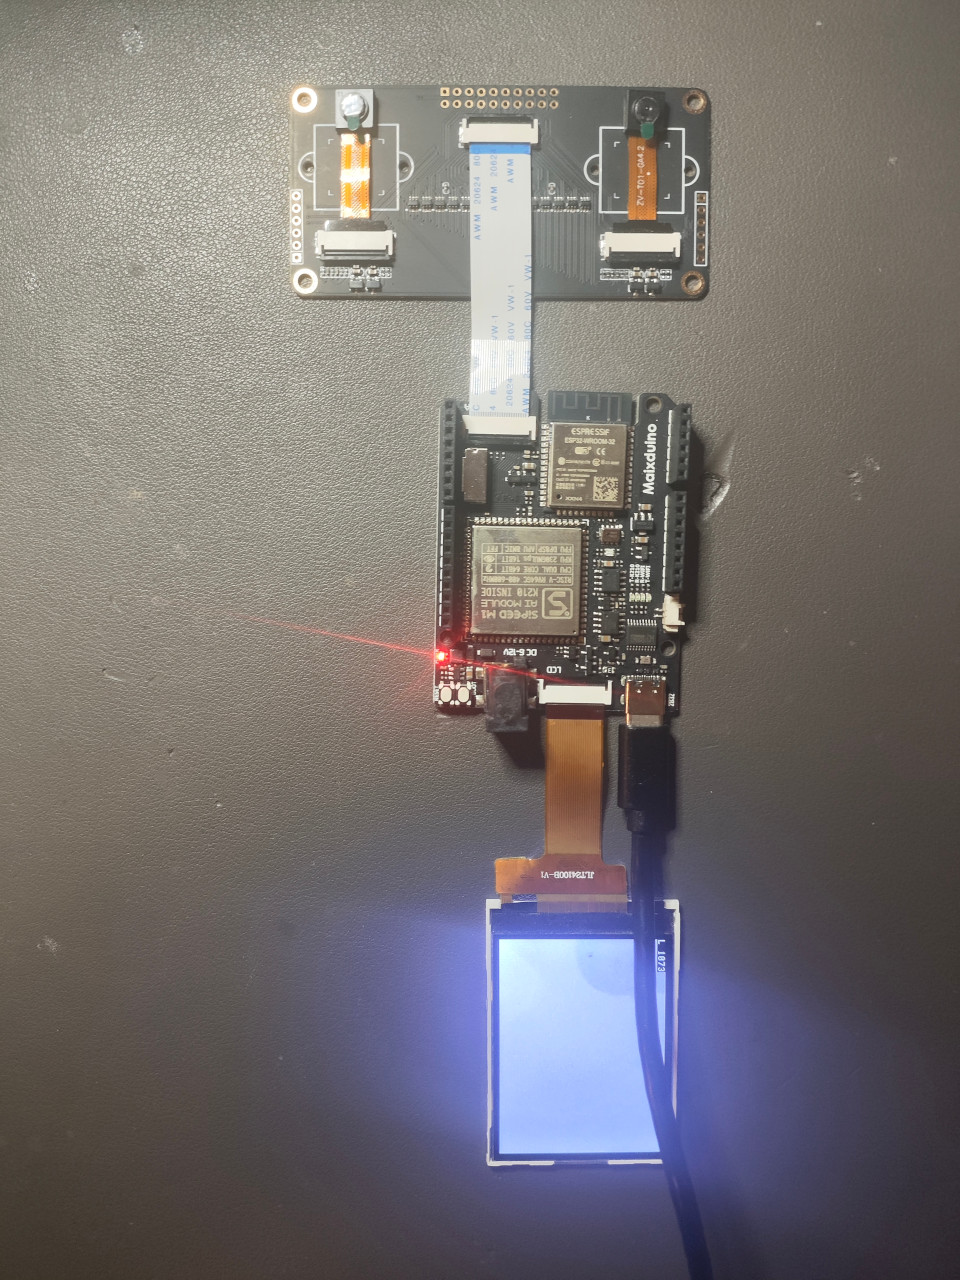
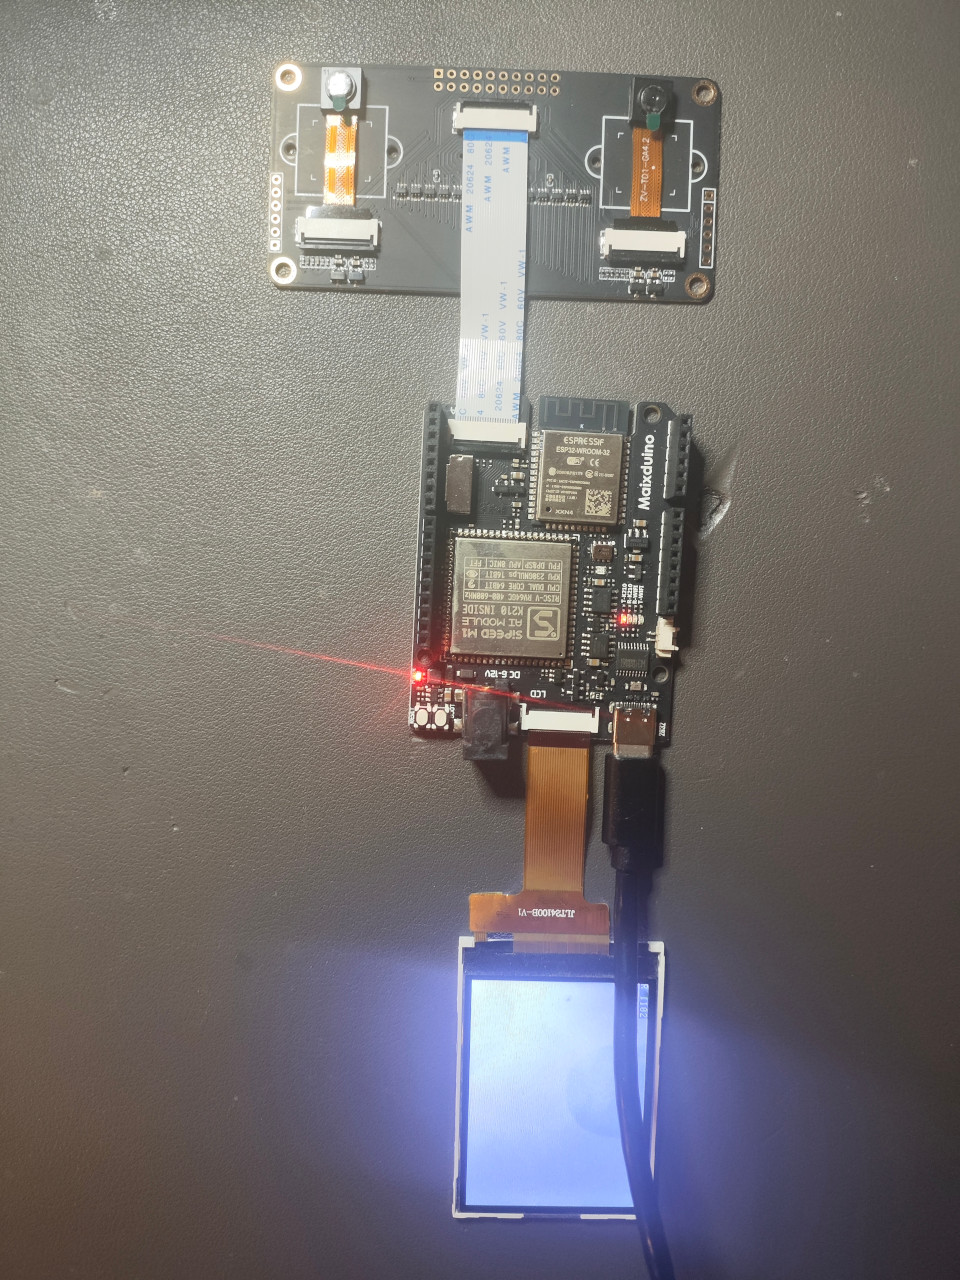
3.4 Demonstration on LCD
| One Image Captured From Left Camera | One Image Captured From Right Camera |
|---|---|
 |
 |
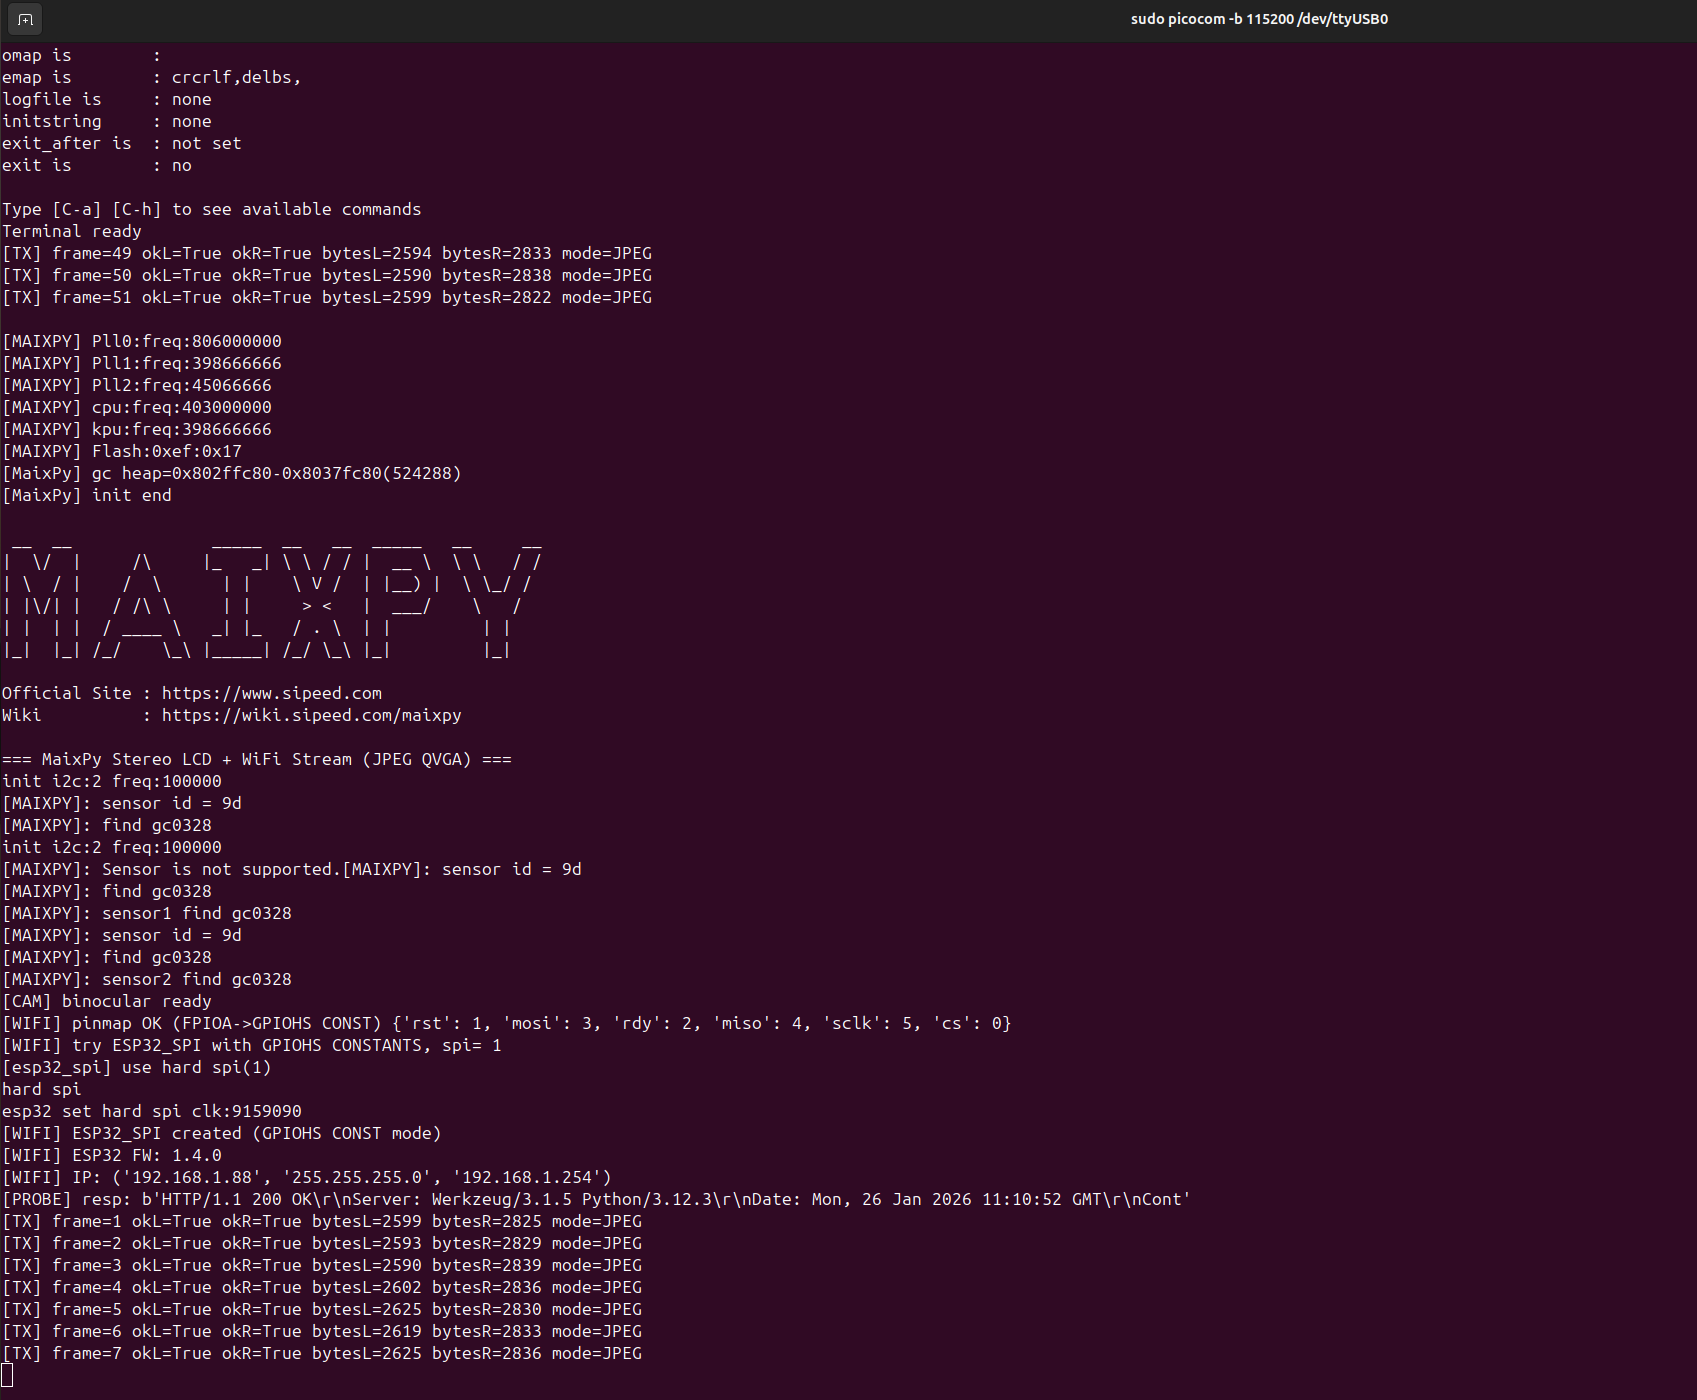
4. WiFi
None of my previous 3 blogs talked about WiFi.
MaixDuino‘s Sipeed-M1 uses the FIXED hard SPI1 to communicate with its onboard ESP32-WROOM-32, where you need to use network.ESP32_SPI for communication via WiFi, as follows:
1 | nic = network.ESP32_SPI( |
4.1 Python Scripts
4.2 Demonstration
4.2.1 MaixPy REPL