0%

Install Ubuntu Desktop from Official Orange Pi Website onto Orange Pi 3

According to our previous blog Install Armbian Ubuntu Desktop Nightly Built onto Orange Pi 3, Wifi module of Orange Pi 3 with Armbian nightly built for Orange Pi 3 does NOT function well. Therefore, today, we resort back to the Ubuntu Desktop distro from Orange Pi's official website.

PART A: Install Ubuntu Desktop from Official Orange Pi Website onto Orange Pi 3

1. Download Ubuntu Desktop for Orange Pi 3 from Official Orange Pi Website

We FIRST go visiting Orange Pi's official website http://www.orangepi.org/downloadresources/ and find the Ubuntu Desktop distro for Orange Pi 3.

After OrangePi_3_xenial_desktop_linux4.9_v1.3.img.tar.gz has been downloaded, we had it extracted as follows:

1
2
3
➜  orangepi tar xvf OrangePi_3_xenial_desktop_linux4.9_v1.3.img.tar.gz 
OrangePi_3_xenial_desktop_linux4.9_v1.3.img
OrangePi_3_xenial_desktop_linux4.9_v1.3.img.md5sum

2. Install Orange Pi's Official Ubuntu Desktop for Orange Pi 3

Exactly the same as in our previous blog Install Armbian Ubuntu Desktop with the Newest Supported Mainline Linux Kernel onto Orange Pi Plus 2, we have the TF card formatted and dd the system into it.

1
2
3
4
5
➜  orangepi sudo dd bs=4M if=OrangePi_3_xenial_desktop_linux4.9_v1.3.img of=/dev/mmcblk0 conv=fsync
[sudo] password for lvision:
950+0 records in
950+0 records out
3984588800 bytes (4.0 GB, 3.7 GiB) copied, 170.284 s, 23.4 MB/s

PART B: Boot Into Orange Pi 3, Enable SSH, Update & Upgrade, Locale Configuration, Network Configuration

Different from our previous blog Install Armbian Ubuntu Desktop With Kernel 5.0 onto Banana Pi M3, SSH service on Orange Pi's Official Ubuntu Desktop for Orange Pi 3 is NOT enabled by default. Therefore, we've got to enable SSH during out FIRST boot.

1. Boot into Orange Pi 3

The overview of Official Orange Pi's Ubuntu Desktop for Orange Pi 3 looks as:

Overview of Official Orange Pi's Ubuntu Desktop

2. Kernel Doublechecking

1
2
3
4
5
6
7
8
9
10
orangepi@OrangePi:~$ uname -r
4.9.118+
orangepi@OrangePi:~$ uname -a
Linux OrangePi 4.9.118+ #5 SMP PREEMPT Mon Apr 15 09:45:02 CST 2019 aarch64 aarch64 aarch64 GNU/Linux
orangepi@OrangePi:~$ lsb_release -a
No LSB modules are available.
Distributor ID: Ubuntu
Description: Ubuntu 16.04.6 LTS
Release: 16.04
Codename: xenial
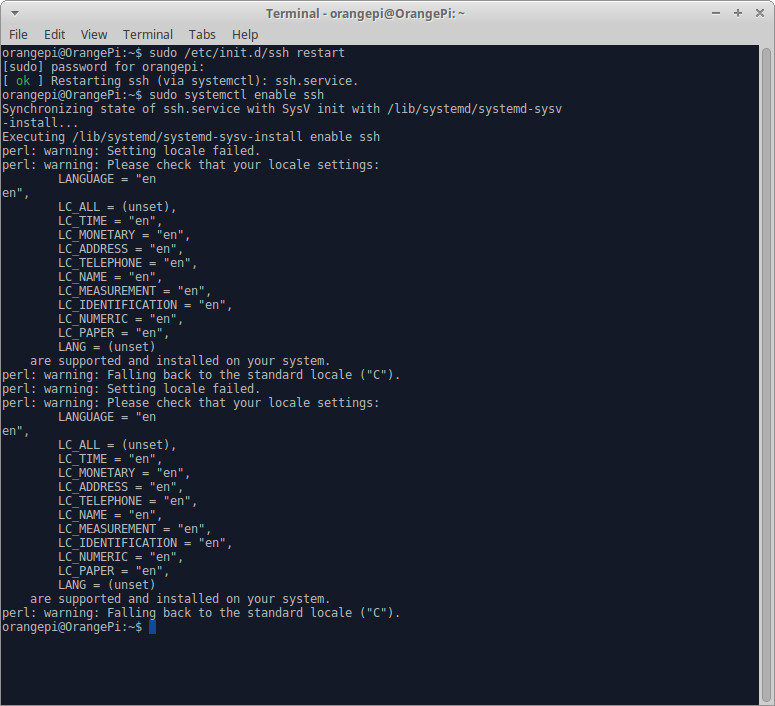
3. Enable SSH

Auto Start SSH Service After Booting

After having successfully enabled SSH, you are able to login Orange Pi 3 remotely. Well, you may still need to figure out how to:

  • setup Wifi for Orange Pi 3, which is pretty simple with Ubuntu Desktop GUI
  • further setup static IP addresses in your router for both Wifi and Wired connections

4. Update & Upgrade

1
2
3
4
5
6
7
8
9
10
11
orangepi@OrangePi:~$ sudo apt update
[sudo] password for orangepi:
Hit:1 http://mirrors.tuna.tsinghua.edu.cn/ubuntu-ports xenial InRelease
Hit:2 http://mirrors.tuna.tsinghua.edu.cn/ubuntu-ports xenial-updates InRelease
Hit:3 http://mirrors.tuna.tsinghua.edu.cn/ubuntu-ports xenial-backports InRelease
Hit:4 http://mirrors.tuna.tsinghua.edu.cn/ubuntu-ports xenial-security InRelease
Reading package lists... Done
Building dependency tree
Reading state information... Done
All packages are up to date.
root@orangepi3:~#

Since I've already updated/upgraded all packages, it'll tell you from terminal that All packages are up to date.. BTW, it seems Orange Pi is a team from TsingHua Universiity?

5. Locale Configuration

1
2
3
4
5
6
7
8
9
10
11
12
13
14
15
16
17
18
19
20
21
22
23
24
25
26
27
28
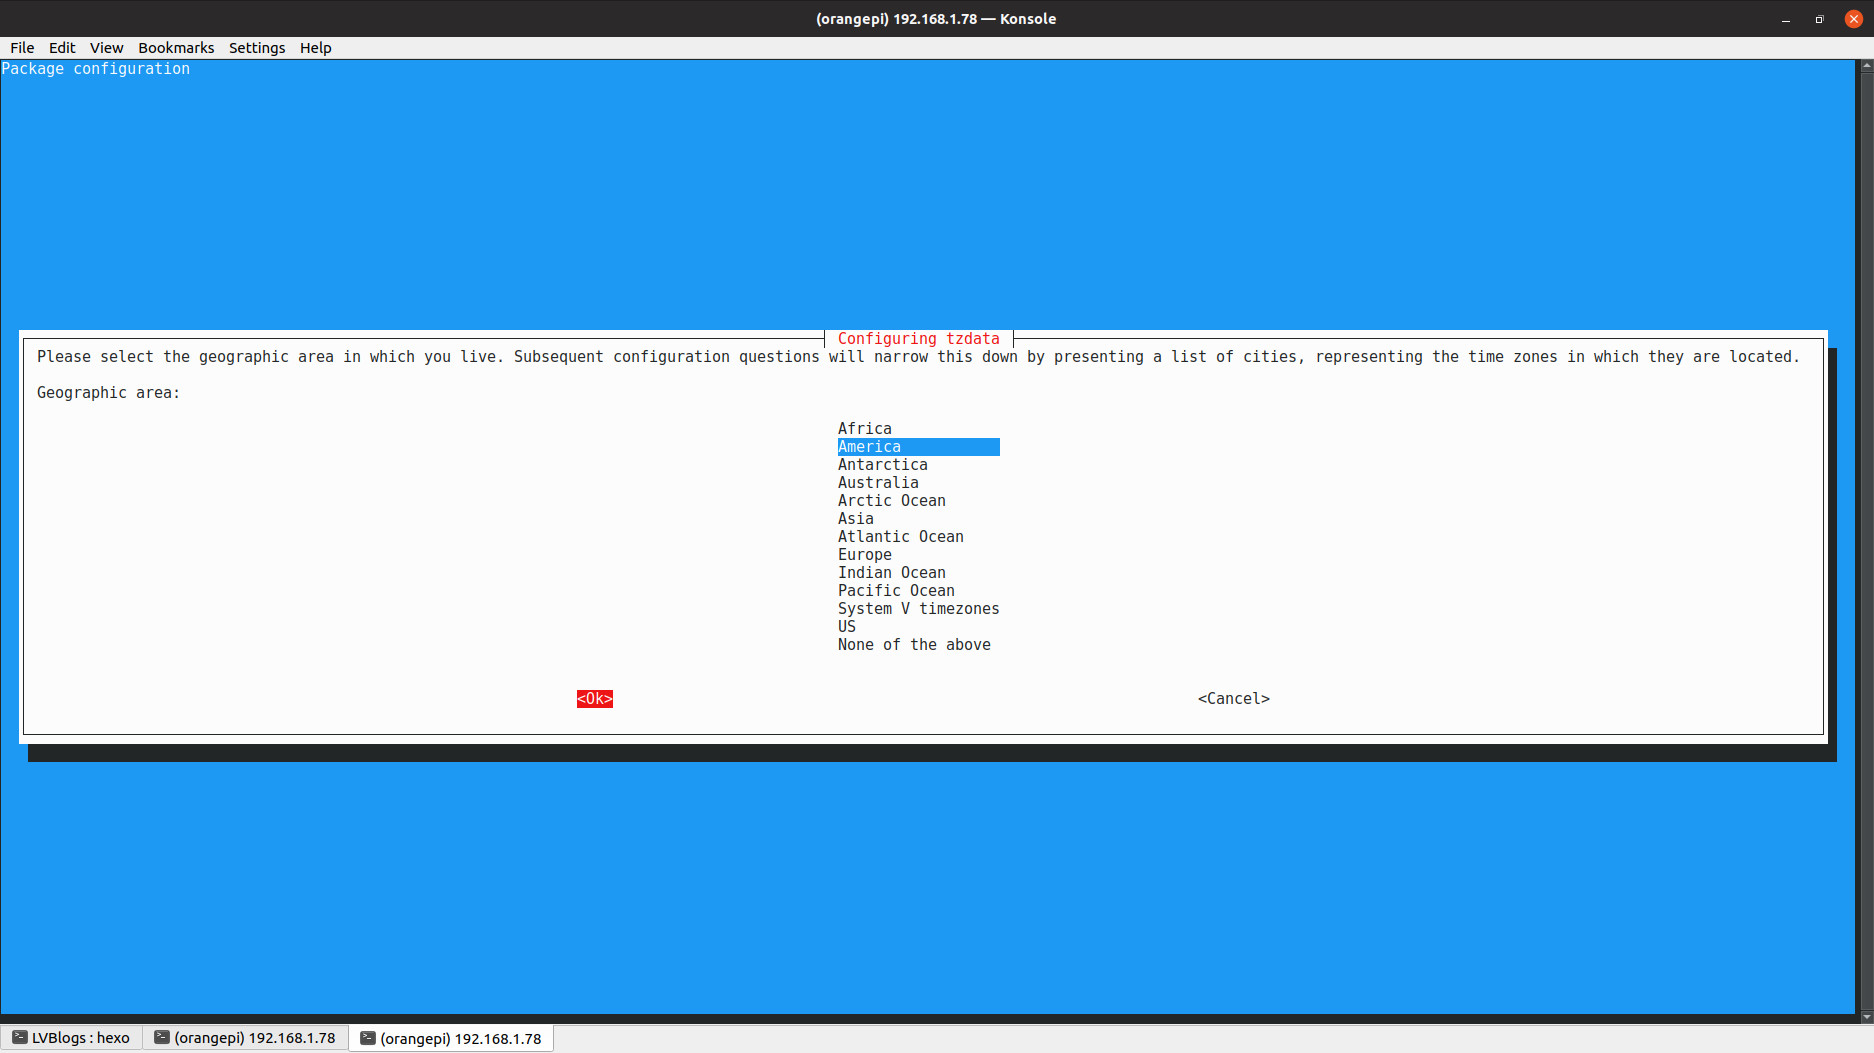
orangepi@OrangePi:~$ sudo dpkg-reconfigure tzdata
perl: warning: Setting locale failed.
perl: warning: Please check that your locale settings:
LANGUAGE = (unset),
LC_ALL = (unset),
LC_PAPER = "en",
LC_ADDRESS = "en",
LC_MONETARY = "en",
LC_NUMERIC = "en",
LC_TELEPHONE = "en",
LC_IDENTIFICATION = "en",
LC_MEASUREMENT = "en",
LC_CTYPE = "en_CA.UTF-8",
LC_TIME = "en",
LC_NAME = "en",
LANG = "en_CA.UTF-8"
are supported and installed on your system.
perl: warning: Falling back to the standard locale ("C").
locale: Cannot set LC_CTYPE to default locale: No such file or directory
locale: Cannot set LC_MESSAGES to default locale: No such file or directory
locale: Cannot set LC_ALL to default locale: No such file or directory
/usr/bin/locale: Cannot set LC_CTYPE to default locale: No such file or directory
/usr/bin/locale: Cannot set LC_MESSAGES to default locale: No such file or directory
/usr/bin/locale: Cannot set LC_ALL to default locale: No such file or directory

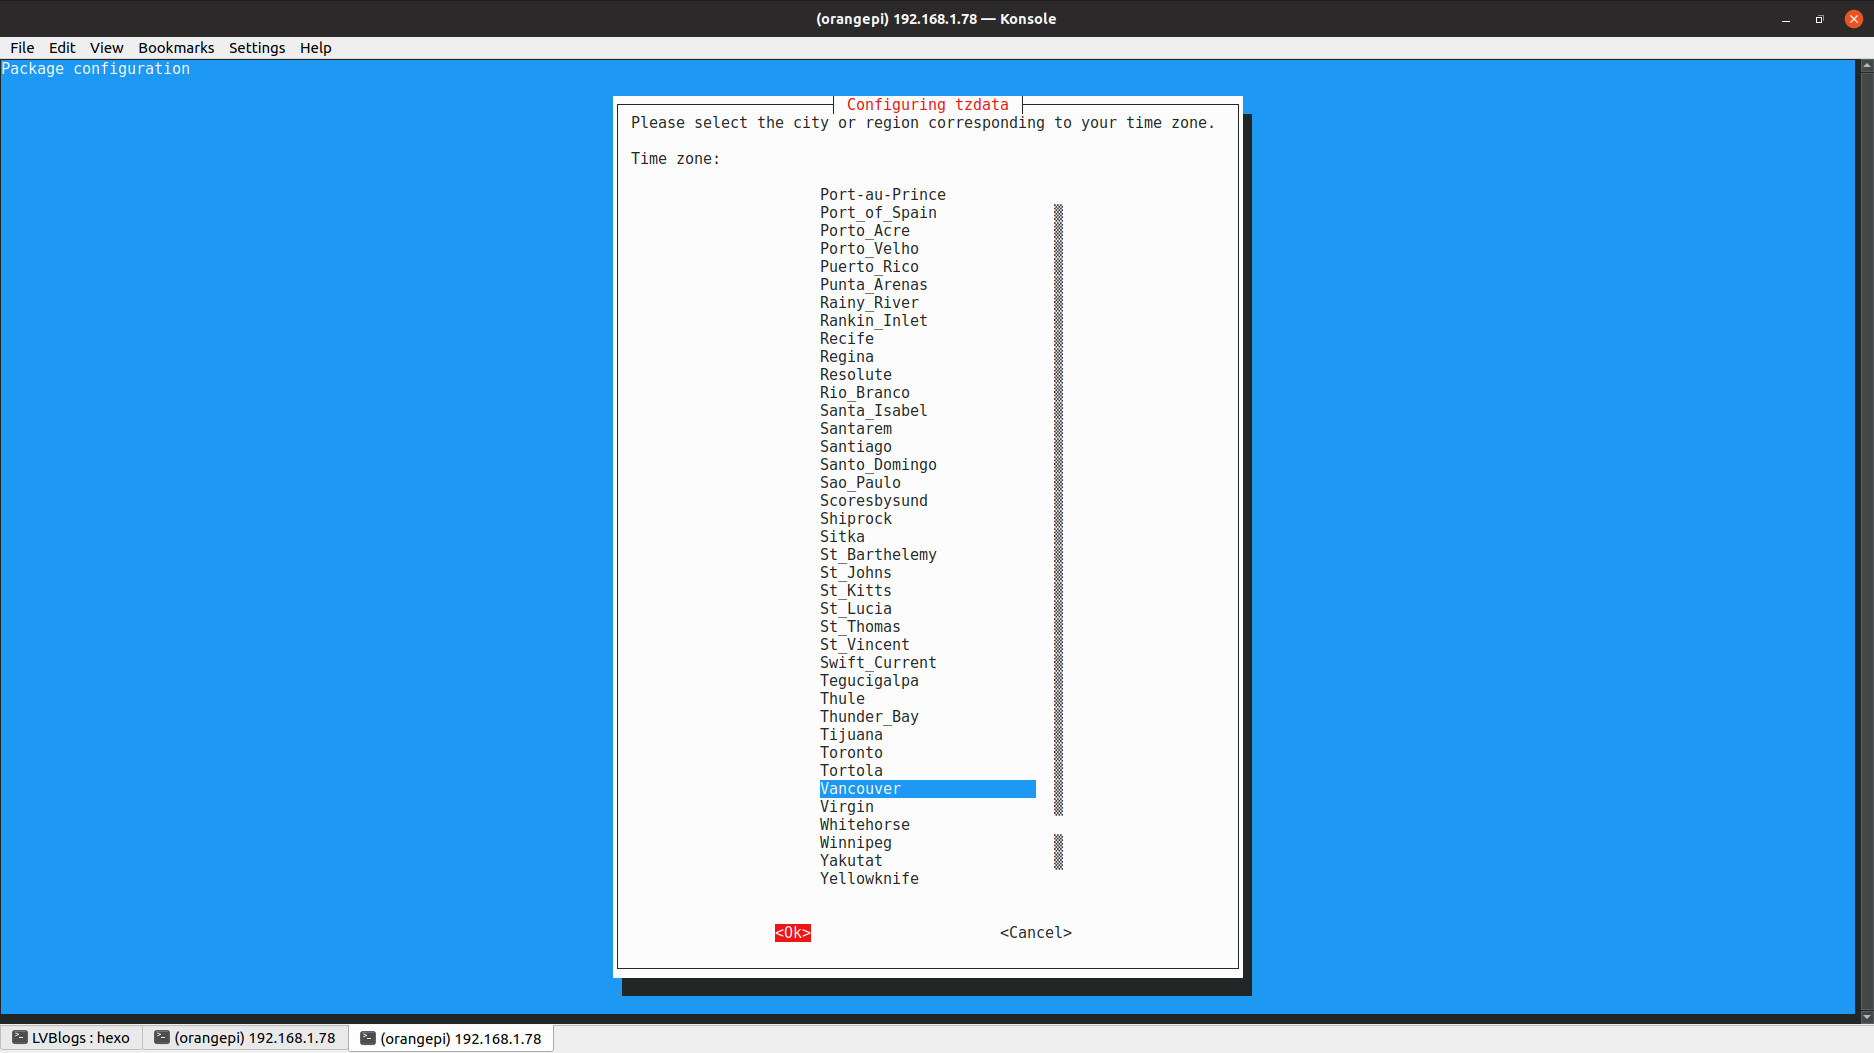
Current default time zone: 'America/Vancouver'
Local time is now: Wed Jun 5 09:43:12 PDT 2019.
Universal Time is now: Wed Jun 5 16:43:12 UTC 2019.

During the above process, you'll set the following 2 pages correspondingly:

System Locale America
System Locale Vancouver

By using the command date, we can see the timezone has been successfully reset.

1
2
orangepi@OrangePi:~# date
Wed Jun 5 12:05:40 PDT 2019

6. Network Configuration

1
2
3
4
5
6
7
8
9
10
11
12
13
14
15
16
17
18
19
20
21
22
23
24
25
26
27
28
29
30
31
32
33
34
35
36
37
38
39
40
41
orangepi@OrangePi:~$ ip -c address
1: lo: <LOOPBACK,UP,LOWER_UP> mtu 65536 qdisc noqueue state UNKNOWN group default qlen 1
link/loopback 00:00:00:00:00:00 brd 00:00:00:00:00:00
inet 127.0.0.1/8 scope host lo
valid_lft forever preferred_lft forever
inet6 ::1/128 scope host
valid_lft forever preferred_lft forever
2: eth0: <BROADCAST,MULTICAST,UP,LOWER_UP> mtu 1500 qdisc pfifo_fast state UP group default qlen 1000
link/ether 36:c9:e3:f1:b8:05 brd ff:ff:ff:ff:ff:ff
inet 192.168.1.78/24 brd 192.168.1.255 scope global eth0
valid_lft forever preferred_lft forever
inet6 2001:569:7e6d:1b00:4cbf:8fff:88e0:e68c/64 scope global temporary dynamic
valid_lft 7488sec preferred_lft 7188sec
inet6 2001:569:7e6d:1b00:c145:4c18:8c39:e90a/64 scope global mngtmpaddr noprefixroute dynamic
valid_lft 7488sec preferred_lft 7188sec
inet6 fe80::5ca:d7da:797:33af/64 scope link
valid_lft forever preferred_lft forever
3: tunl0@NONE: <NOARP> mtu 1480 qdisc noop state DOWN group default qlen 1
link/ipip 0.0.0.0 brd 0.0.0.0
4: gre0@NONE: <NOARP> mtu 1476 qdisc noop state DOWN group default qlen 1
link/gre 0.0.0.0 brd 0.0.0.0
5: gretap0@NONE: <BROADCAST,MULTICAST> mtu 1462 qdisc noop state DOWN group default qlen 1000
link/ether 00:00:00:00:00:00 brd ff:ff:ff:ff:ff:ff
6: ip_vti0@NONE: <NOARP> mtu 1480 qdisc noop state DOWN group default qlen 1
link/ipip 0.0.0.0 brd 0.0.0.0
7: ip6_vti0@NONE: <NOARP> mtu 1500 qdisc noop state DOWN group default qlen 1
link/tunnel6 :: brd ::
8: sit0@NONE: <NOARP> mtu 1480 qdisc noop state DOWN group default qlen 1
link/sit 0.0.0.0 brd 0.0.0.0
9: ip6tnl0@NONE: <NOARP> mtu 1452 qdisc noop state DOWN group default qlen 1
link/tunnel6 :: brd ::
10: wlan0: <BROADCAST,MULTICAST,UP,LOWER_UP> mtu 1500 qdisc pfifo_fast state UP group default qlen 1000
link/ether 6c:21:a2:14:cc:ce brd ff:ff:ff:ff:ff:ff
inet 192.168.1.79/24 brd 192.168.1.255 scope global dynamic wlan0
valid_lft 86384sec preferred_lft 86384sec
inet6 2001:569:7e6d:1b00:9055:86f5:5b5:82ae/64 scope global temporary dynamic
valid_lft 7488sec preferred_lft 7188sec
inet6 2001:569:7e6d:1b00:a76:2b2e:4c08:f7cd/64 scope global mngtmpaddr noprefixroute dynamic
valid_lft 7488sec preferred_lft 7188sec
inet6 fe80::200d:cbb5:fc23:f6e4/64 scope link
valid_lft forever preferred_lft forever

As you can see, I set up static IP address as follows:

  • eth0: 192.168.1.78
  • wlan0: 192.168.1.79