Today, we are going to talk about a fabulous project: stereo vision on a zynq-7010 board.
1. VCSBC nano Z-RH-2
1.1 Hardware
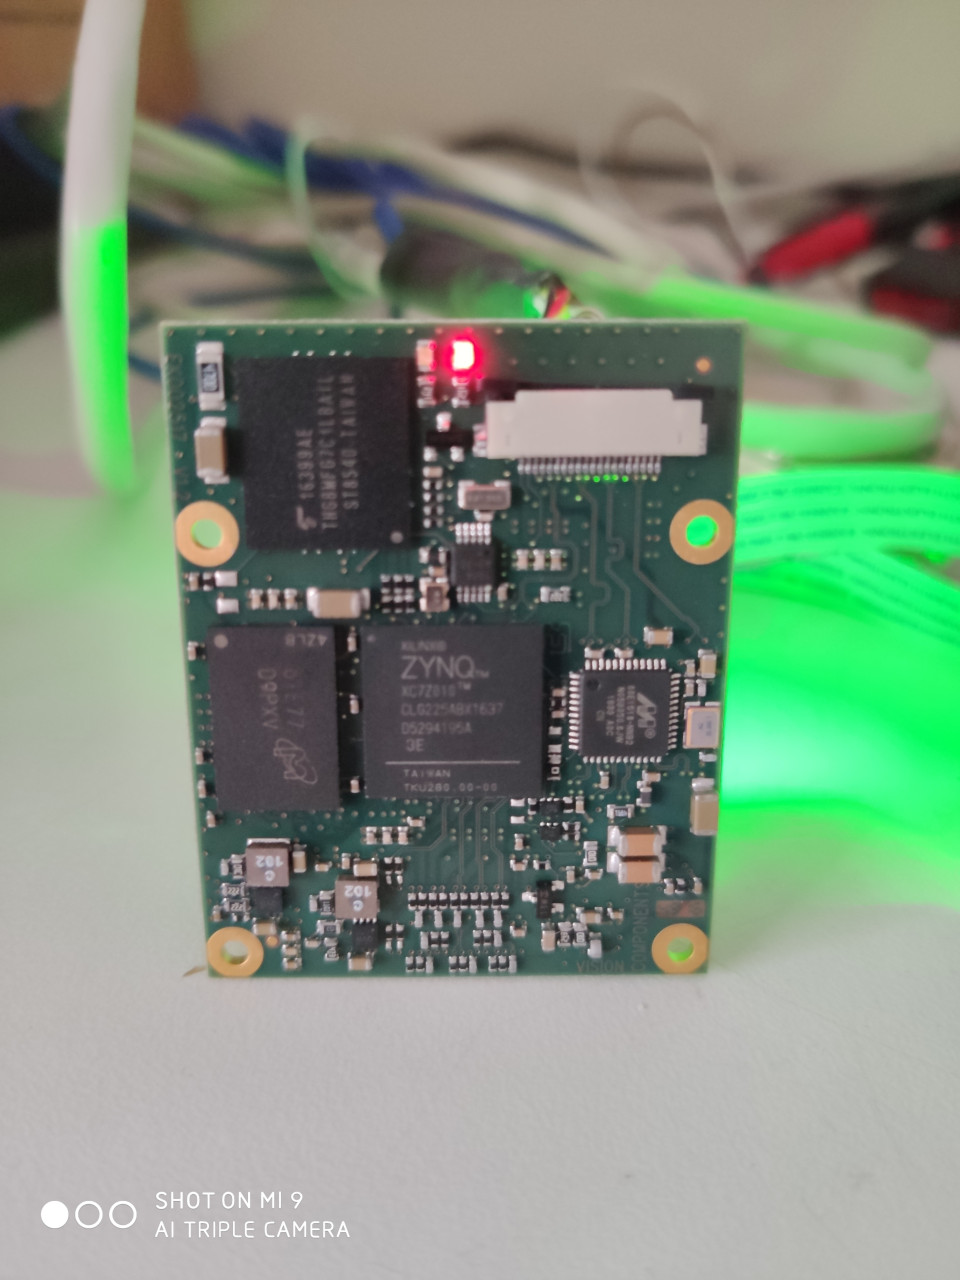
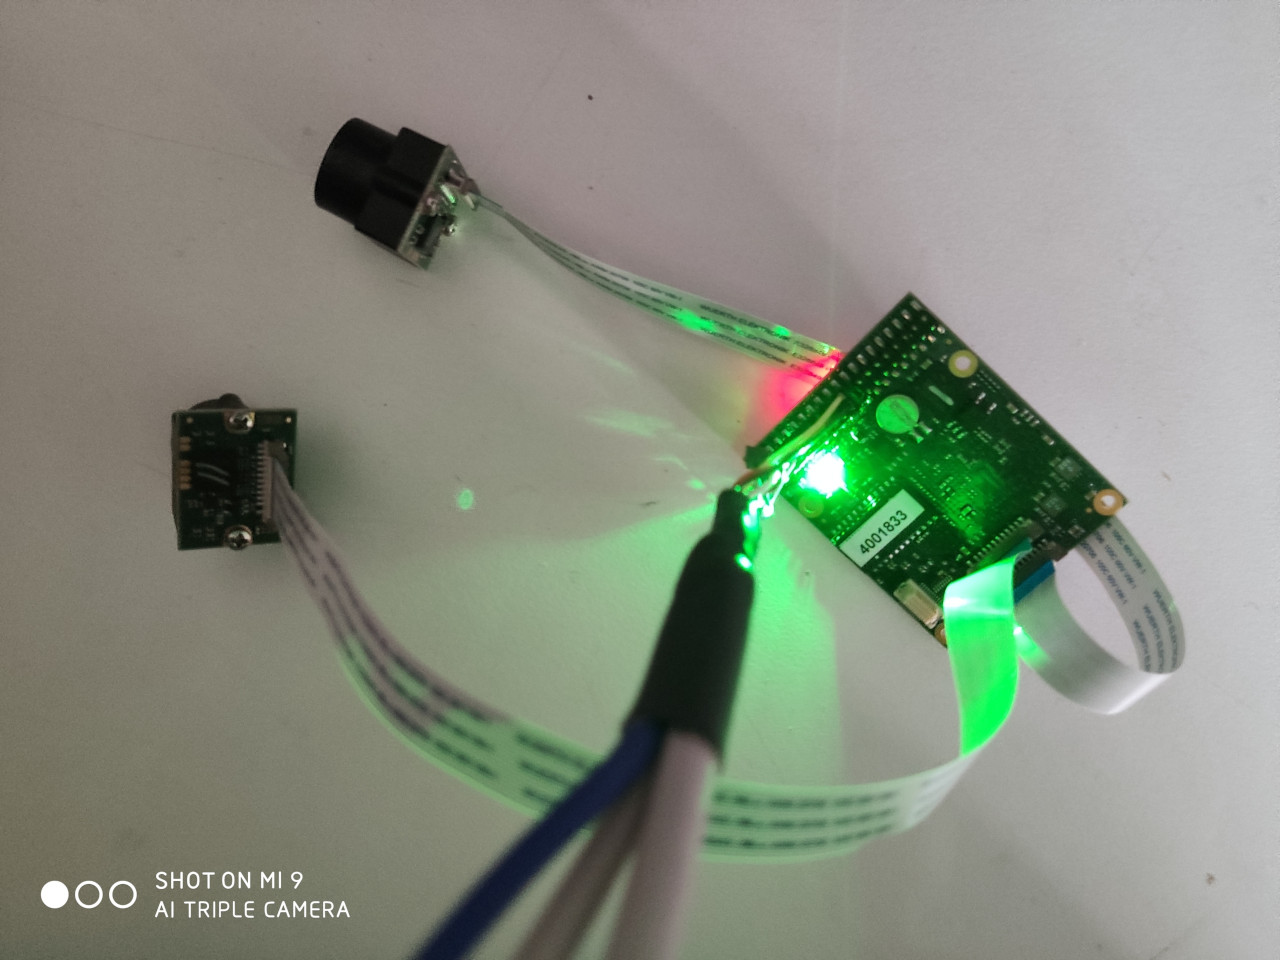
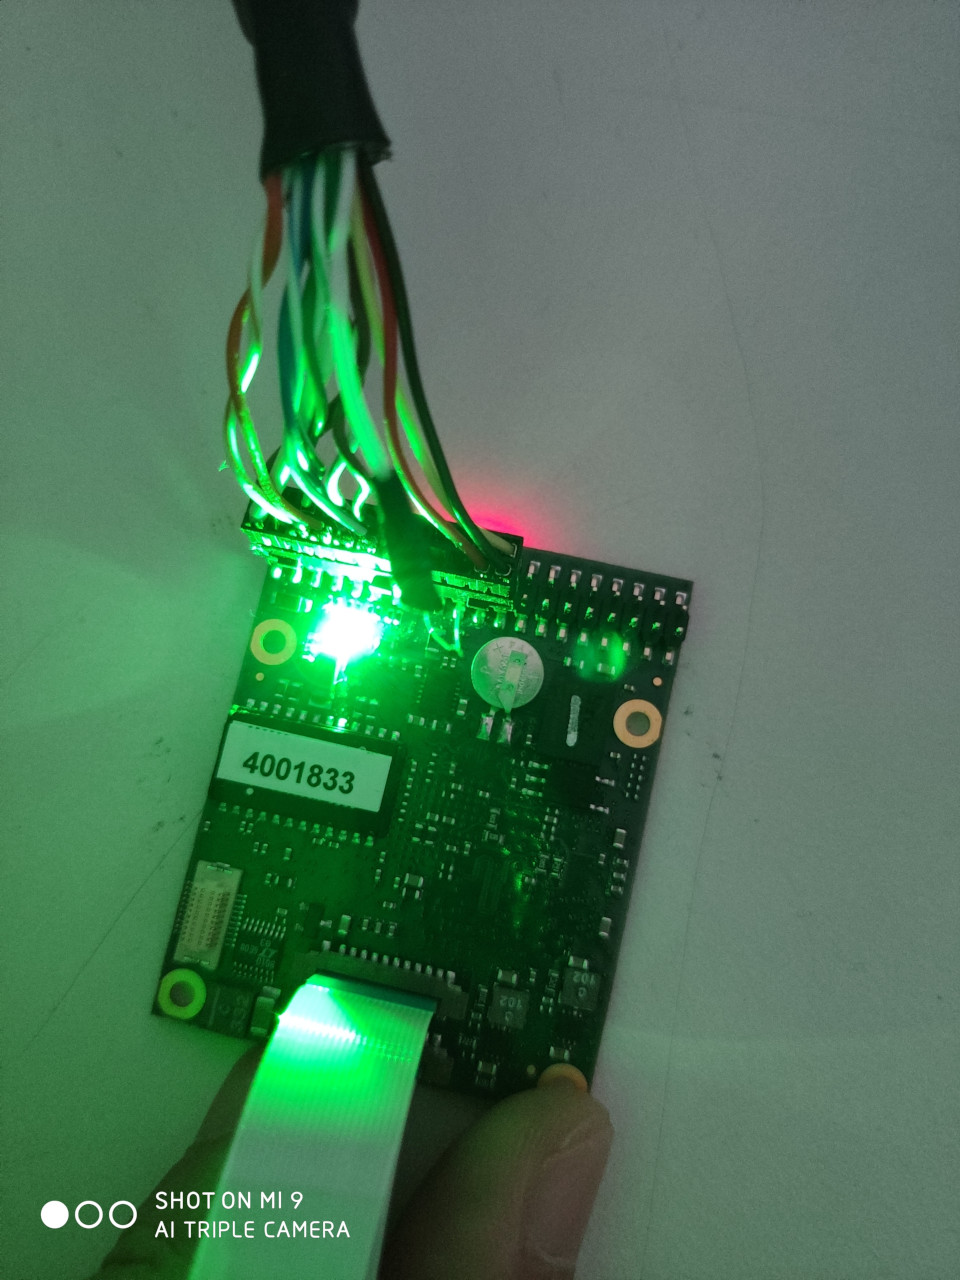
We are using a VCSBC nano Z-RH-2 board for today’s experiment. The board adopted looks like the following:
| Front | Back | Connector |
|---|---|---|
 |
 |
 |
More detailed specifications, please refer to Vision Components’s official website.
1.2 Software
After you set up a static IP for this Vision Components SBC, it’s pretty straightforward to ssh into the system.
1 | ssh user@192.168.1.79 |
Currently, VC provides Linux Kernel 3.14.79.
1 | user@VC-Z:~$ uname -a |
And, let’s take a look at the dual ARMv7 CPUs on zynq-7010.
1 | user@VC-Z:~$ cat /proc/cpuinfo |
2. Stereo Vision
Sorry everybody. Today, I ONLY test stereo vision on ARM. I’ll try to figure out how to flash an open source IP of stereo vision onto zynq-7010, or write my own ASAP.
Hmmmmmmmm… It’s better I keep my code in dark???
2.1 Classical Image Pairs
Let’s try out the stereo vision on some .pgm image pairs FIRST.
1 | user@VC-Z:~/longervision$ ./pgmpair ../images/aloe_left.pgm ../images/aloe_right.pgm |
My GOD… It’s UNBELIEVABLY SLOW.
| aloe_left | aloe_right |
|---|---|
 |
 |
| aloe_left Stereo | aloe_right Stereo |
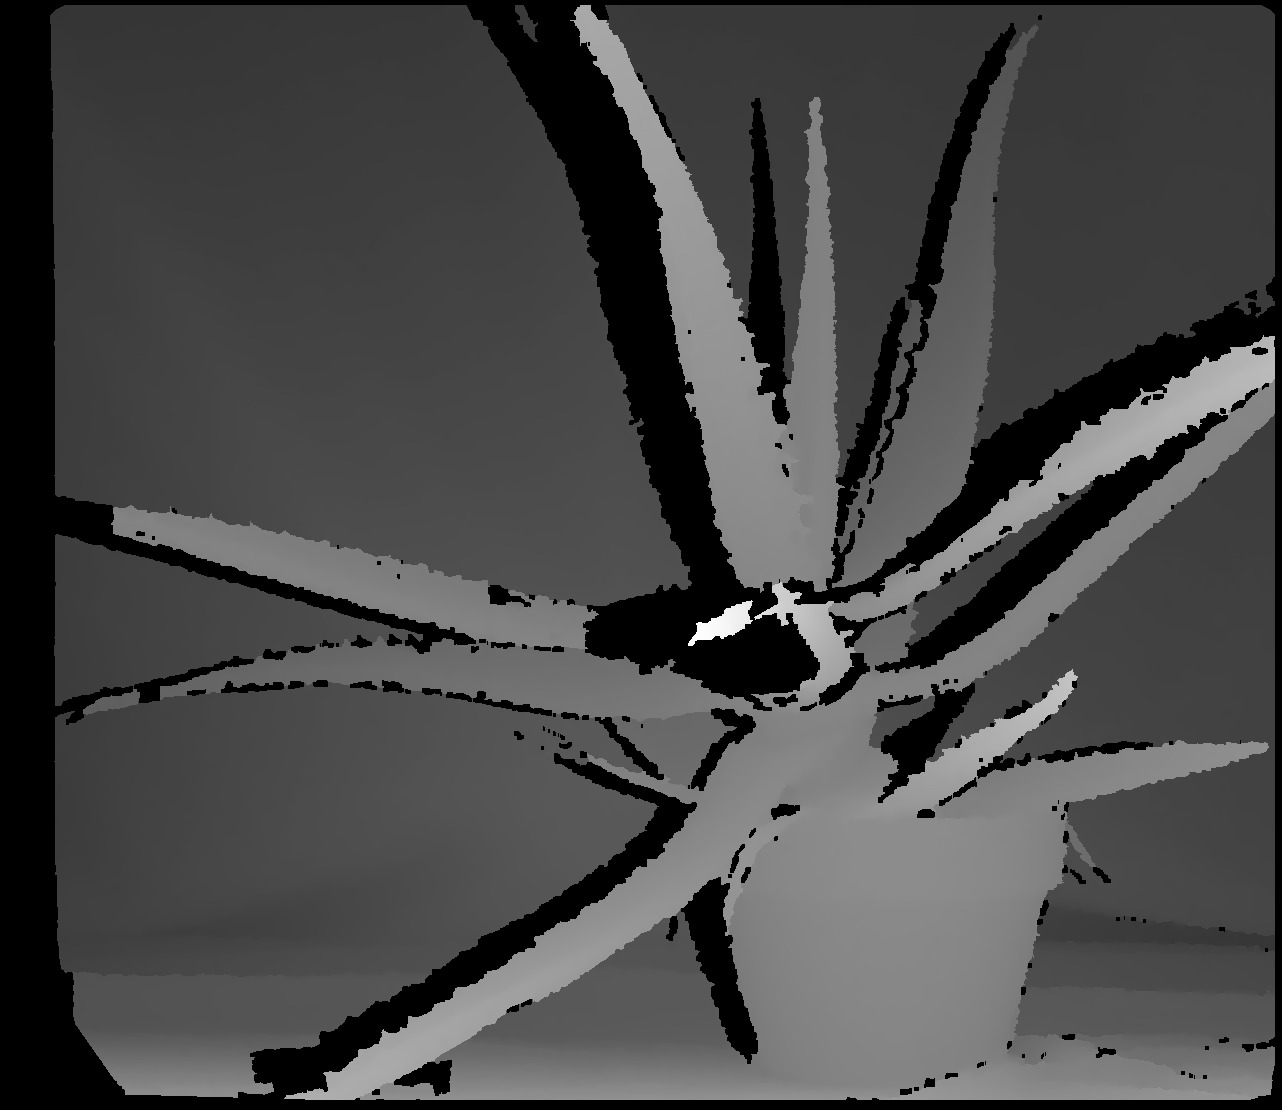 |
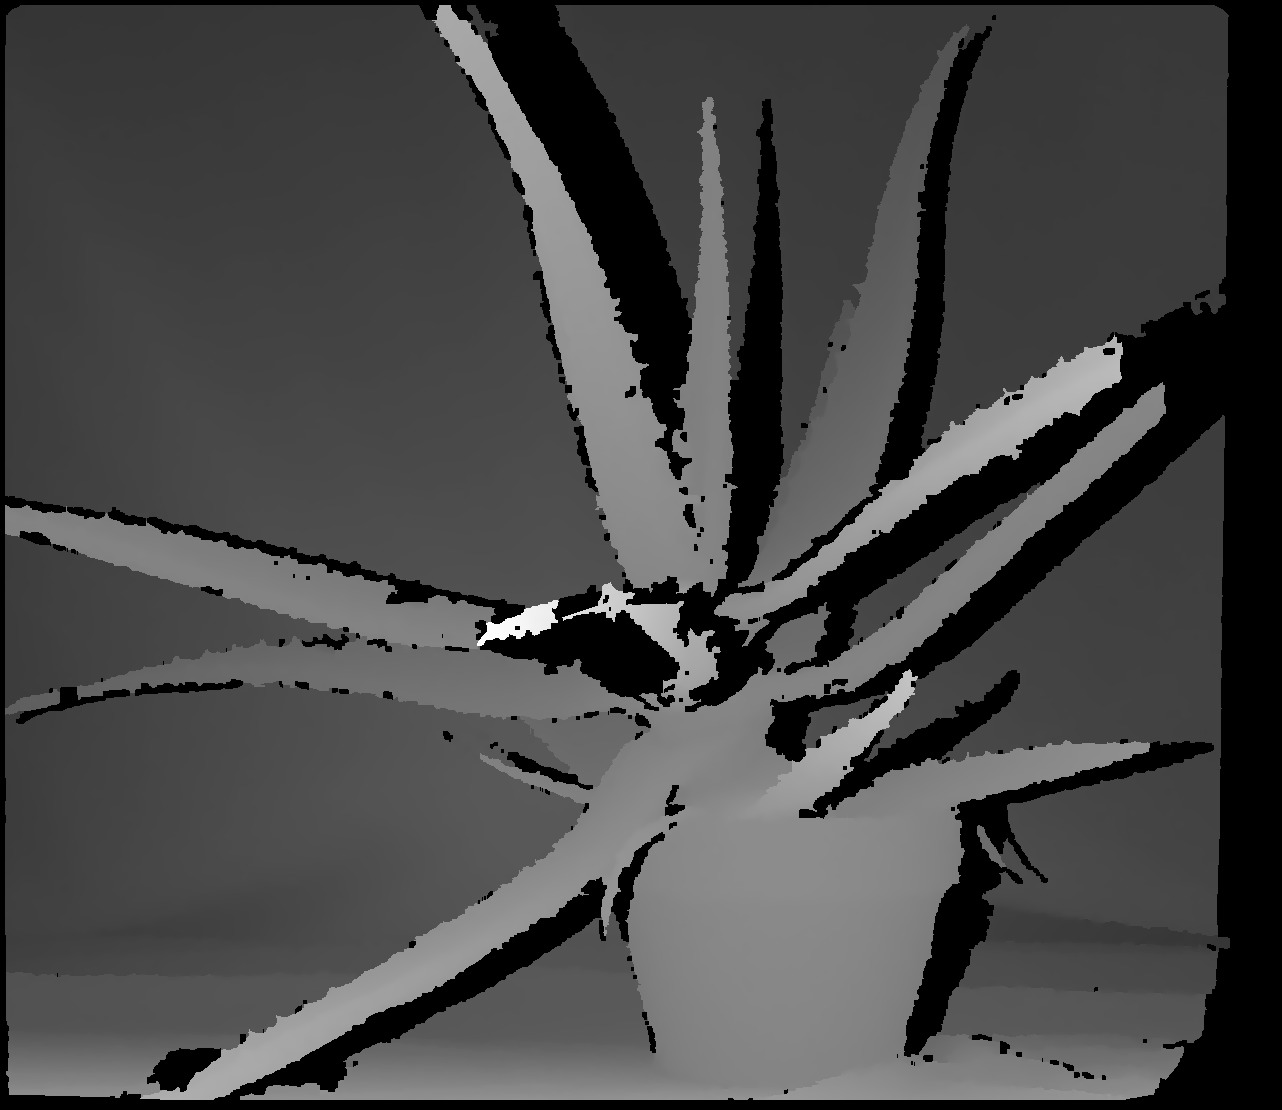 |
2.2 Live Video Pairs
The BEST demo code to test Vision Componenets Stereo Vision is Eclipse_Example_Projects_VC_Z.
2.2.1 imageCaptureTest
1 | ./imageCaptureTest |
2.2.2 imageCaptFPS
1 | 03:41:47[root@VC-Z] /home/user/vc/Eclipse_Example_Projects_VC_Z/imageCaptFPS |
The above 2 examples are directly run on Vision Components’s board without display, for the given cable is of VGA connector, which is ALREADY outdated for many years. Therefore, in order to show the captured image pairs, in the next section, we’ll have to stream the captured data to a host computer, and display the real-time video pairs.
2.3 Stream/Display From Host Computer
Due to Vision Componenets’ Official documentation VCLinux_Getting_Started.pdf, images captured from camera can be displayed on a remote hosting PC.
2.3.1 Eclipse_Example_Projects_VC_Z (Not Preferred)
Eclipse_Example_Projects_VC_Z.zip provides some source code, which displays images captured from camera on the hosting PC’s Eclipse, by adding the camera as a Remote System to Eclipse.
Anyway, by using this method, you need to prepare ALL the following software and packages in advance.
- Eclipse
- CDT: install by Check for Updates with p2 software repository: http://download.eclipse.org/tools/cdt/releases/9.8
- Direct Remote C++ Debugging: installed from Eclipse Marketplace
2.3.2 vcimgnetclient.py
Besides the above method, a much more straightforward method is to adopt python script vcimgnetclient.py provided by Vision Components. However, vcimgnetclient.py is ONLY python2 compatible, and Vision Components has NO plan to provide a python3 compatible version of vcimgnetclient.py.
Therefore, the KEY to use the 2nd method is to make vcimgnetclient.py python3 compatible.
2.3.2.1 2to3
1 | 2to3 vcimgnetclient.py |
2.3.2.2 pygi-convert
Please refer to General Porting Tips
1 | ./pygi-convert.sh vcimgnetclient.py |
2.3.2.3 Try Running
1 | python vcimgnetclient.py |
2.3.2.4
For ALL vbox.pack_start, add one parameter 0 at the end for each case. For instance:vbox.pack_start(self.menu_bar, False, False)
tovbox.pack_start(self.menu_bar, False, False, 0)
Oh my god … There are STILL SO MANY things to do, in order to make vcimgnetclient.py Python3 compatible. Therefore, I implement my own vcimgnetclient_qt.py based on PyQt5.
2.3.3 Longer Vision’s vcimgnetclient_qt.py
2.3.3.1 Server
1 | 22:42:22[root@VC-Z] /home/user |
2.3.3.2 Client
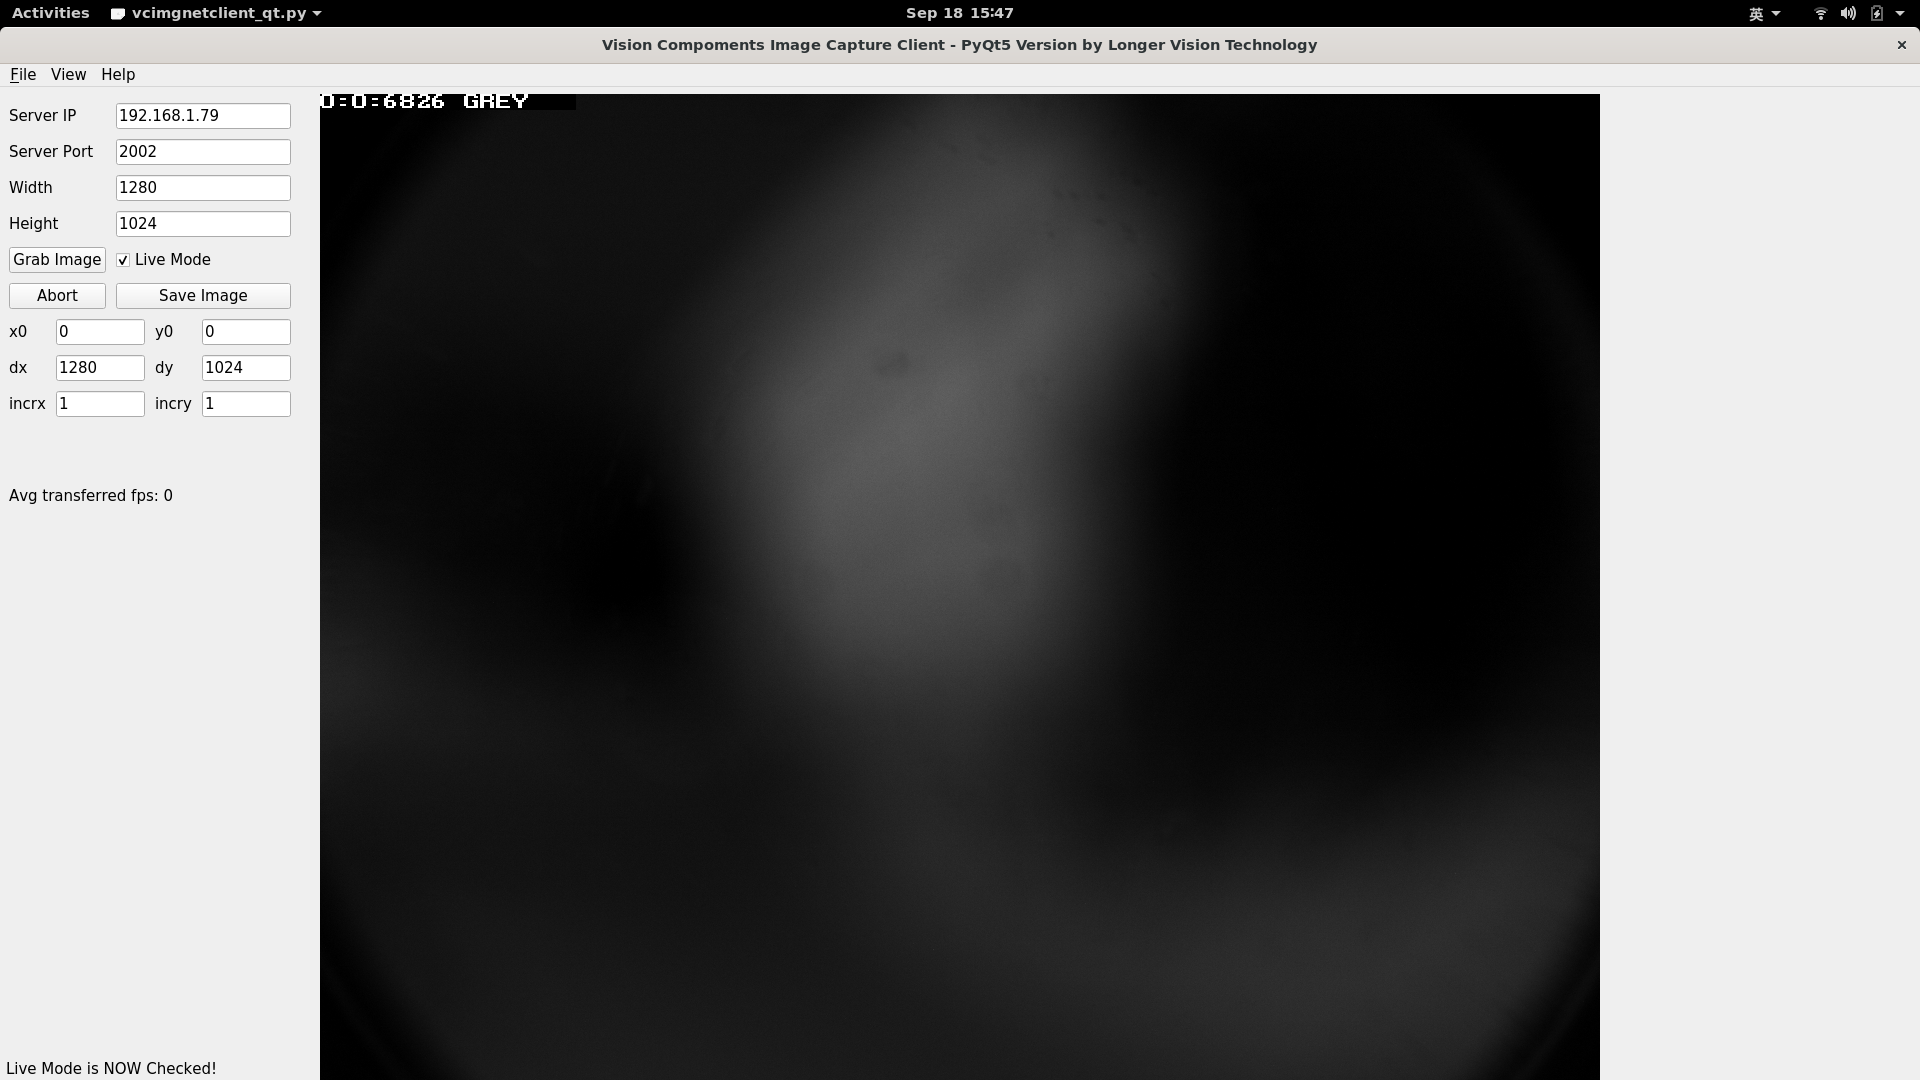
Sorry, I’m NOT going to show my code, but the performance can be demonstrated as follows:
