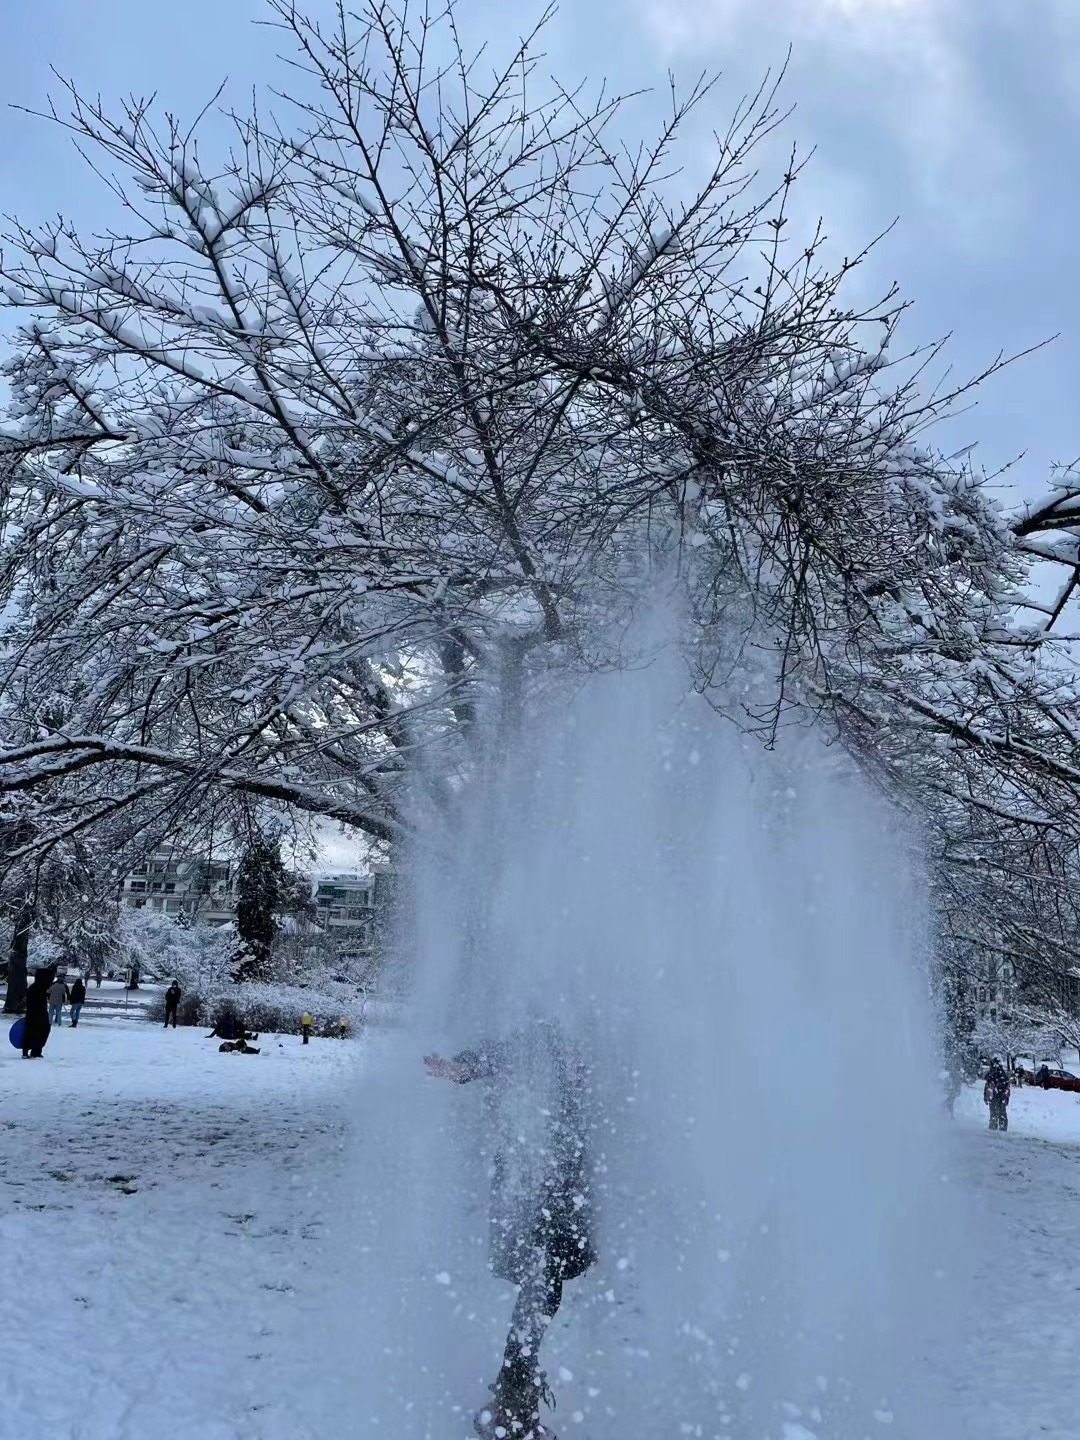
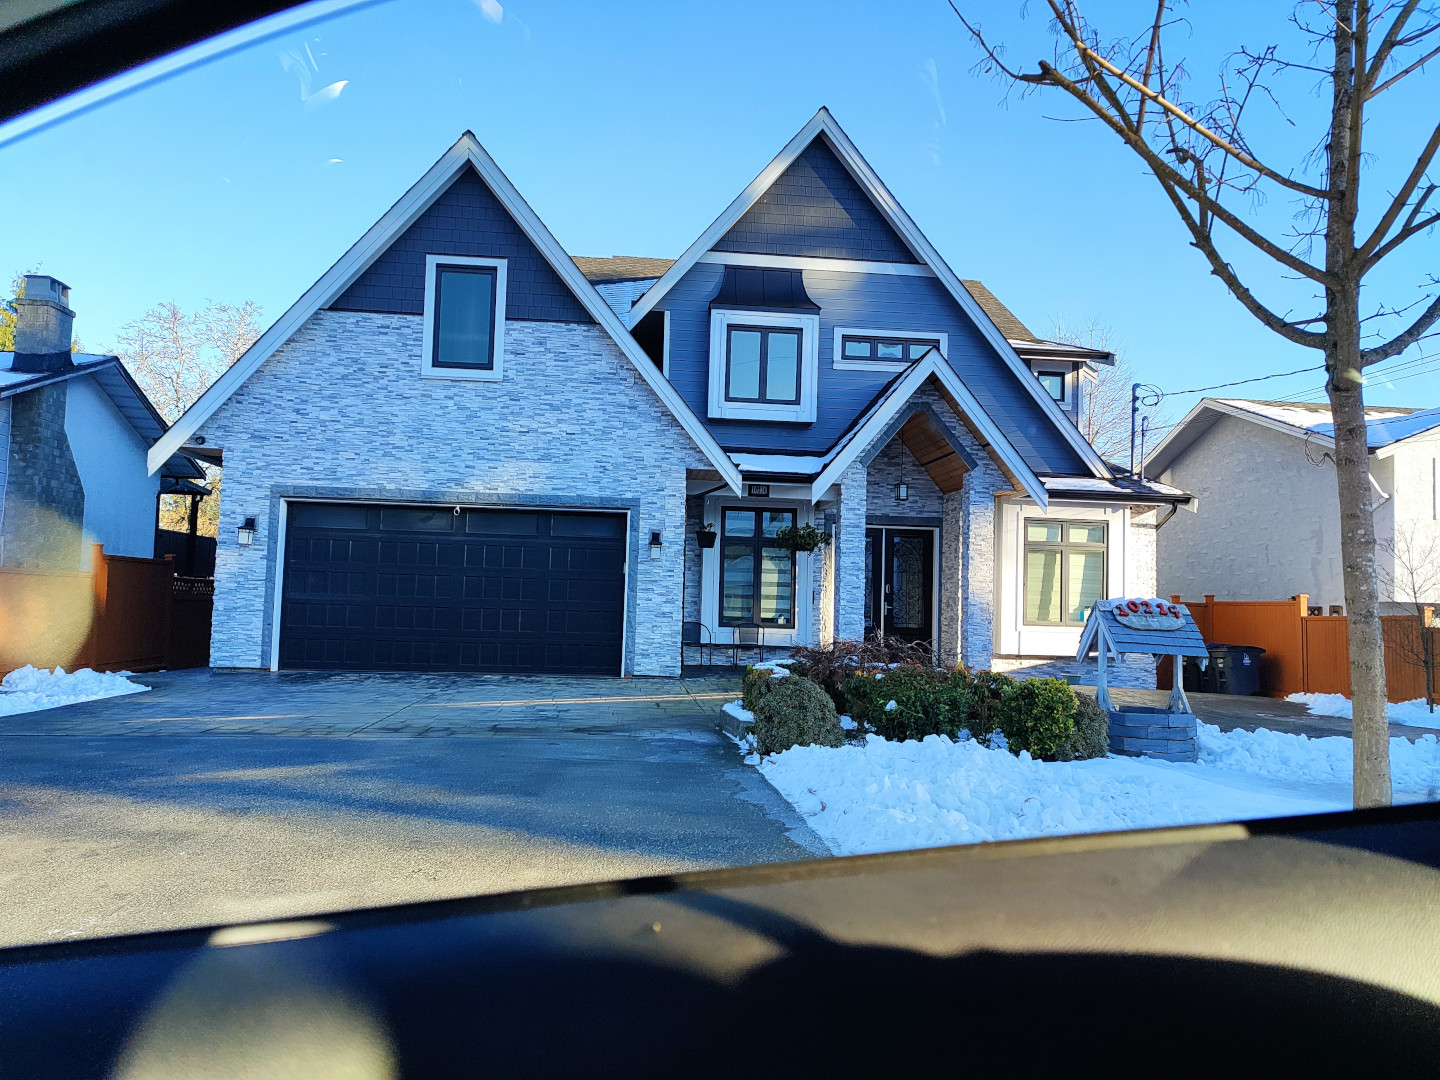
Merry Christmas everyone. It is another Christmas, Year 2022 is coming. I’m back to life. Last week, my JetBot arrived. It took me a couple of hours to make it work, and round 1 week to demonstrate: some of the JetBot Examples are NOT working properly. Anyway, my son Fionn is half-year old. Let’s celebrate it with JetBot, as well as the heavy Christmas snows.
| Christmas Snow | My Son | Snow |
|---|---|---|
 |
 |
 |
 |
 |
 |
 |
 |
 |
I believe we can flash JetPack first and have JetBot configured afterwards. Let’s leave this topic for the next blog The JeBot - 2. In this blog, we’re going to follow the official JetBot Software Setup.
1. Setup JetBot Hardware
Just refer to this youtube video:
Since what I purchased is a Waveshare JetBot 2GB AI Kit. therefore, my assembled JetBot looks like following:
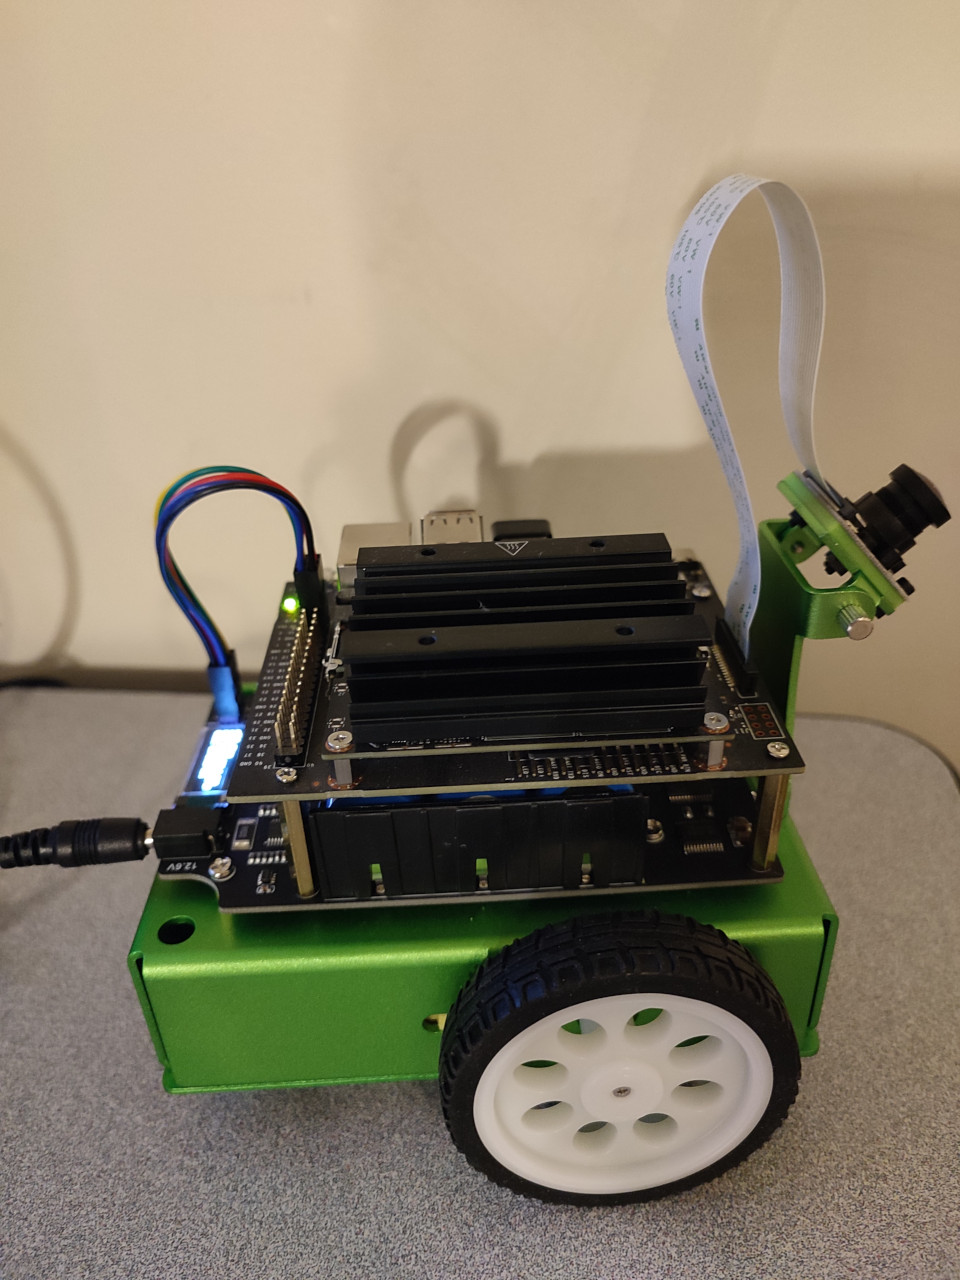
As you can see, there is NO antenna. Instead, a Wifi USB dongle is provided. Actully, there are a couple things to be emphasized for my Waveshare JetBot 2GB AI Kit:
- No antenna, ONLY a Wifi USB dongle
- A 64G TF Card is adopted. A comprehensive overview of SD card is summarized at SD Standard Overview.
2. Setup JetBot Software Using SD Card
2.1 SD Card Image from JetBot Official Website
We just download the JetBot official SD card image from Software Setup (SD Card Image), and flash it to my 64G TF Card.
1 | ➜ jetbot sudo dd bs=1M if=jetbot-043_nano-2gb-jp45.img of=/dev/mmcblk0 conv=fsync |
After that, as usual, we upgrade the entire JetBot system by sudo apt update and sudo apt upgrade. After all these, our JetBot looks like:
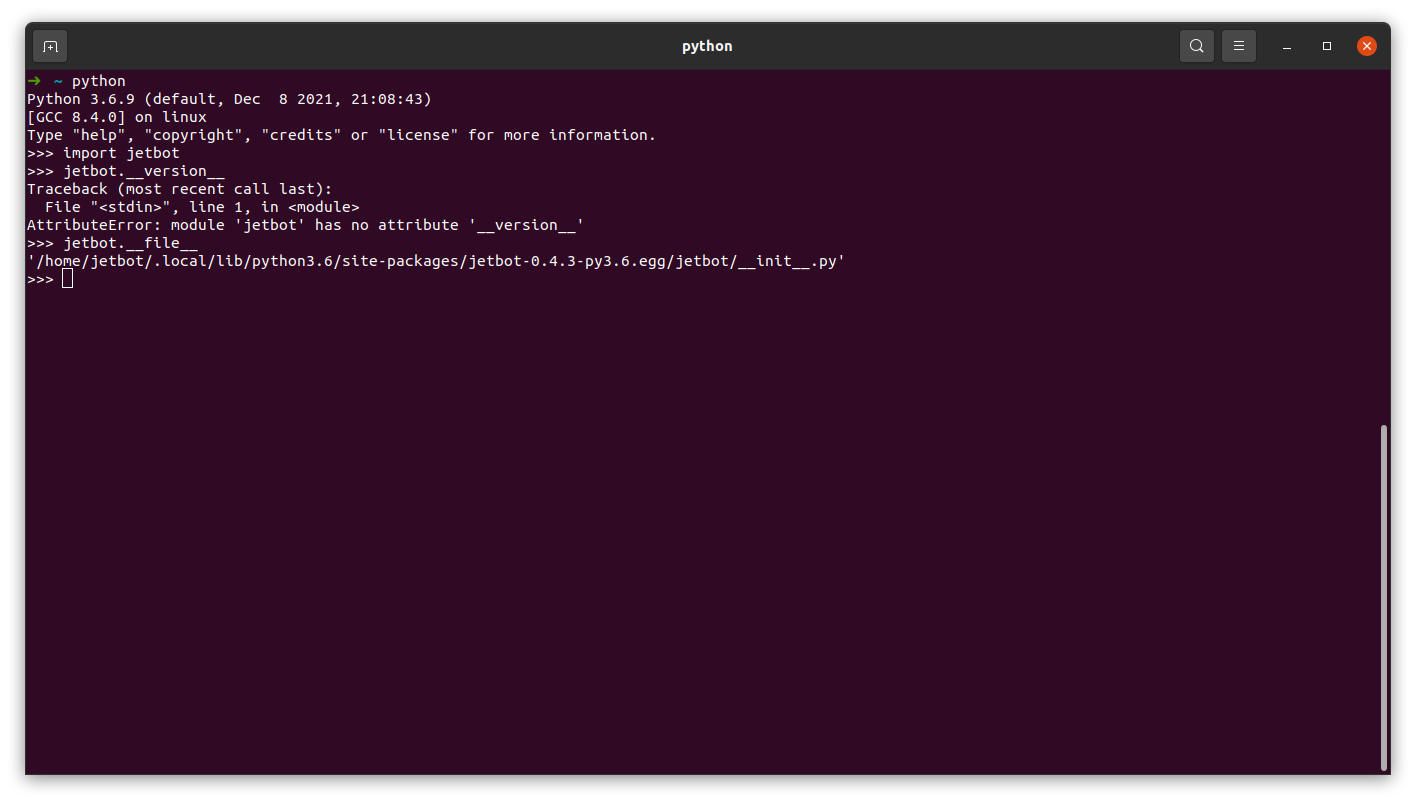
2.2 Change from using Python 2 to Python 3
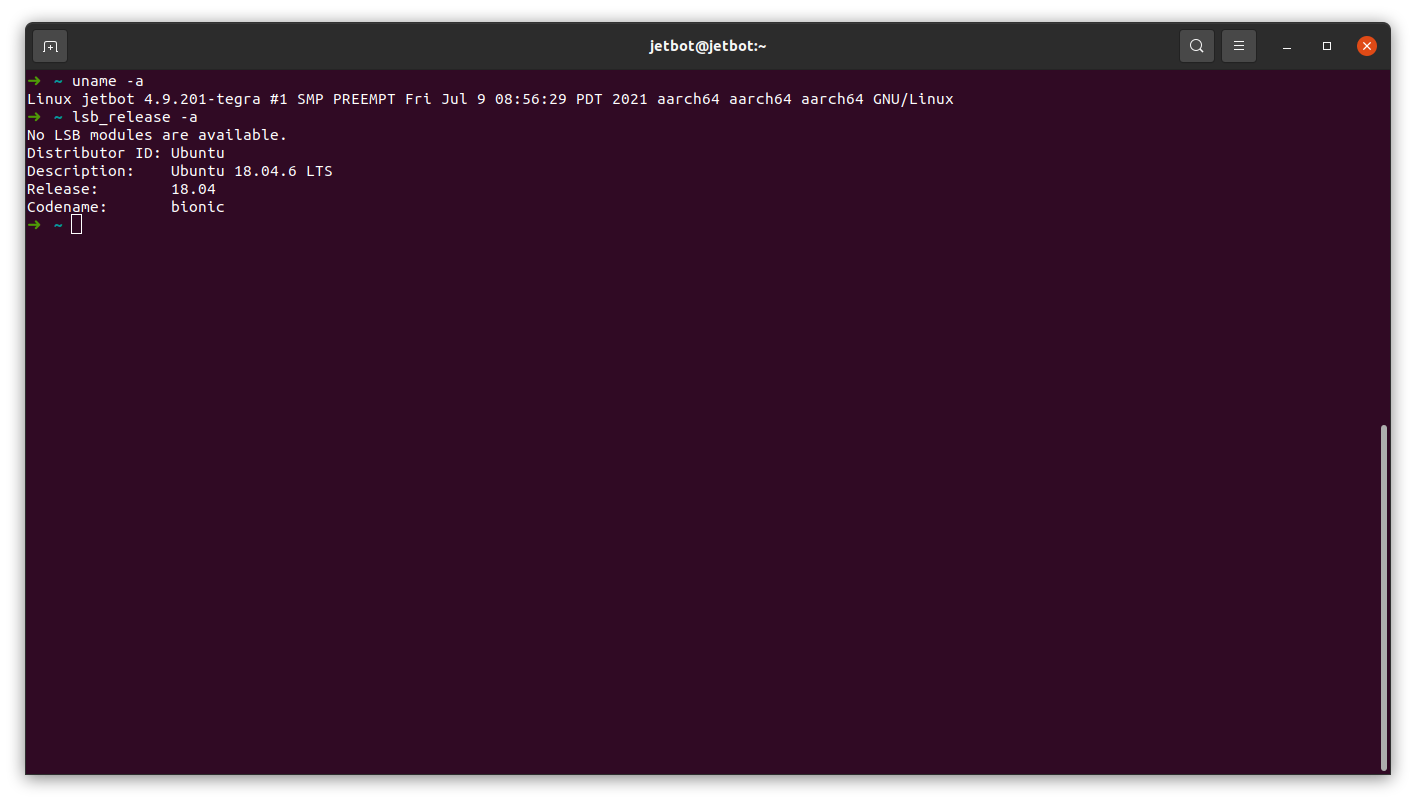
1 | ➜ ~ python --version |
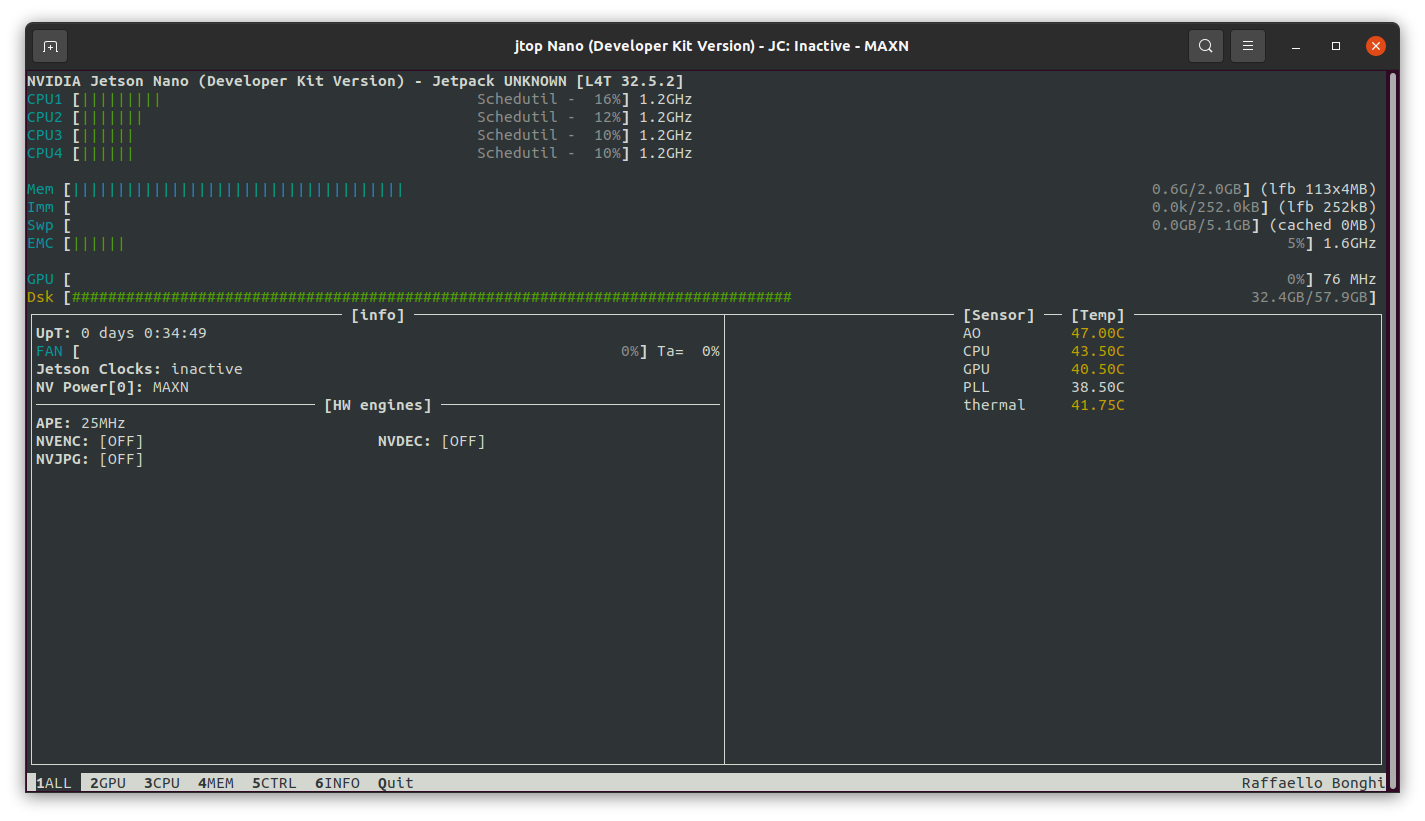
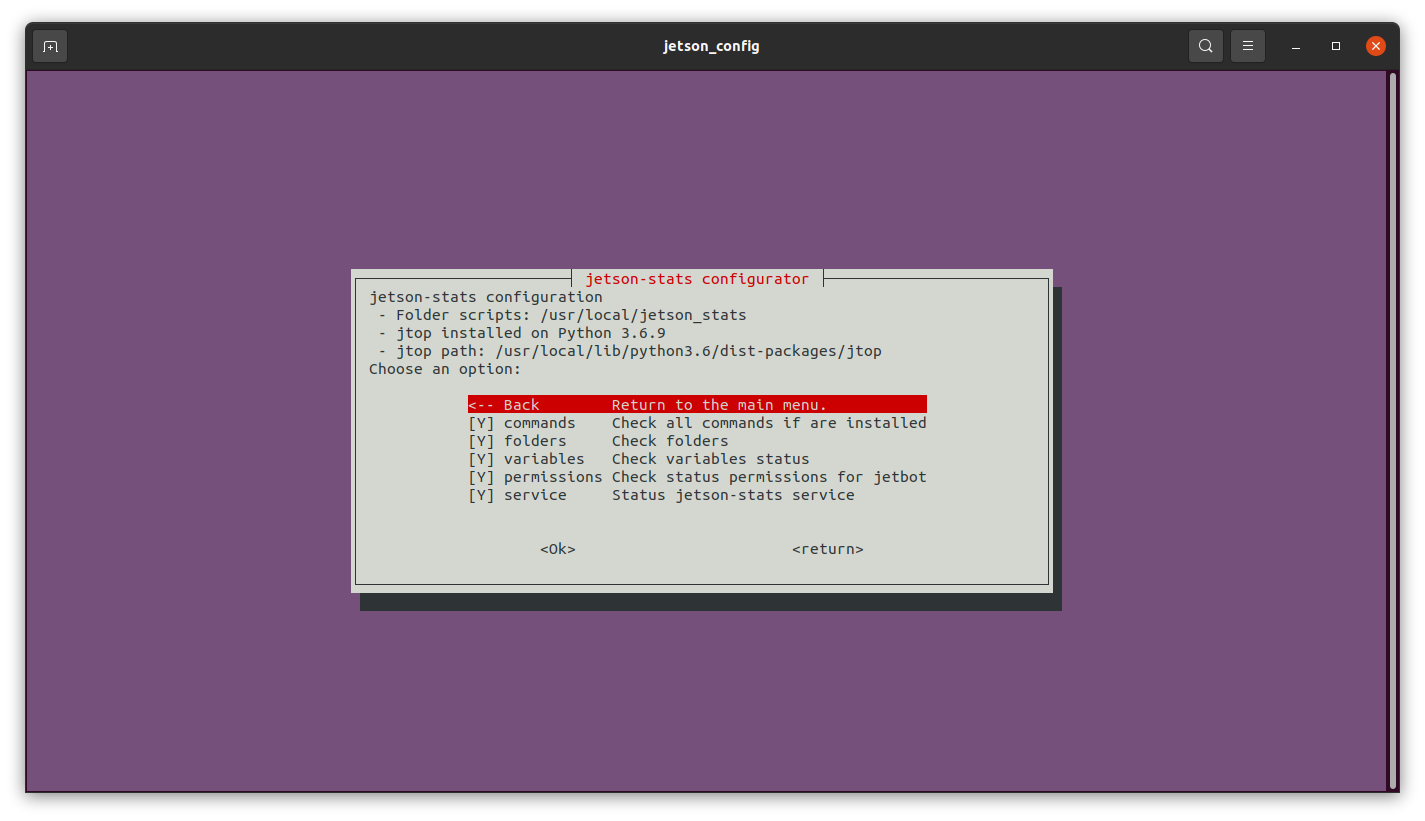
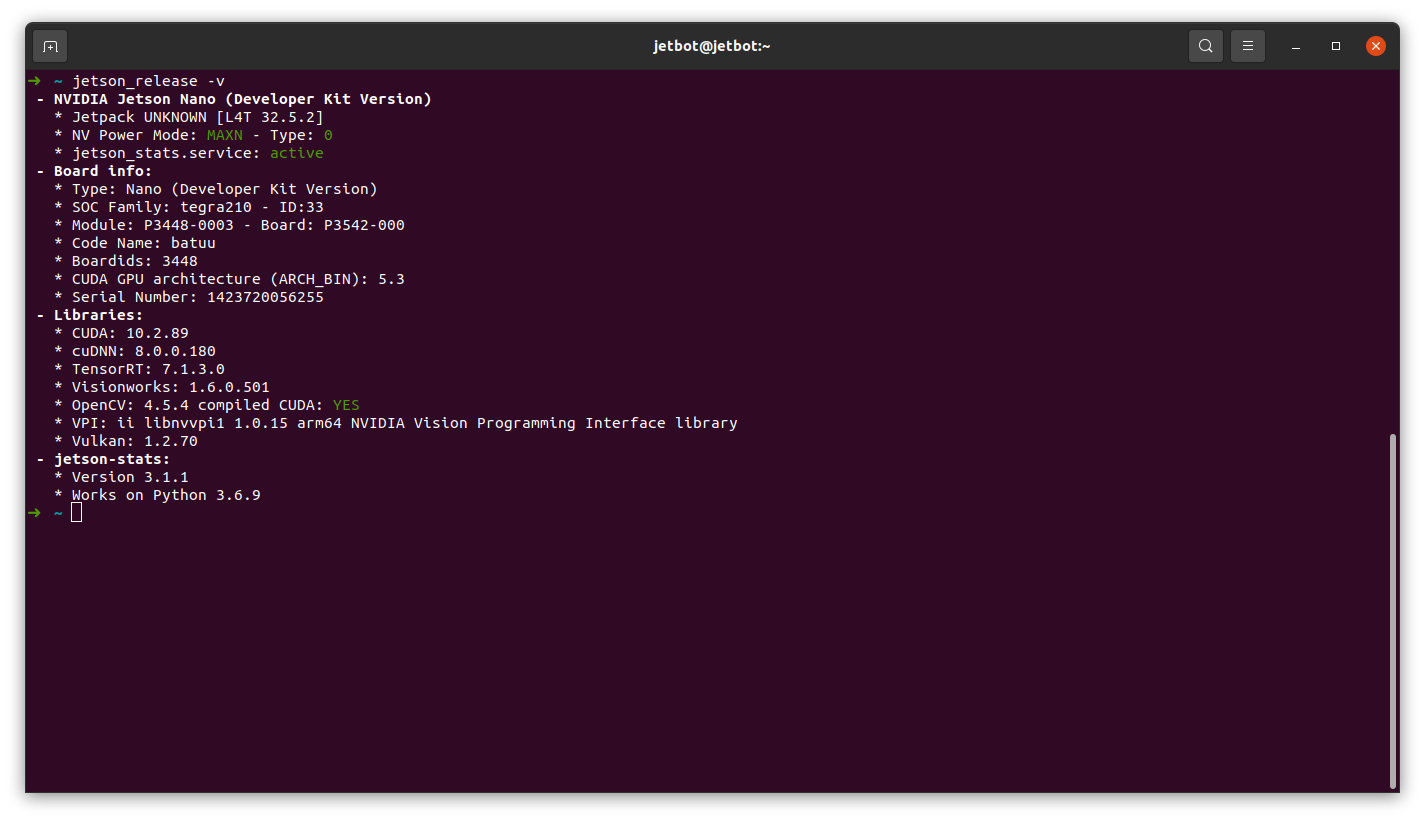
2.3 Jetson Stats
After twickling around how to run pip under /home/jetbot/.local/bin for user root, and have Jetson Stats installed using this command sudo -H pip install -U jetson-stats, we got the following results:
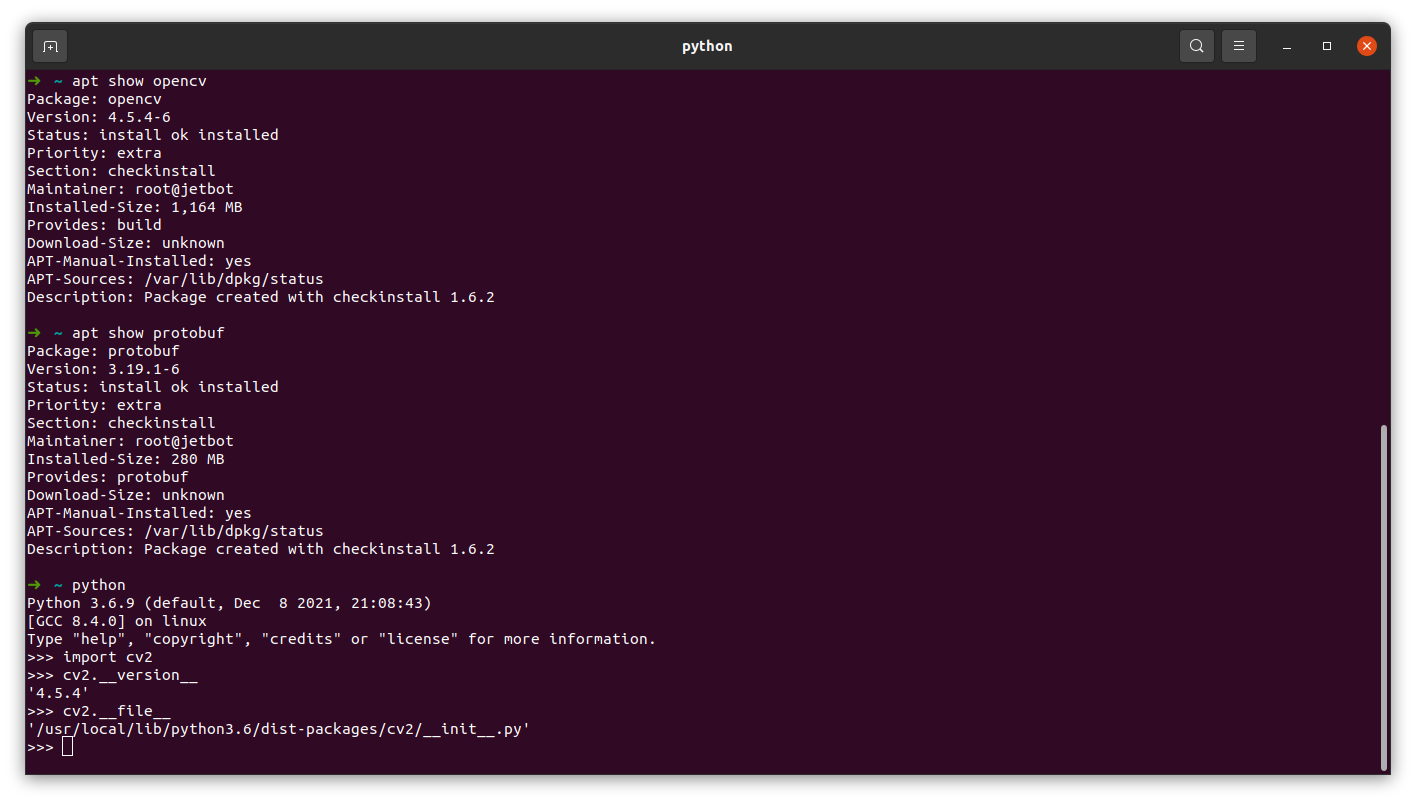
2.4 Other Third Party Libraries
Anyway, let’s take a look at my installed results:
2.5 Key Points
Do NOT forget to export a couple of environmental variables in both .bashrc and /etc/environment as:
1 | export OPENBLAS_CORETYPE="AARCH64" |
It looks that by directly installing pytorch via pip install torch -U --user, a second libgomp will be installed. Both libgomps brought me the error of cannot allocate memory in static TLS block, please refer to:
- What is “cannot allocate memory in static TLS block”
- ImportError: /usr/lib/aarch64-linux-gnu/libgomp.so.1: cannot allocate memory in static TLS block #43
The solution to the above errors is:
3. Test JetBot
Pretty much similar to:
JetBot Basic Motion Demo is really a very cool demo for you to start with JetBot. It wouldn’t be hard for you to run a Jupyter Notebook Server remotely. Anyway, my testing results are given as follows: a headache video, as well as .pdf summary.
4. Longer Vision JetBot OS
1 | ➜ sudo dd bs=1M if=/dev/mmcblk0 of=jetbot.img conv=fsync |
Finally, I attached my built JetBot OS at https://www.longervision.us/iso/jetbot-nano2g-ubuntu18.04.6-cuda10.02-cudnn8.0.0-opencv4.5.4.img. You are welcome to take a try.