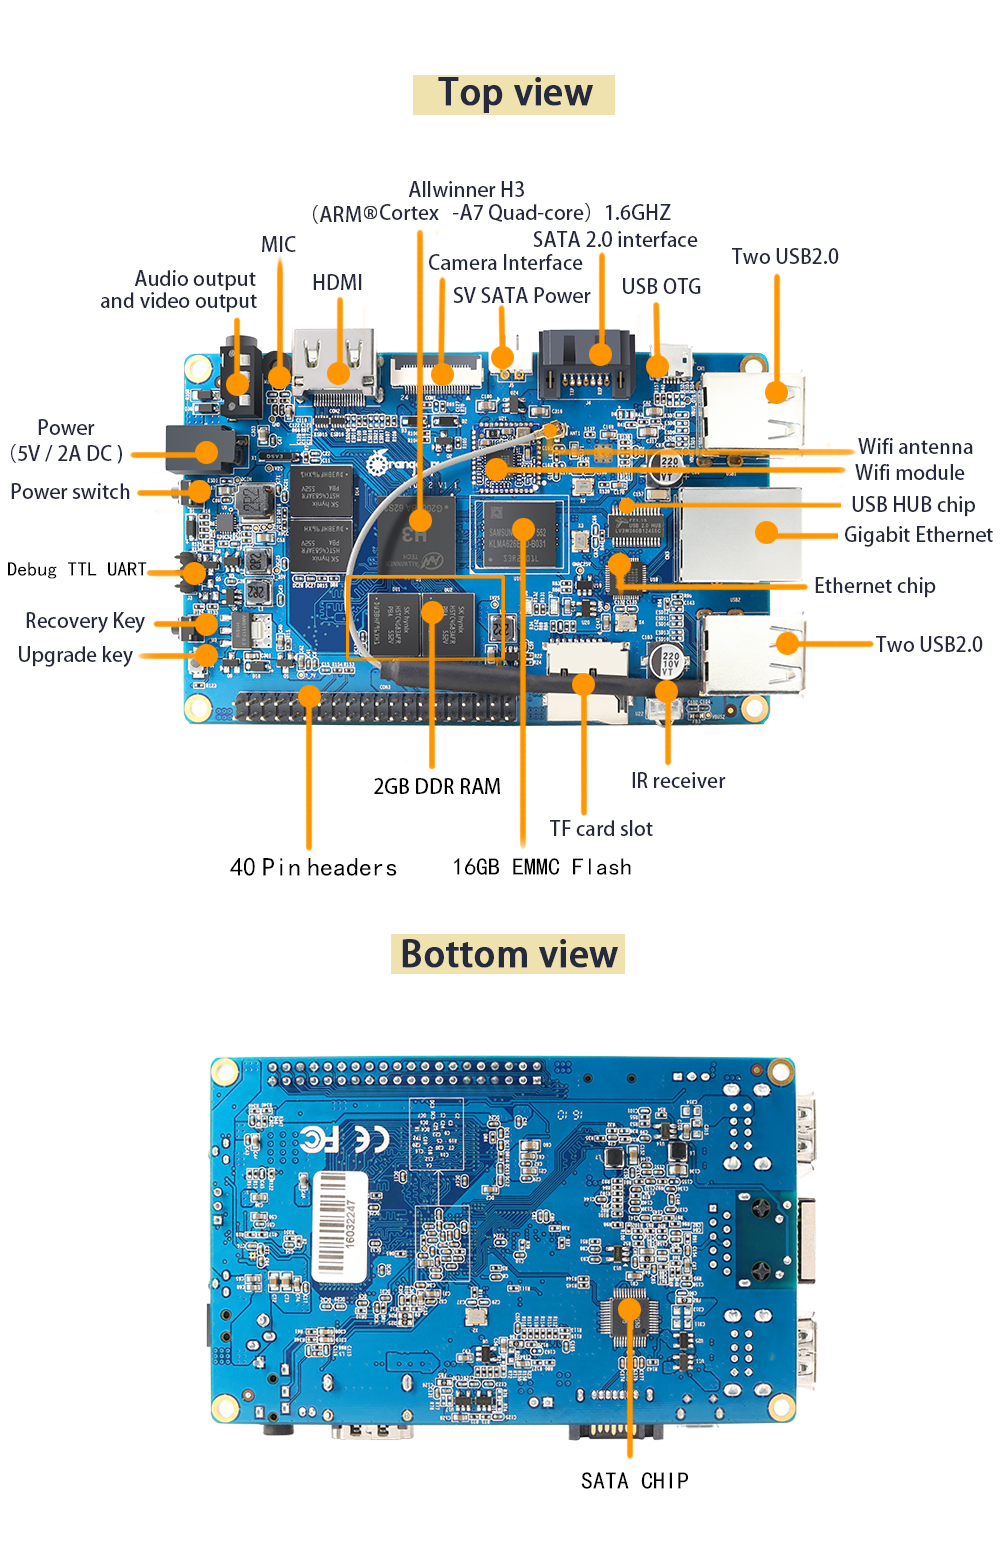
Today, we are going to install a runnable Linux OS Armbian and then flash the most recent supported Linux Kernel onto an Orange Pi Plus 2, which adopts AllWinner H3 as its CPU. The board looks like (cited from Orange Pi Plus 2 ):
Similar to our previous blog Install Armbian Debian Server onto NanoPi NEO, to build the Mainline Linux for Orange Pi Plus 2, we use the Embedded Linux management open source Armbian. However, this time, we’ll have the most recently supported Linux Kernel updated finally.
PART A: Install Ubuntu Desktop Built By Armbian onto Orange Pi Plus 2
1. Download Armbian Ubuntu Desktop for Orange Pi Plus 2
We FIRST go visiting the website https://www.armbian.com/orange-pi-plus-2/ and click Ubuntu desktop - legacy kernel icon, a file named Armbian_5.38_Orangepiplus_Ubuntu_xenial_default_3.4.113_desktop.7z will be automatically downloaded.
Then, we extract this .7z file by
1 | $ 7z x Armbian_5.38_Orangepiplus_Ubuntu_xenial_default_3.4.113_desktop.7z |
2. Install Armbian Ubuntu Desktop for Orange Pi Plus 2
After the extracted image file is prepared, it’s the time to install the Armbian Ubuntu Desktop onto our TF card. We FIRST format the TF card:
1 | $ sudo mkfs.ext4 /dev/mmcblk0 |
Afterwards, use dd to install the downloaded Armbian Ubuntu Desktop image.
1 | $ sudo dd bs=4M if=Armbian_5.38_Orangepiplus_Ubuntu_xenial_default_3.4.113_desktop.img of=/dev/mmcblk0 conv=fsync |
3. Boot Into Orange Pi Plus 2
We now unplug the TF card from the host and put it into the Orange Pi Plus 2 board, Armbian Ubuntu Desktop boots successfully. Make sure the username and password are respectively: root and 1234. And you will notice that
1 | You are required to change your password immediately (root enforced) |
And, for the FIRST boot, we’ll be asked to create a NEW user besides root:
1 | Creating a new user account. Press <Ctrl-C> to abort |
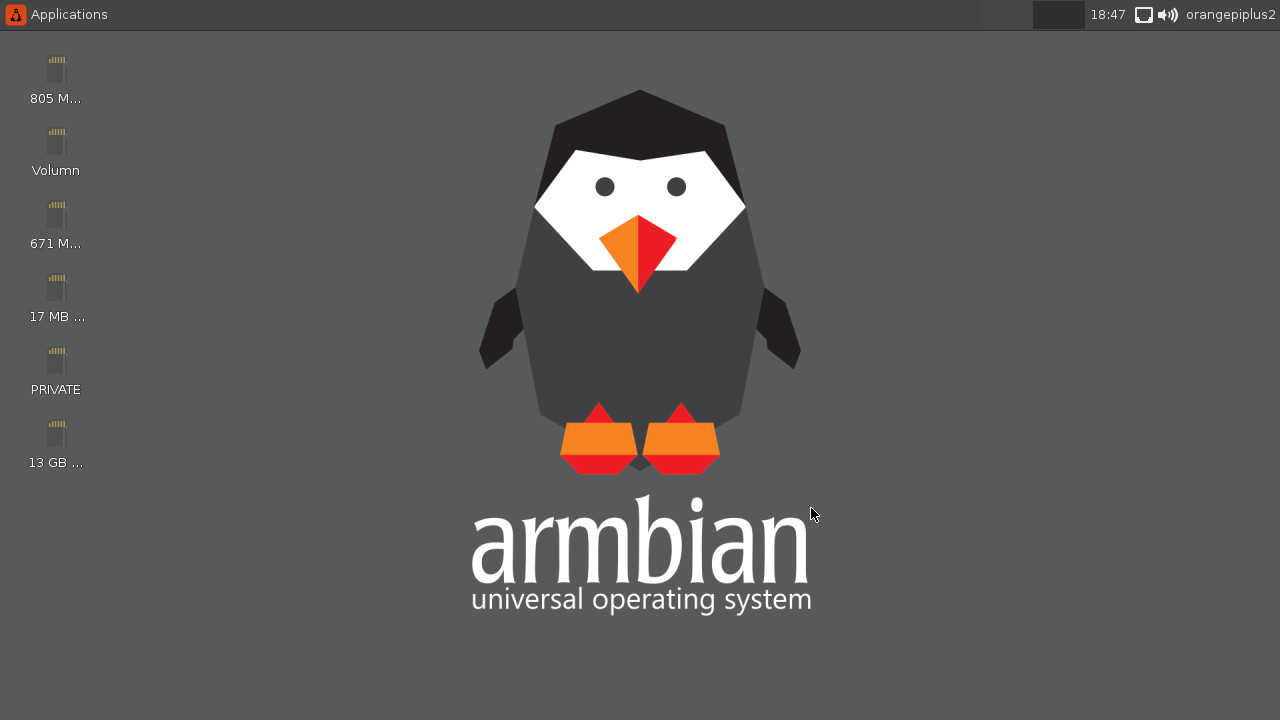
Then, Orange Pi Plus 2 will boot into GUI as follows.
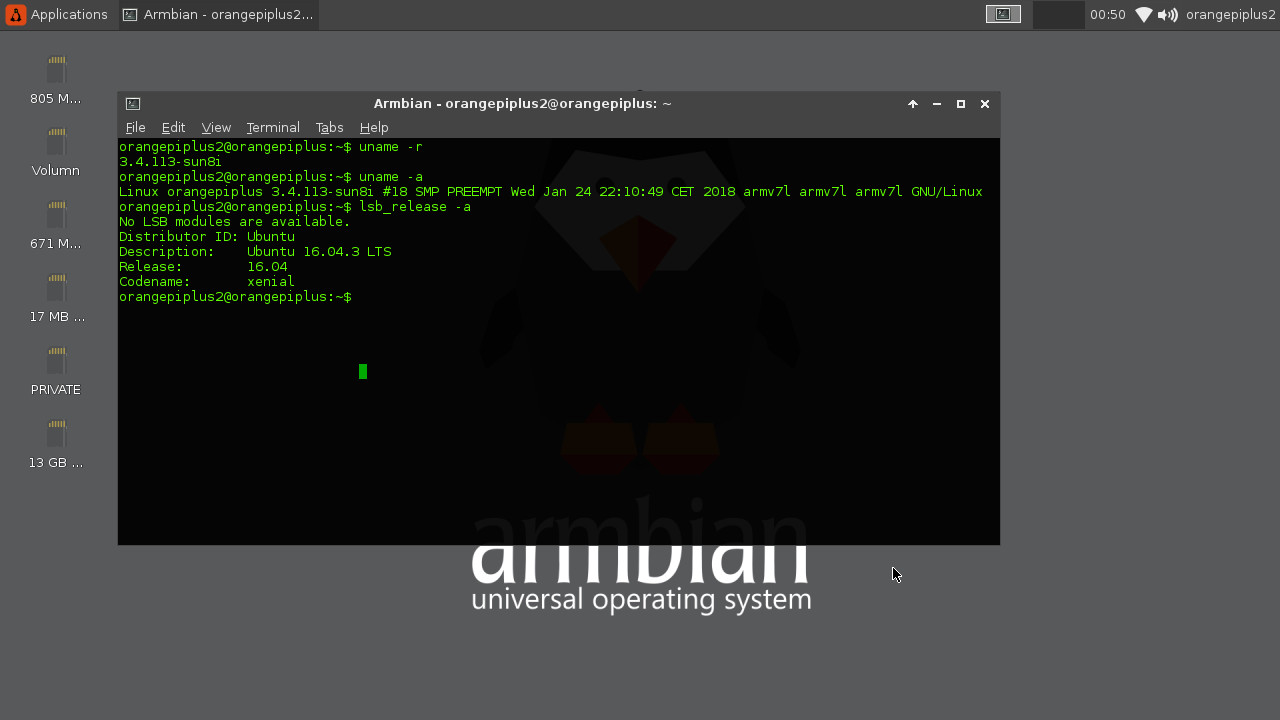
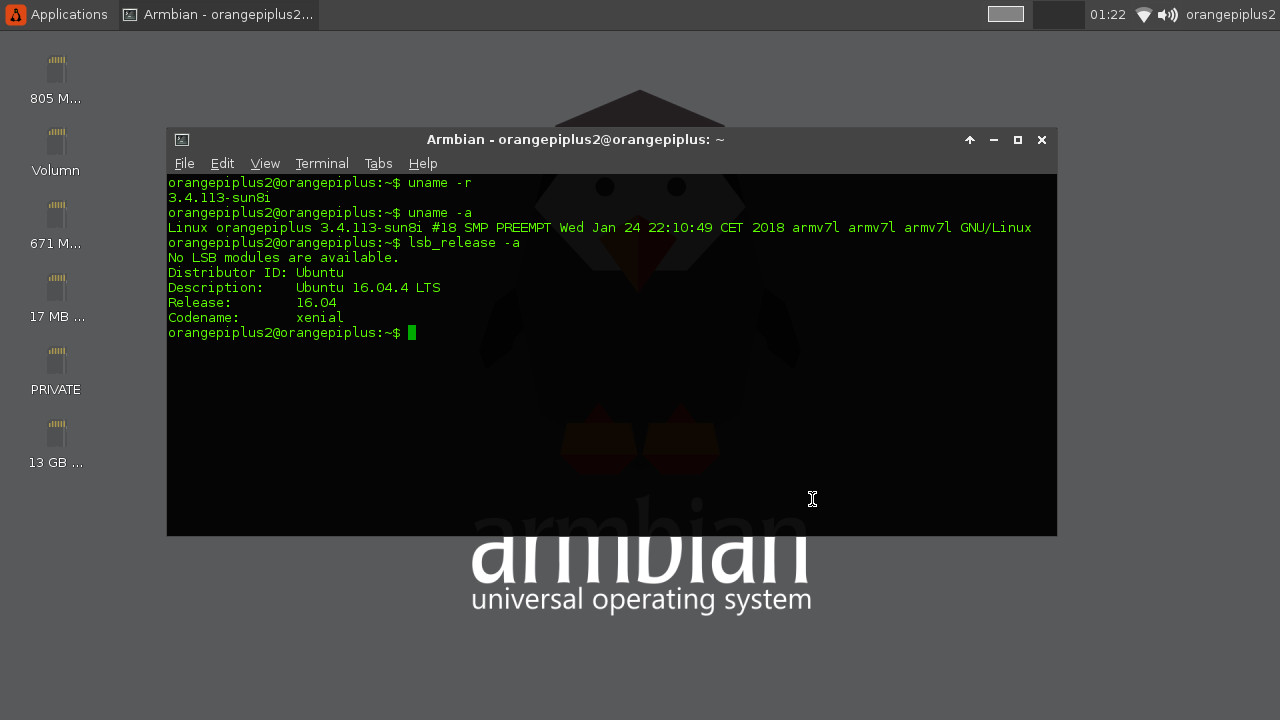
We are now able to see the kernel version is of 3.4.113, which is a very old Linux Kernel.
We then update/upgrade all upgradable packages, and have the system rebooted.
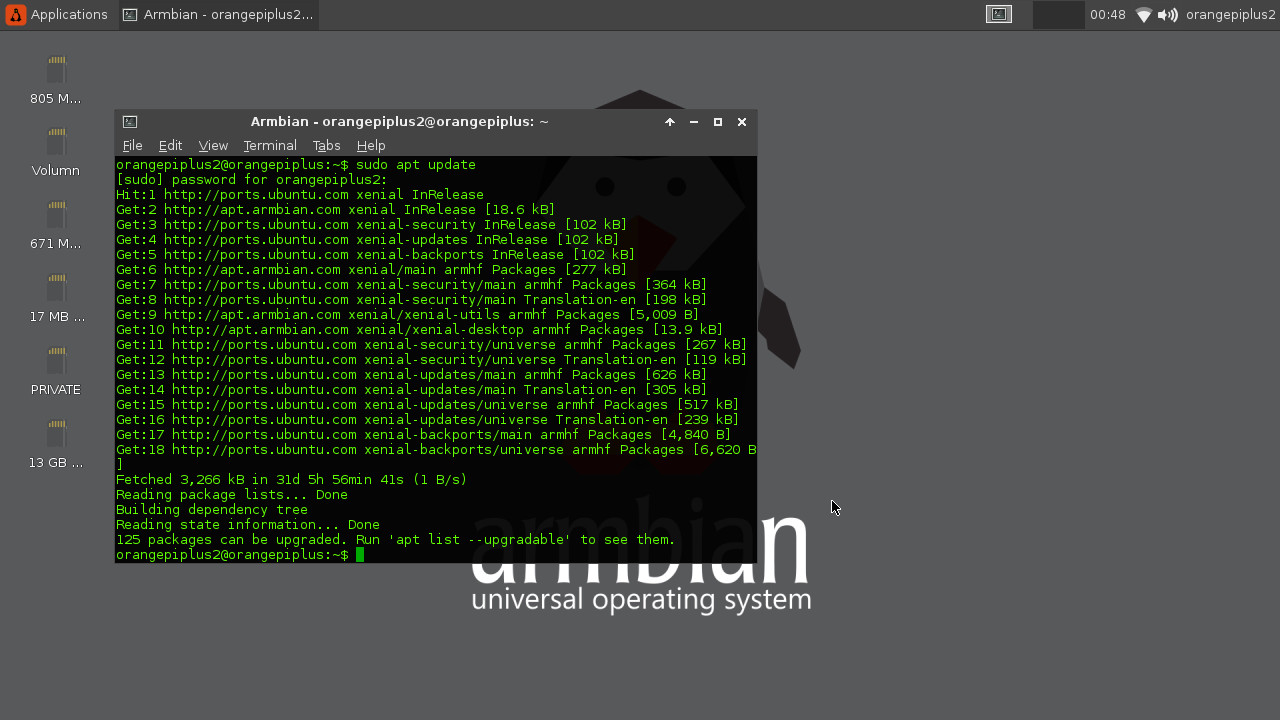

After finishing the upgrading, Ubuntu has successfully upgraded from 16.04.3 to 16.04.4, but Linux Kernel is still of version 3.4.113.
PART B: Build The Newest Armbian U-Boot and Linux Kernel for Orange Pi Plus 2
As shown in PART A, the current Linux Kernel on our Orange Pi Plus 2 is of an old version 3.4.113. Are we able to upgrade the Linux Kernel to the most recent one? The ANSWER is of course YES.
1. Download Armbian Source Code
1 | $ git clone git@github.com:armbian/build.git armbian |
2. Test Compiling
We now try to compile Armbian for our very FIRST attempt. This will help us to download a lot required packages, including all Linaro toolchains, U-Boot, etc., and save those packages under folder cache,
1 | $ cd ./armbian |
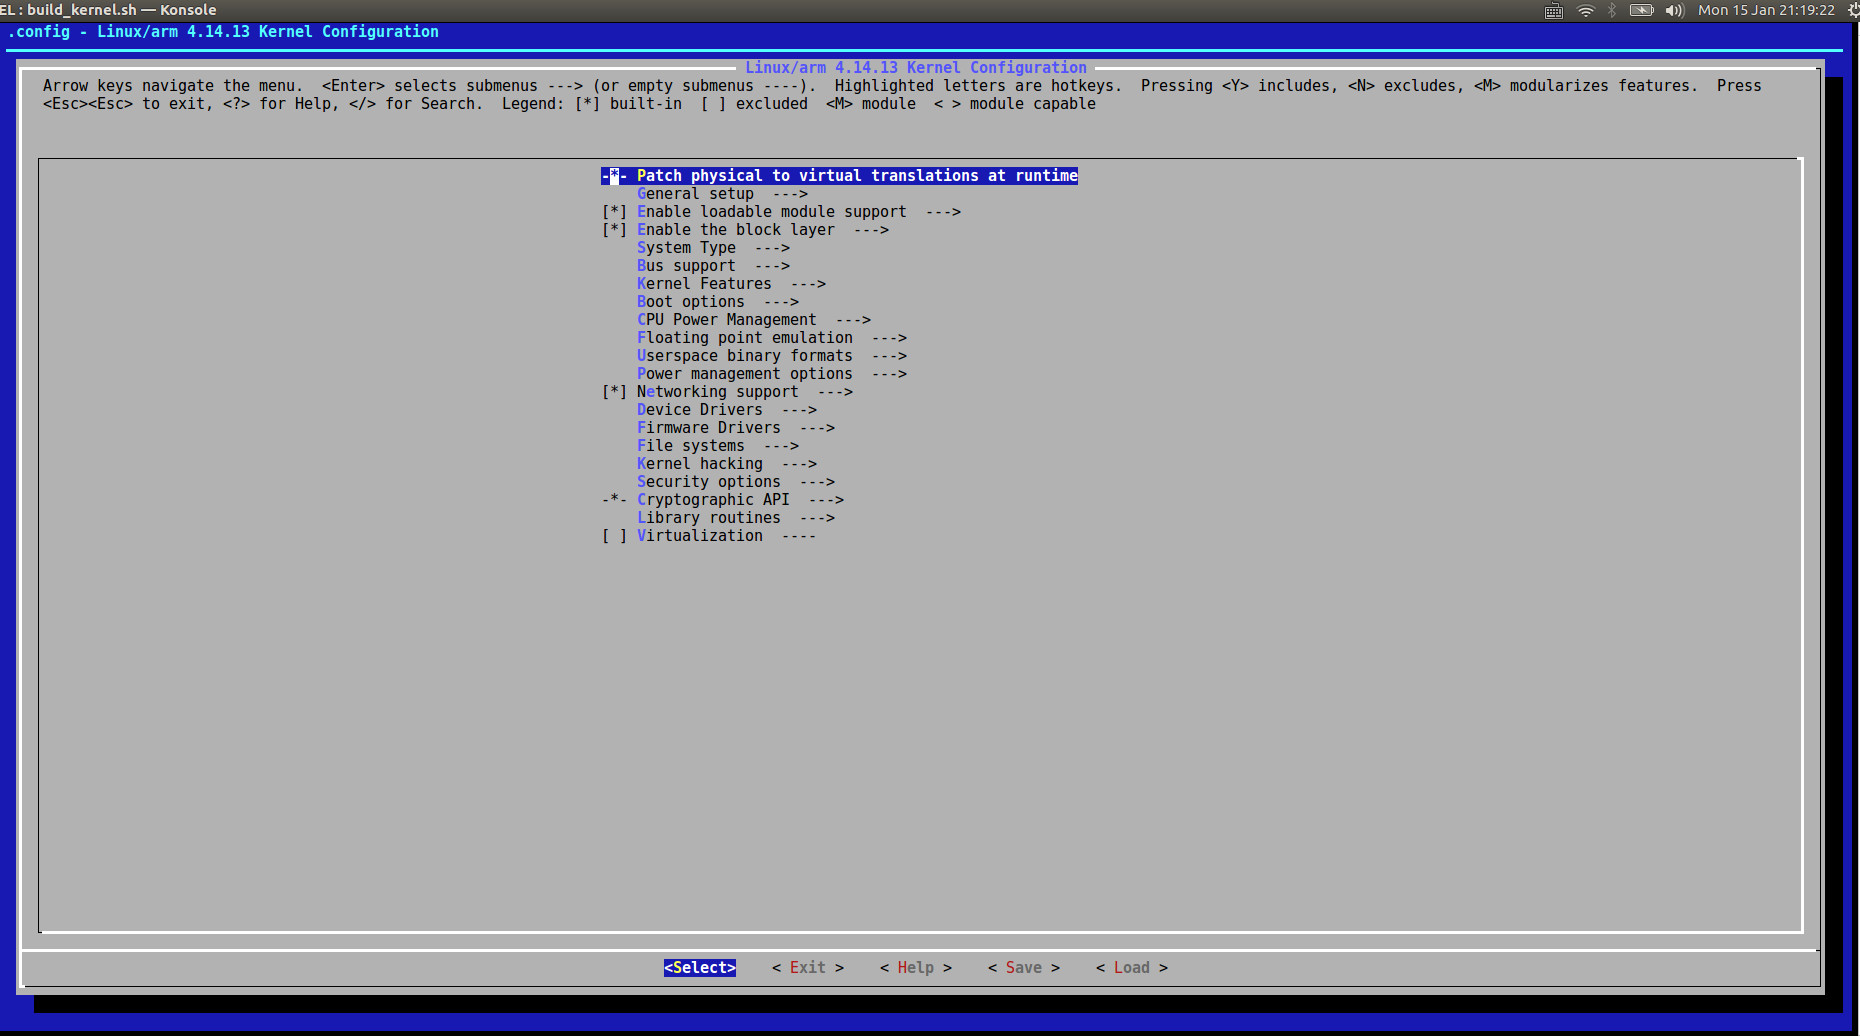
Then, a canonical GUI will jump out onto the screen for you to make selections:
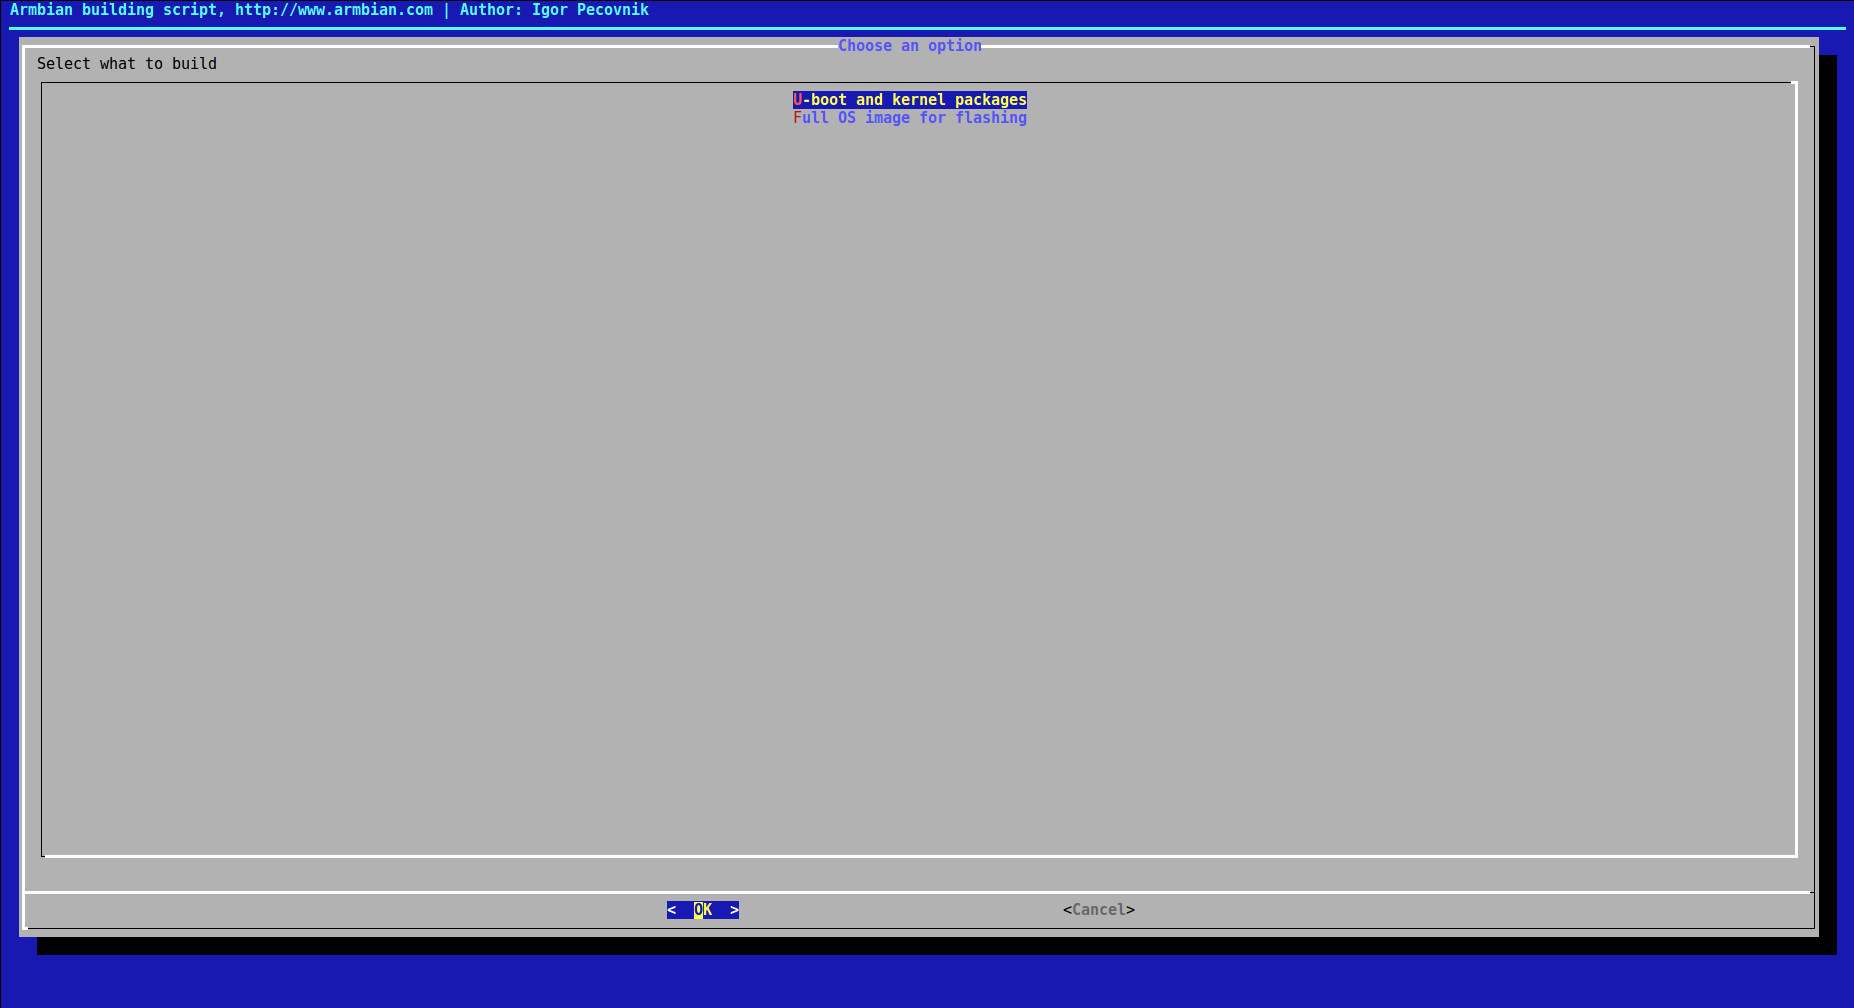
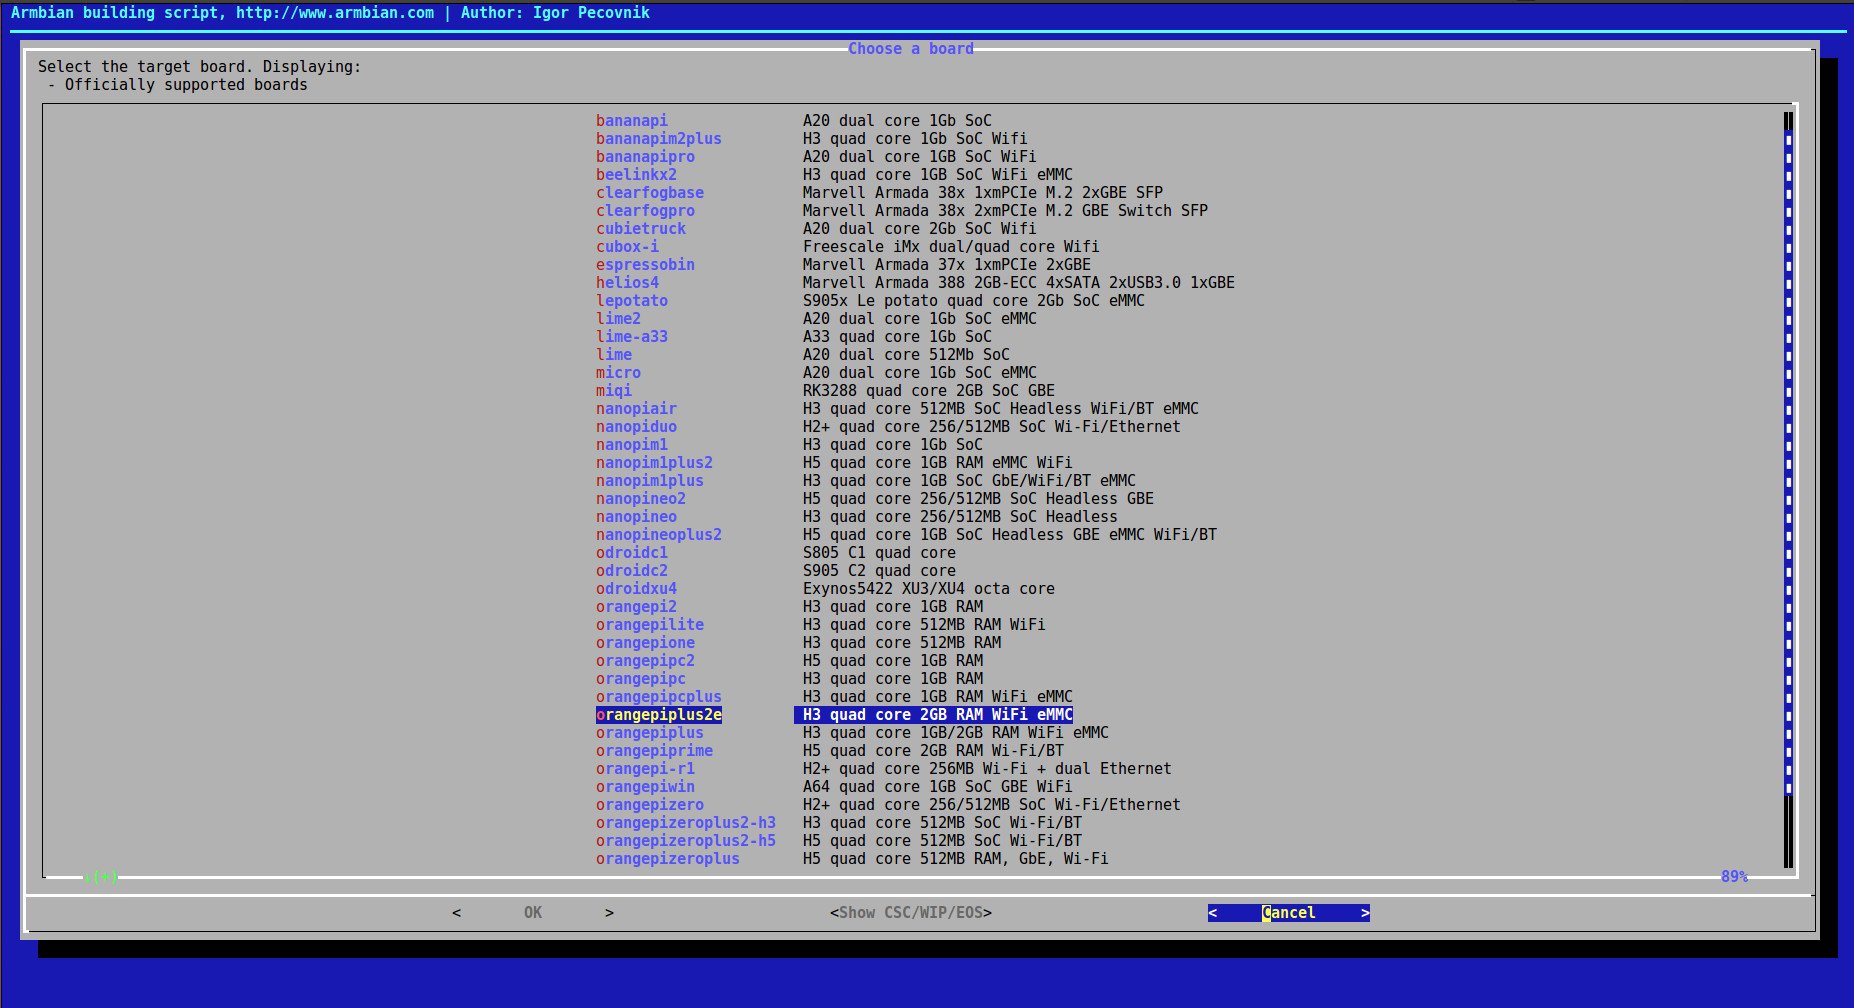
Clearly, our board Orange Pi Plus 2 is NOT in the list. Therefore, we select Cancel here for now, and some ERROR messages will be generated as follows.
1 | [ error ] ERROR in function source [ main.sh:198 ] |
3. Prepare The Board Configuration File
We doublecheck the officially supported boards:
1 | $ cd ./config/boards |
As we can see, it is certain that our board Orange Pi Plus 2 is NOT officially supported. Due to the trivial difference between Orange Pi Plus 2 and Orange Pi Plus 2e, we configure our Orange Pi Plus 2 board as a Orange Pi Plus 2e board by:
1 | $ cp orangepiplus2e.conf orangepiplus2.conf |
Afterwards, we modify the file content in orangepiplus2.conf manually:
1 | $ vim orangepiplus2.conf |
and, the file content is correspondingly modified to:
1 | # H3 quad core 2GB RAM WiFi eMMC |
4. Prepare Board Configuration File for U-Boot
Then, we recompile armbian with some particular options (Please refer to Armbian Build Options for parameter details):
1 | $ cd ../../ |
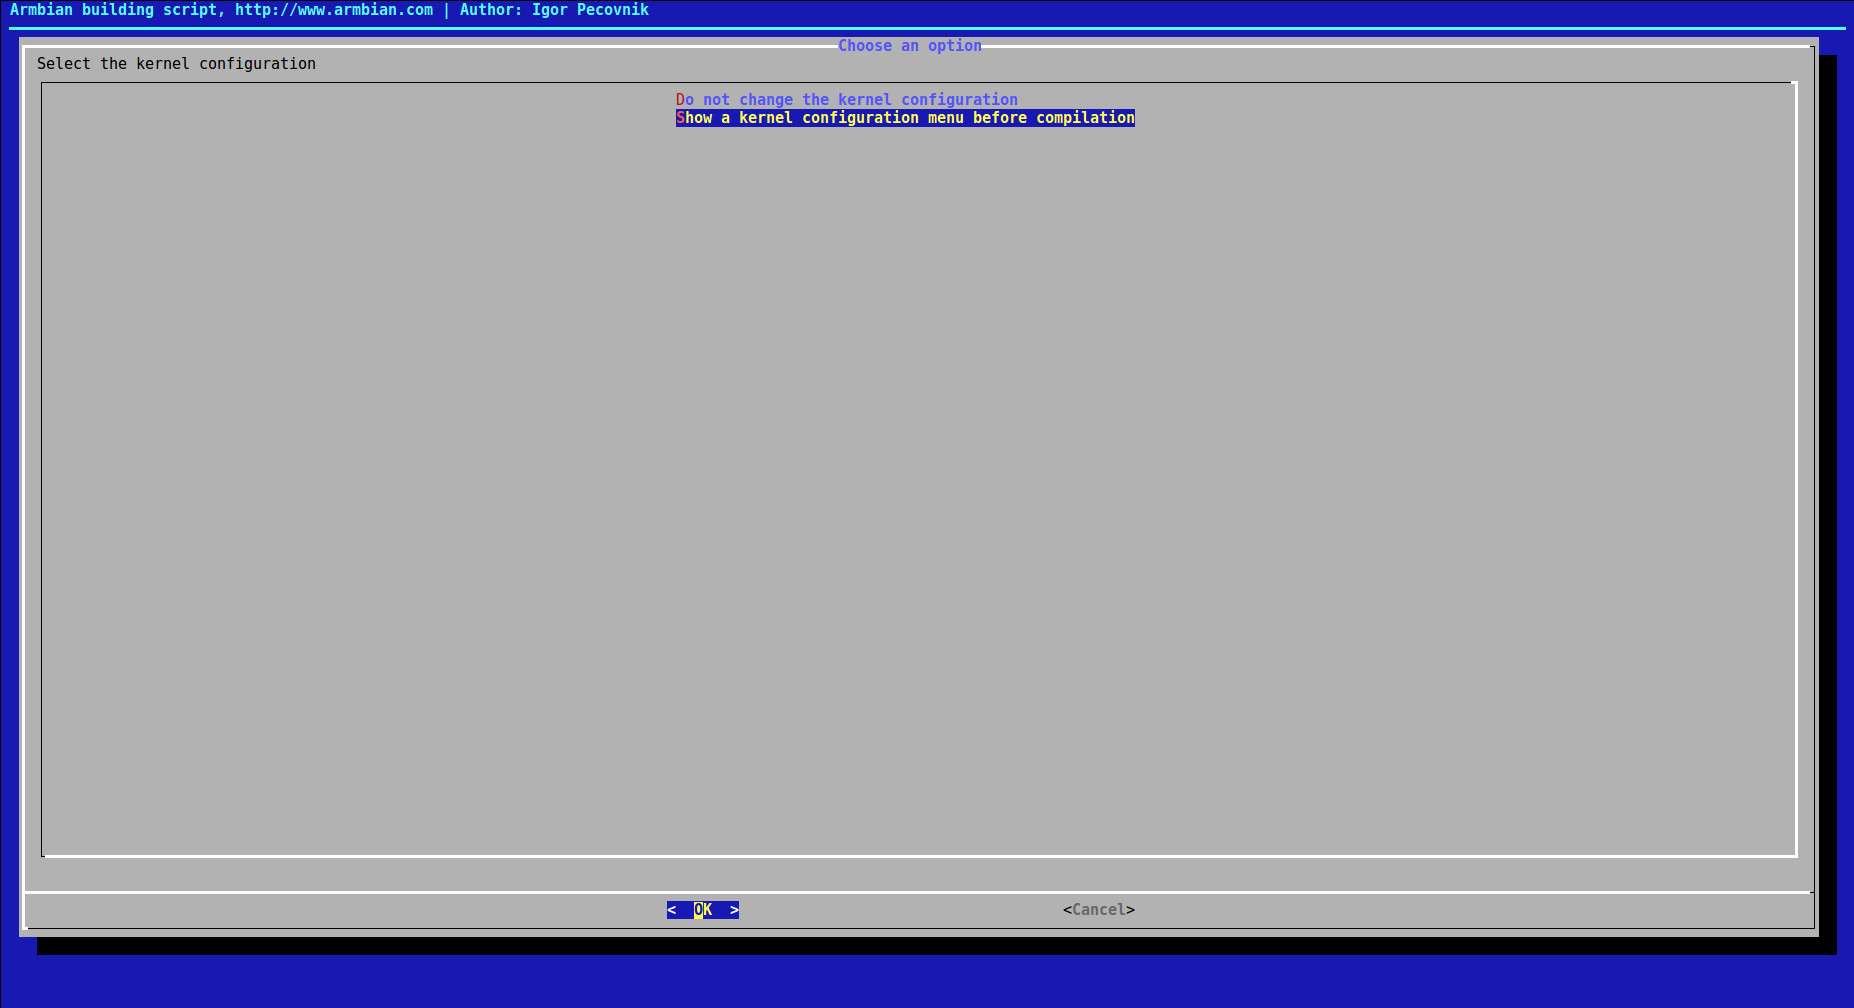
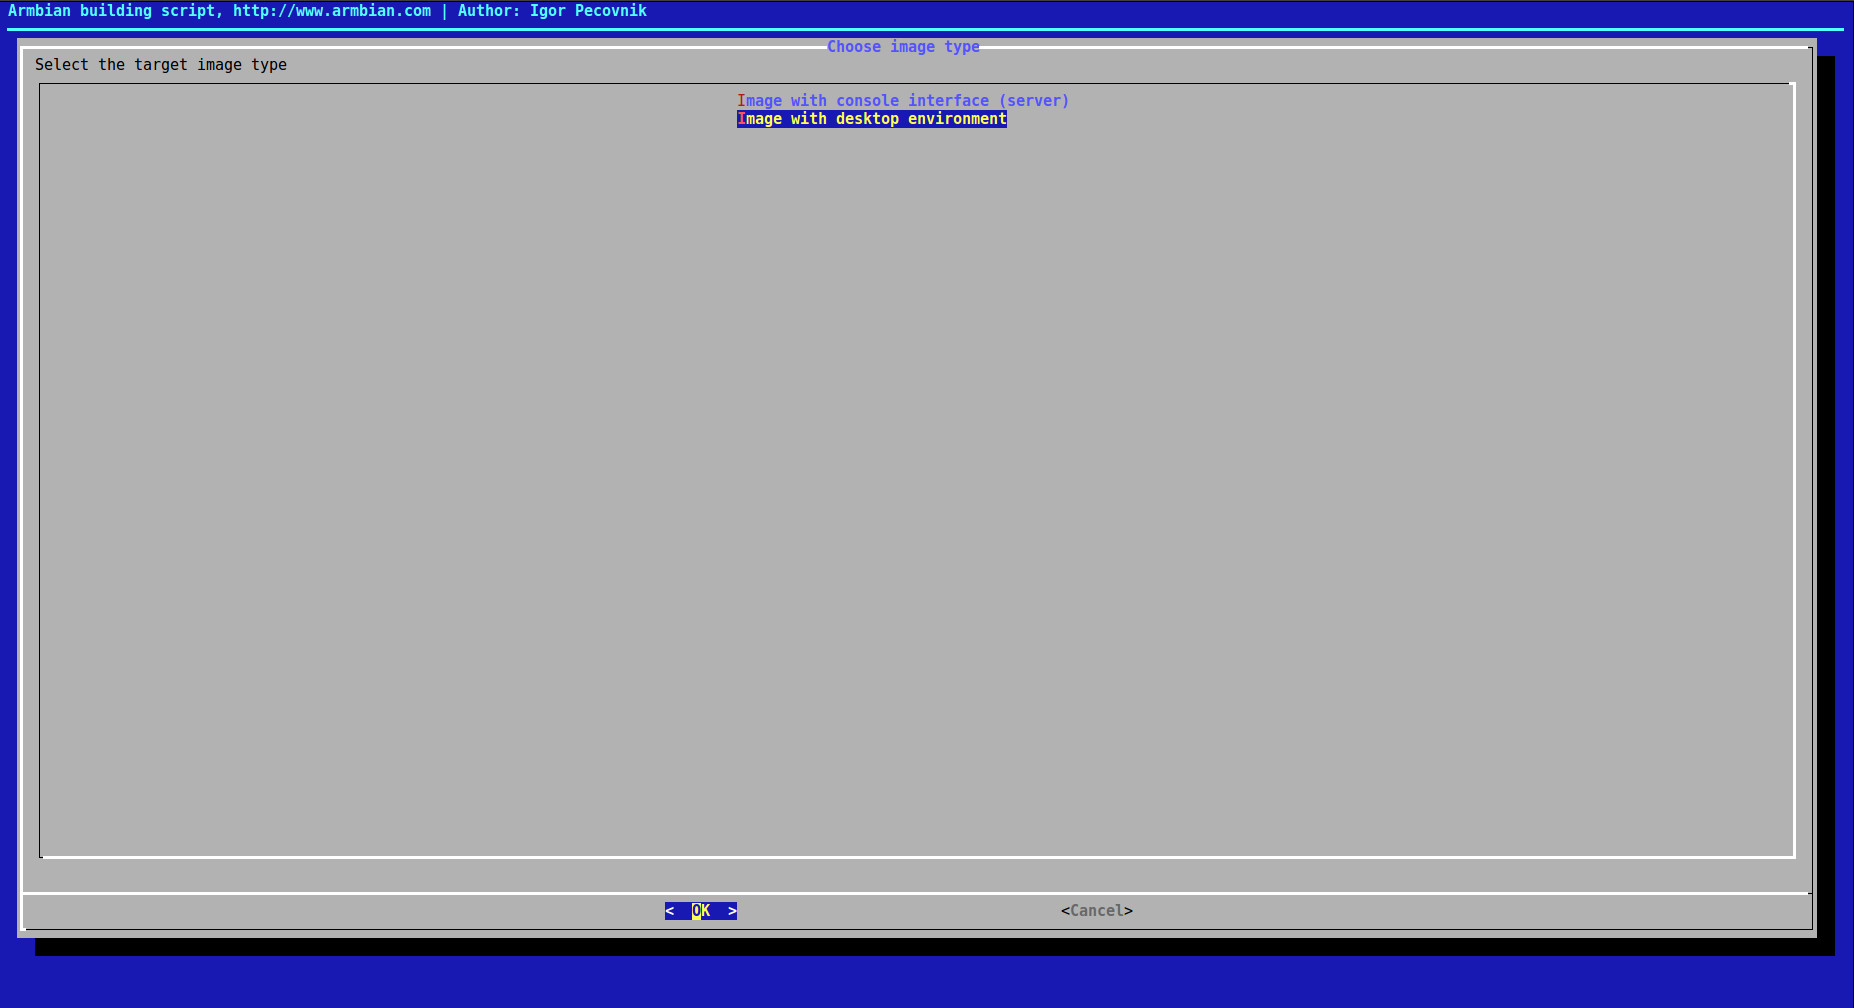
Again, the canonical GUI will jump out onto the screen for you to make selections, here we select Ubuntu Xenial 16.04 LTS and Image with console interface (server) respectively.

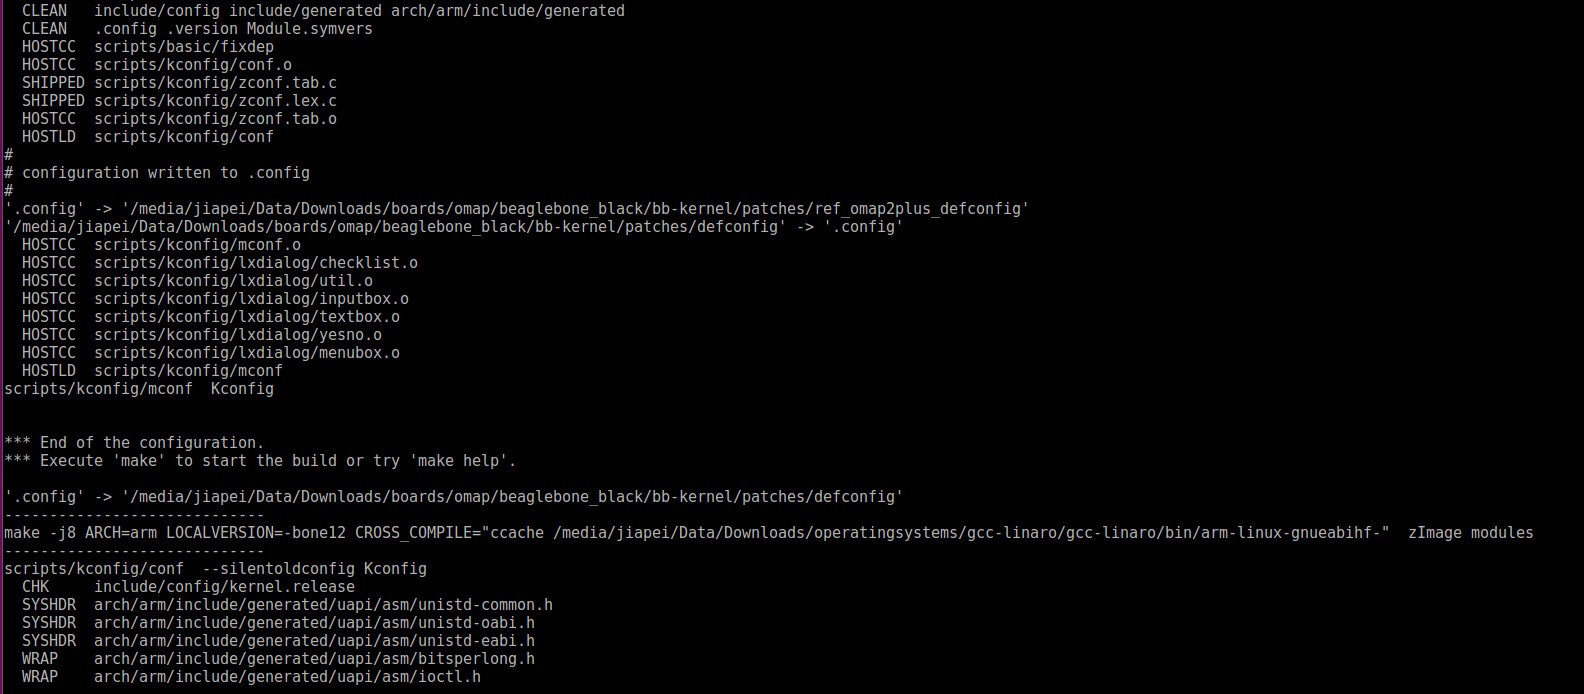
1 | [ o.k. ] Downloading sources |
We end up with ERROR messages again. Clearly, it’s because U-Boot does NOT support orangepi_plus2_defconfig. Therefore, we do the same to U-Boot board configuration by two steps:
1) STEP 1:
1 | $ cd ./cache/sources/u-boot/v2017.11/configs |
Clearly, orangepi_plus2_defconfig is NOT in the list. Therefore, we do:
1 | $ sudo cp orangepi_plus2e_defconfig orangepi_plus2_defconfig |
and ensure any plus2e is now plus2.
1 | $ cat orangepi_plus2_defconfig |
2) STEP 2:
1 | $ cd ./cache/sources/u-boot/v2017.11/arch/arm/dts |
Clearly, sun8i-h3-orangepi-plus2.dts is NOT in the list. Therefore, we do:
1 | $ sudo cp sun8i-h3-orangepi-plus2e.dts sun8i-h3-orangepi-plus2.dts |
and ensure any 2e/2E is now 2.
1 | $ cat sun8i-h3-orangepi-plus2.dts |
5. Build the Newest Supported Linux Kernels
Before we build the system again, we just need to ensure our python is of version 2 instead of 3, otherwise, you’ll get some ERROR message like:
1 | ImportError: No module named _libfdt |
NOW, we build the system AGAIN:
1 | $ ./compile.sh BOARD="orangepiplus2" BRANCH="next" KERNEL_ONLY="yes" KERNEL_CONFIGURE="no" |
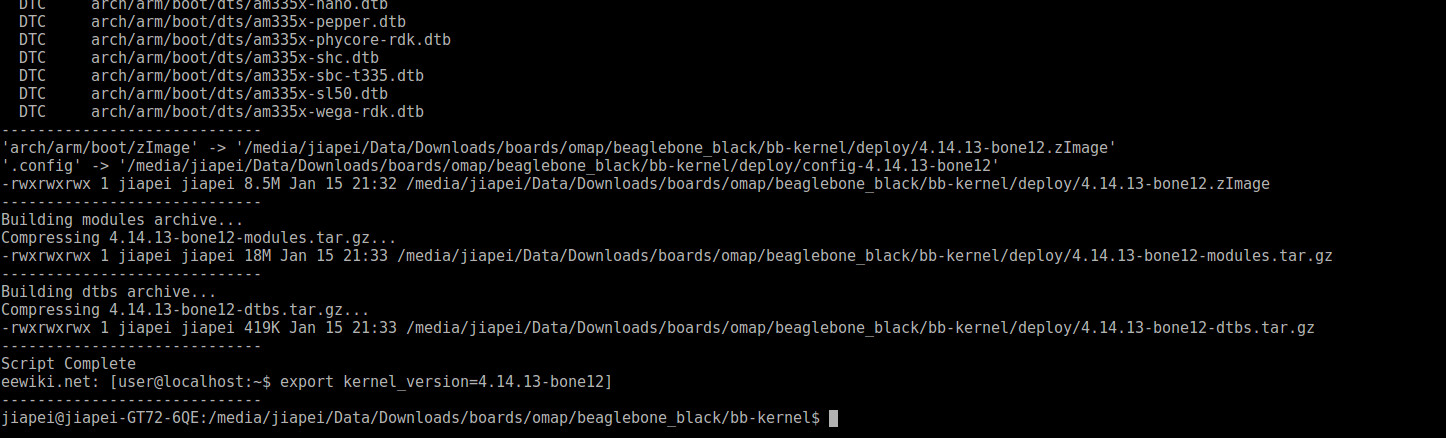
And, it took me about 5 minutes to have everything built.
1 | ...... |
PART C: Copy Linux Kernel DEBs for Orange Pi Plus 2
1. Doublecheck Built Linux Kernel Related DEBs
1 | $ cd ./output/debs |
Five .deb files have been successfully generated, and the folder extra is empty.
2. Copy Built DEBs onto TF Card
Since Armbian Ubuntu Desktop has already been installed on our TF card, after plugging TF card back to my host computer again, it’s automatically mounted as /media/jiapei/ab9545b9-0d2d-4927-83f3-fae97ced83a9. Then, we copy all five .deb files onto TF card by:
1 | $ cp *.deb /media/jiapei/ab9545b9-0d2d-4927-83f3-fae97ced83a9/home/orangepiplus2/ |
PART D: Install the Built DEBs, Remove the Old Kernel(s), and Wifi Configuration
Now we plug the TF card back into the Orange Pi Plus 2 board and boot into Armbian Ubuntu Desktop with kernel 3.4.113.
1. Install NEW Linux Kernels
Single command will do.
1 | $ sudo dpkg -i *.deb |
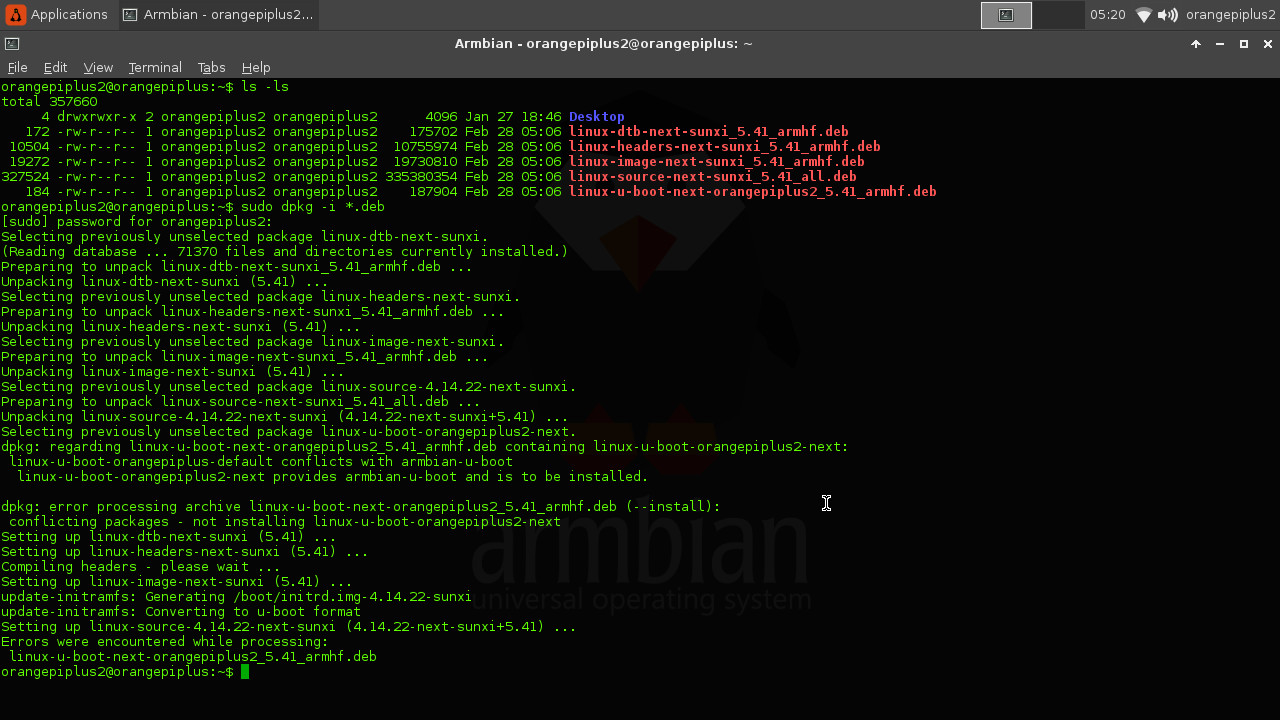
It’s OK for us NOT to upgrade u-boot.
2. Remove OLD Linux Kernel(s)
Reboot Orange Pi Plus 2 board, and you’ll see the NEW kernel 4.14.22 is now booted successfully. Now, it’s optional for us to remove old kernel(s) 3.4.113. Two commands will do.
1 | dpkg --list | grep linux-image |
will help to list all installed Linux Kernel. And then, we remove all unwanted kernels, for instance:
1 | dpkg --purge linux-image-sun8i |

3. Wifi Configuration
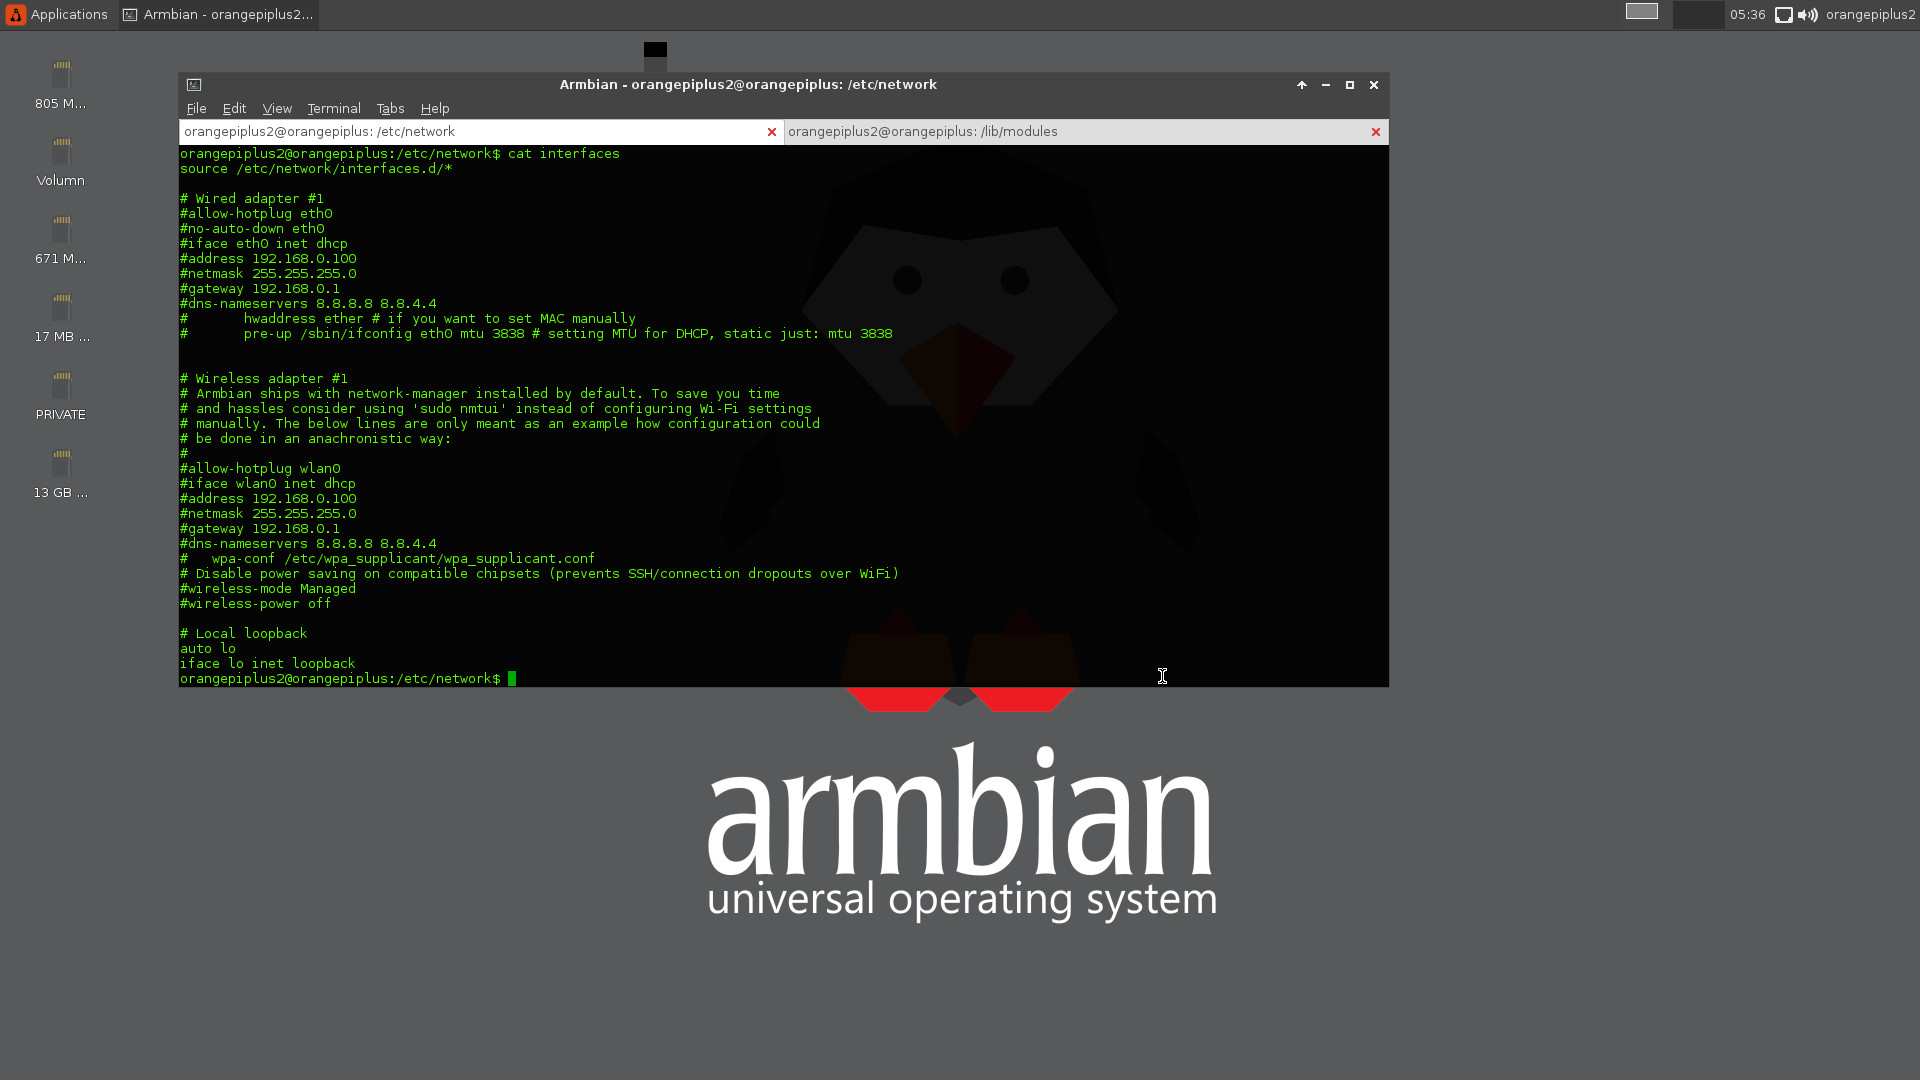
As known, Orange Pi Plus 2 board comes with Wifi 2.4G support. To enable Wifi for Orange Pi Plus 2 board, we need to make sure there are ONLY 3 effective lines in file /etc/network/interfaces:
1 | source /etc/network/interfaces.d/* |
Finally, you are recommended to solve all the other issues about Ubuntu Desktop via Google.