Continue, the Arduino UNO R4.
1. Introduction
1.1 lsusb
1 | ...... |
1.2 Spec
What I purchased is an Arduino UNO R4 WiFi. Detailed specification about it can be found on Arduino UNO R4 Wifi Doc.
1.3 Github Source Code
Typically, there’s no need to rebuild your project from the ground up. However, when needed, Arduino UNO R4 Wifi USB Bridge offers open-source resource that you can utilize as a foundation for further development.
2. Demonstrate Arduino Examples
2.1 Environment Configuration
Install Arduino Environment
When I tried to run the basic example blink, I was asked to install the package renesas_uno@1.0.5, as shown in the Output console of Arduino IDE: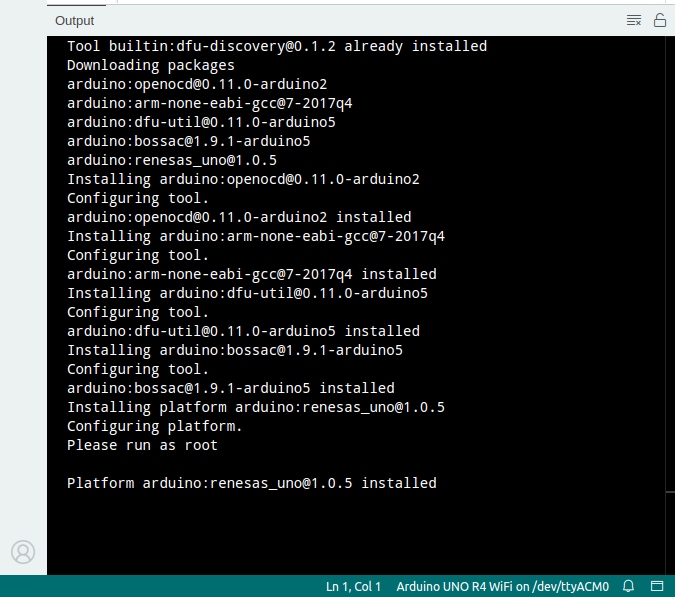
2.2 Flash a Sketch
- Sketch Verify/Compile
1 | Sketch uses 51488 bytes (19%) of program storage space. Maximum is 262144 bytes. |
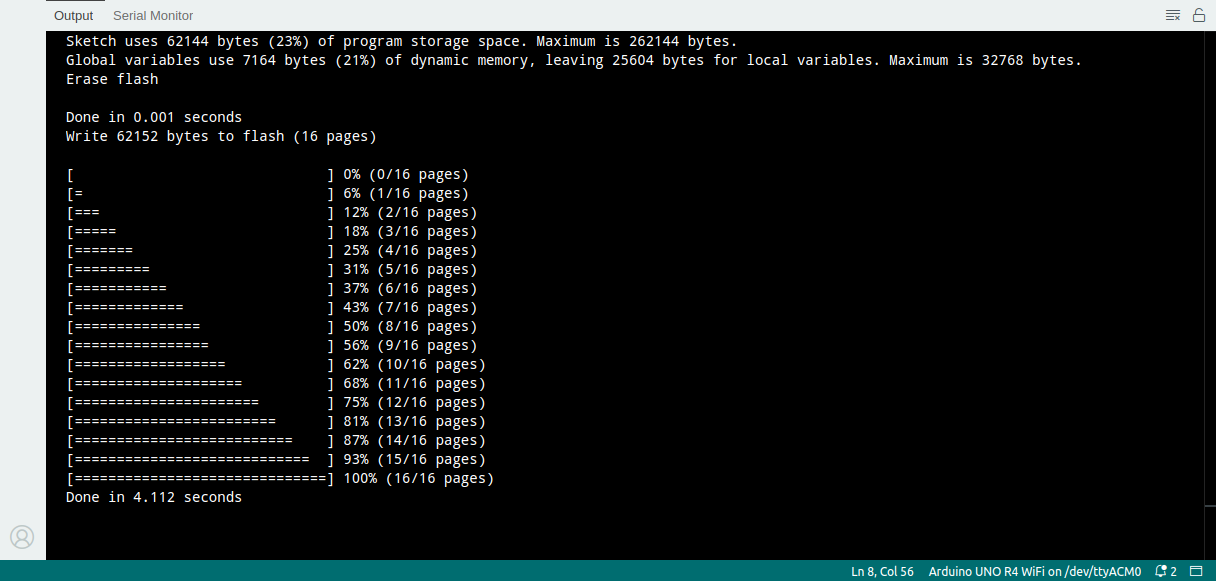
- Upload
1 | Sketch uses 51488 bytes (19%) of program storage space. Maximum is 262144 bytes. |
Now, one LED starts blinking successfully.
3. Arduino UNO R4 WiFi Examples
3.1 Wi-Fi Web Server
First, let me test the example Wi-Fi® Web Server on Arduino official tutorial UNO R4 WiFi Network Examples. The code can be found on Github Arduino WiFiWebServer. And the following is printed in the Output console of Arduino IDE.
1 | Please upgrade the firmware |
3.2 Upgrade Firmware of UNO R4 Wifi
It’s confusing that I received the error message Please upgrade the firmware, right after I installed/upgraded renesas_uno@1.0.5 from within Arduino IDE.
In the end, I noticed there are 2 main chips on Arduino UNO R4 WiFi, and renesas‘s firmware is installed/upgraded, but ESP32‘s firmware hasn’t yet. Therefore, I proceeded with upgrading ESP32‘s firmware by following Arduino UNO R4 WiFi Upload to ESP32.
Different from 1.1, by shorting the download pin and GND, now we have a different lsusb result:
1 | ...... |
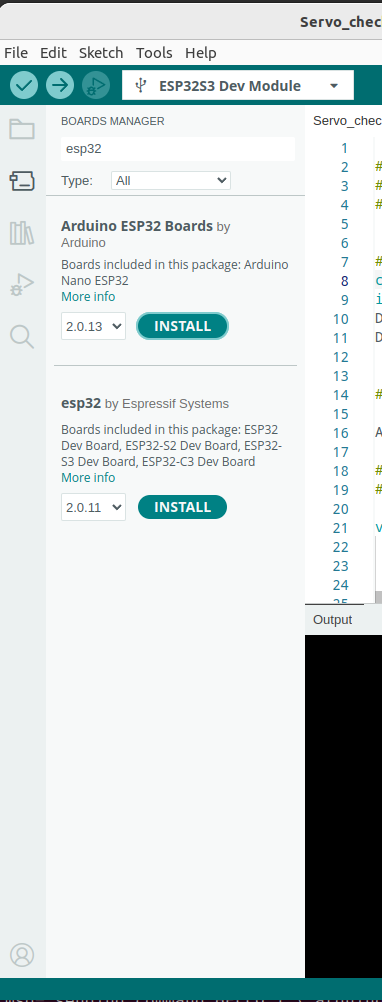
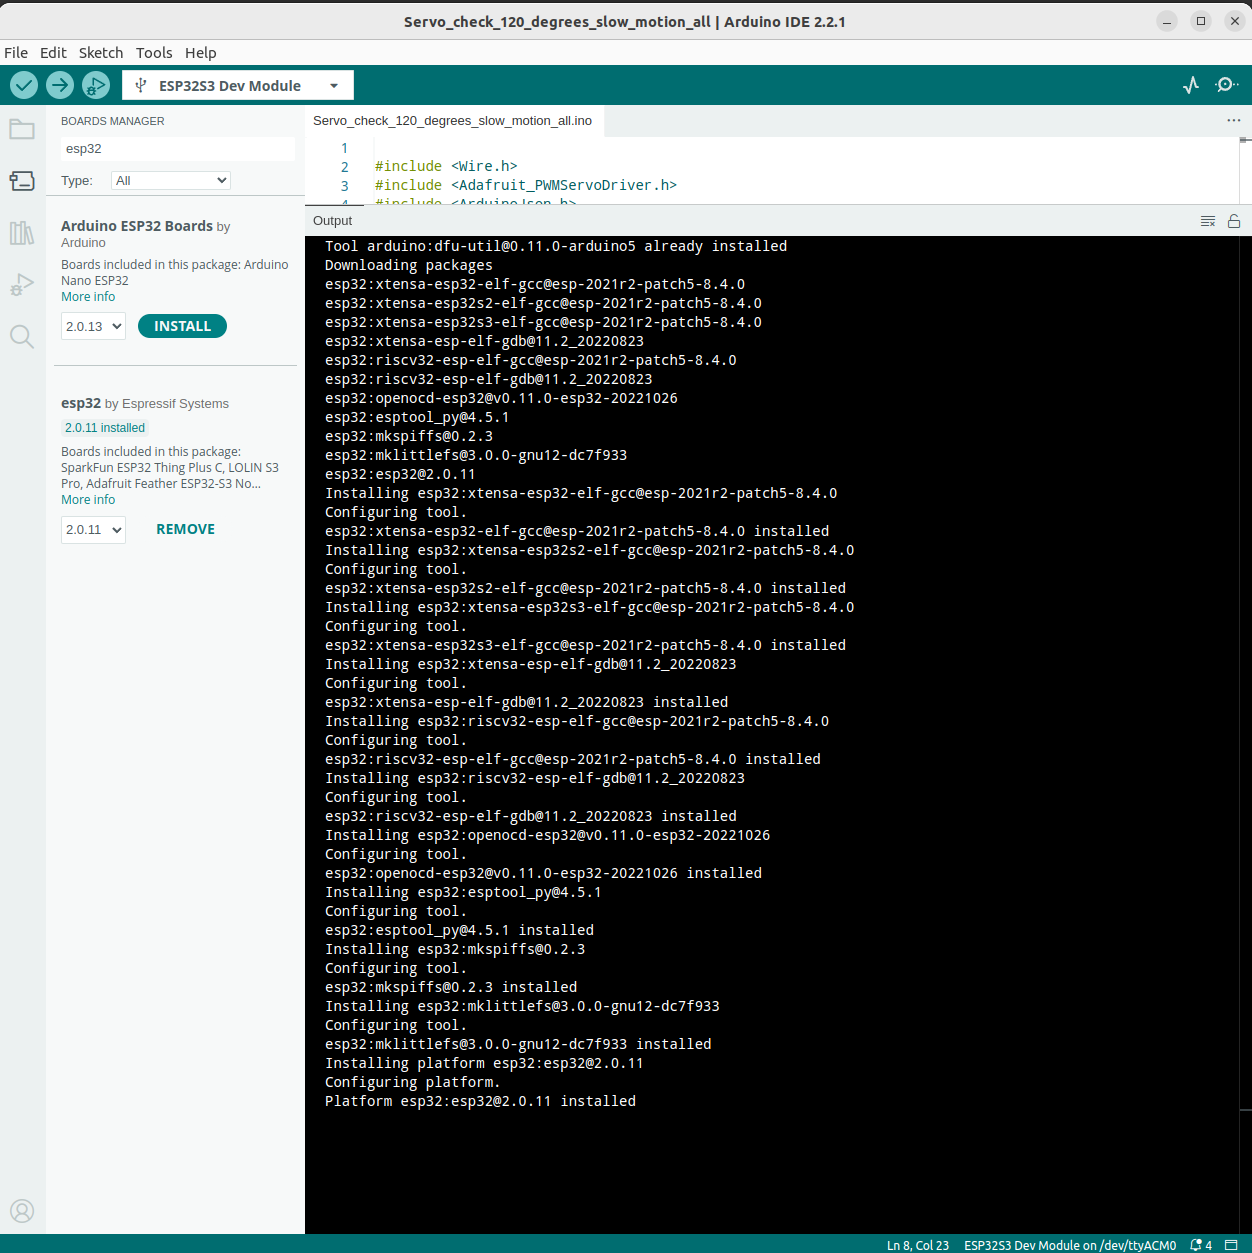
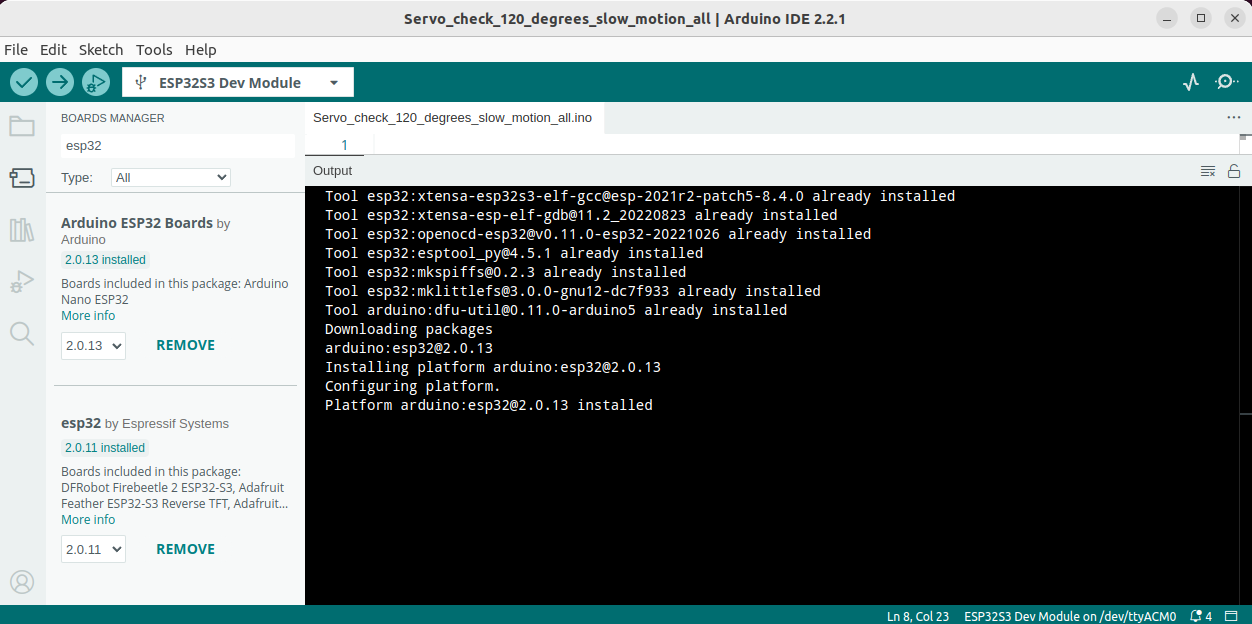
Again, I was asked to install the esp32 package(s), as shown:
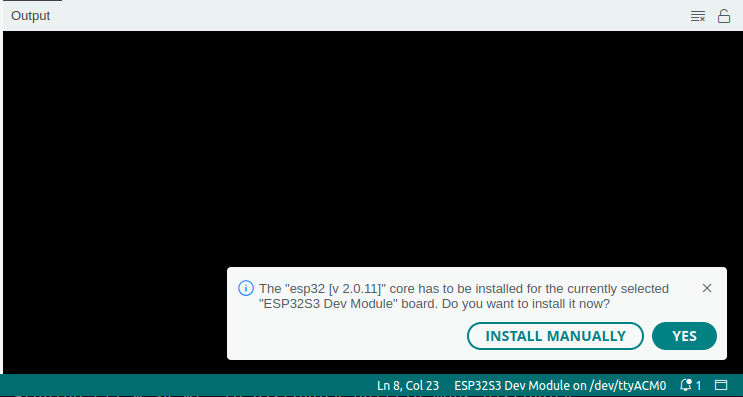
Click YES and continue the installation:
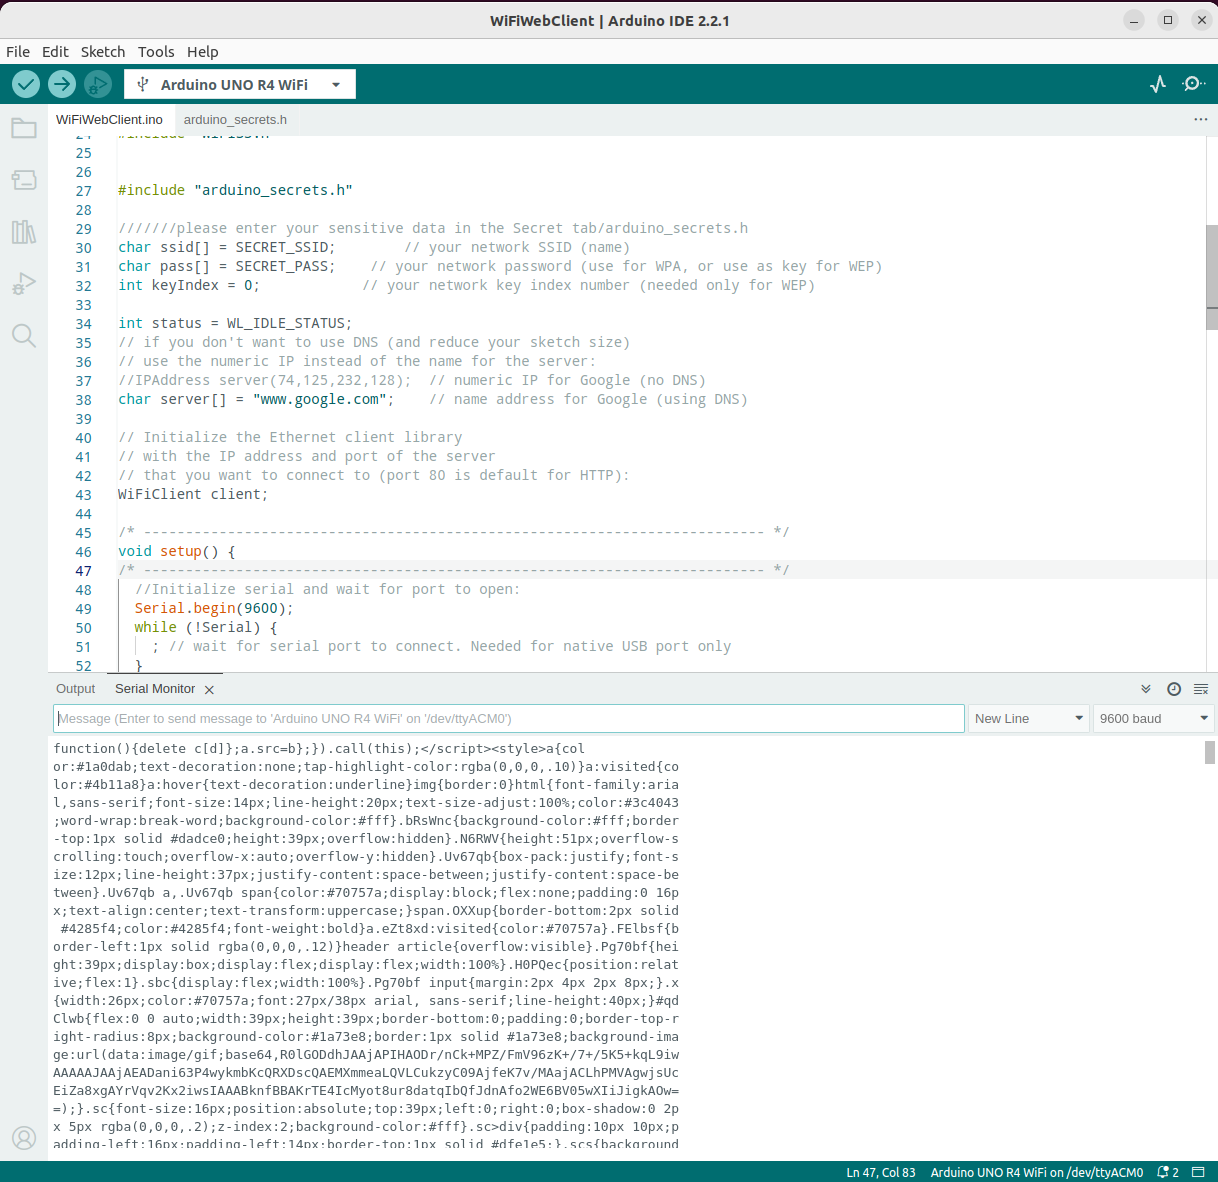
3.3 Wi-Fi Web Client
Now, let me test the example Wi-Fi® Web Client on Arduino official tutorial UNO R4 WiFi Network Examples. The code can be found on Github Arduino WiFiWebClient. And a bunch of communication info with www.google.com are printed on the Output console of Arduino IDE.
4. Arduino UNO R4 WiFi - ChatGPT
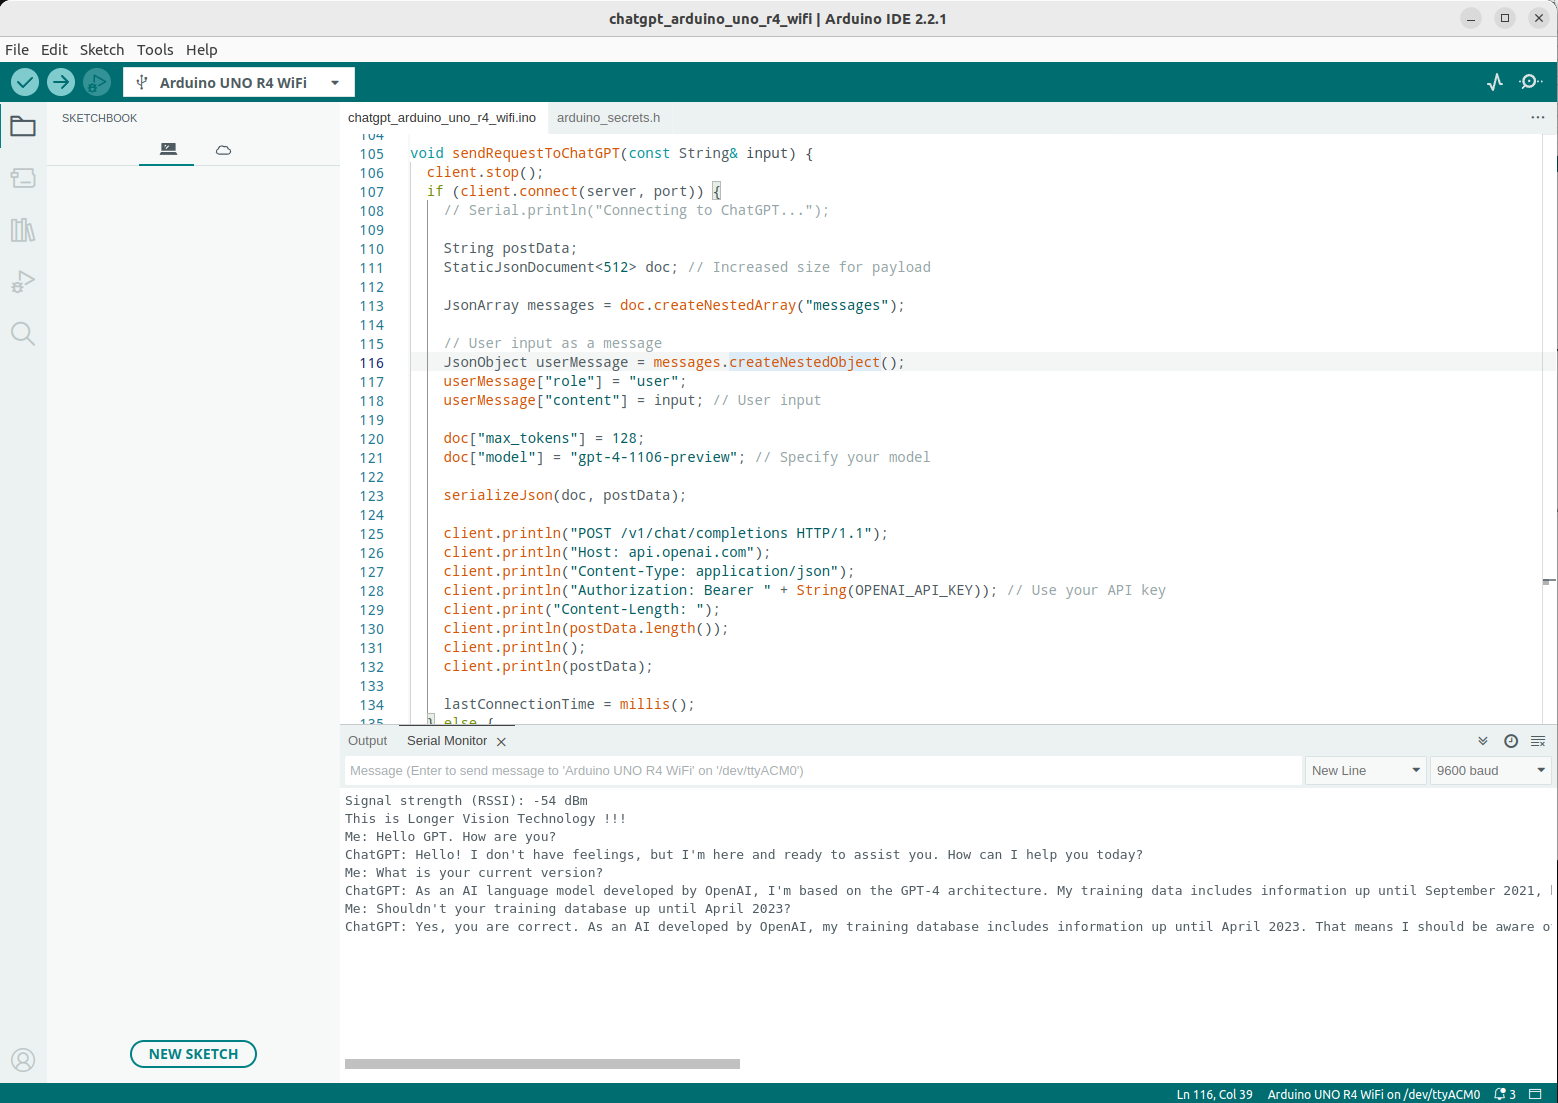
Finally, let’s extend a bit. Let’s finish our demonstration of the day by chatting with OpenAI‘s ChatGPT on this Arduino UNO R4 WiFi.
My source code is provided at Longer Vision Robot Arduino Examples.
And its demonstration can be seen by this screenshot.